How to Sketch Animals from a Reference Photo
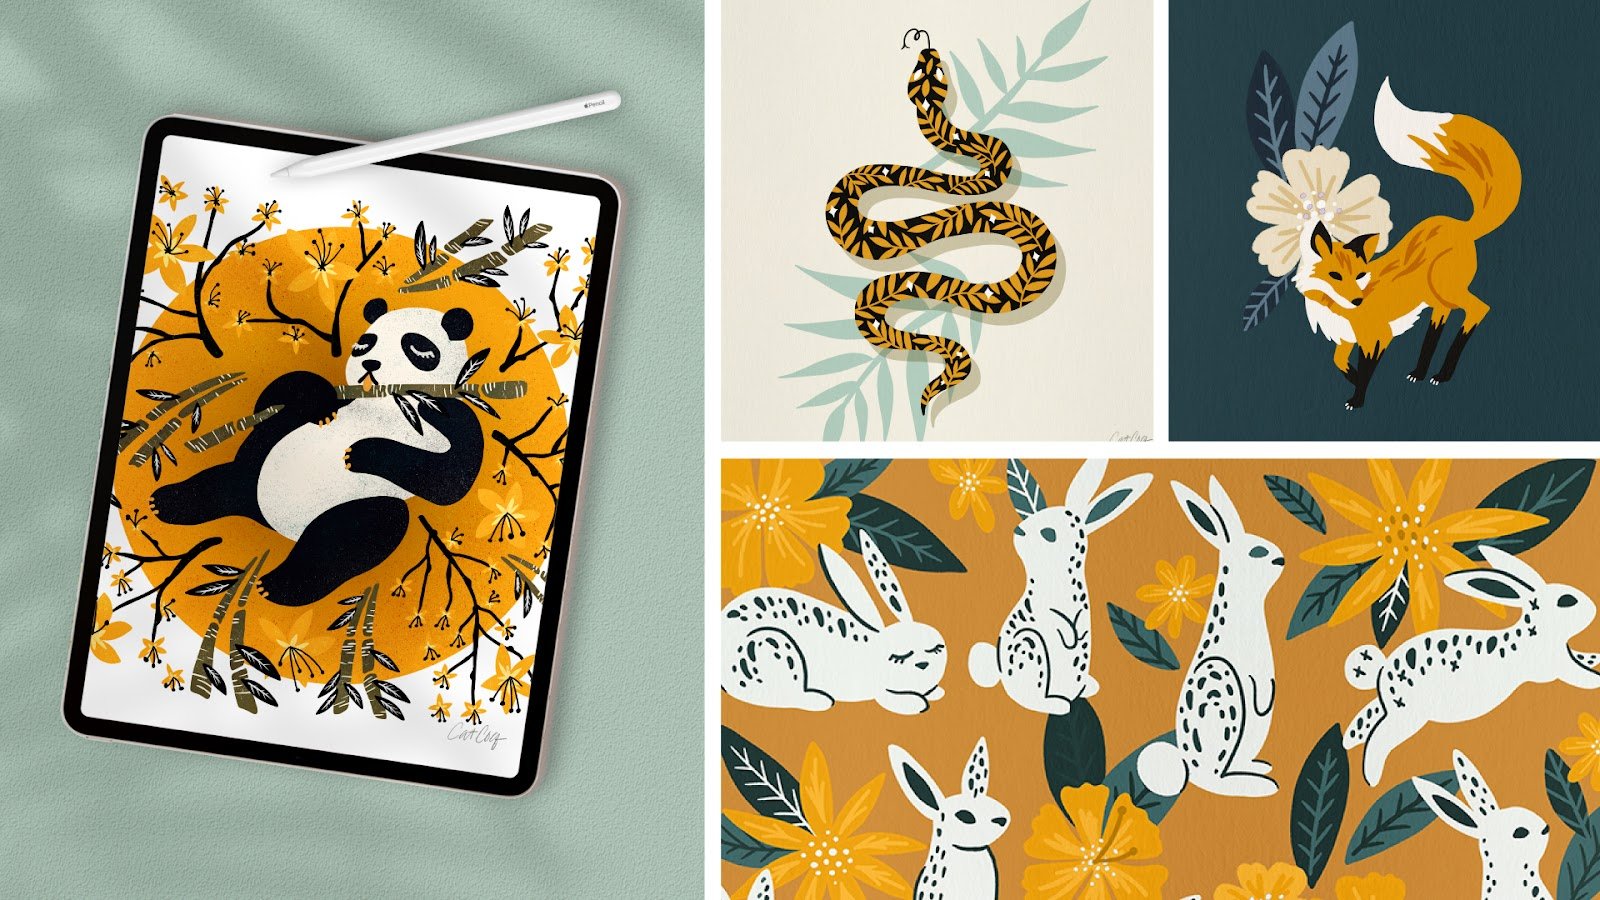
Animals are a fun and universal motif that I love to draw. They’re great for putting together seamless or repeat patterns and they also make great standalone pieces. Animal illustrations are popular sellers and make up a big chunk of my portfolio. It’s no surprise that one of my most popular Procreate classes is about how to draw animals!
In this tutorial, I’ll be sharing how I sketch animals from a reference photo. I like to simplify complex animal motifs so that they are still recognizable as the animal, but have a more artistic look that is in line with my modern style.
This tutorial is for all levels, whether you’re a beginner who is just learning how to draw or an advanced artist looking to hone your animal illustration skills! I’m going to share two ways of sketching animals.
I’ll walk through how to sketch from a reference photo in Procreate, as well as my sketching process for analog artwork. If you want to follow along with a video lesson on how to draw animals, you can check out one of my full-length classes where we go through the entire drawing process from start to finish!
Modern Watercolor Techniques
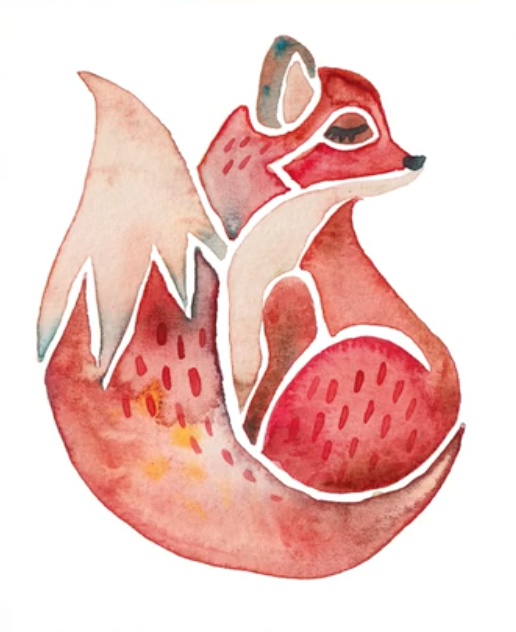
In Modern Watercolor Techniques, you’ll paint along with me step-by-step to create a watercolor fox illustration like this.

Draw Animals in Procreate
In my class, Drawing Animals in Procreate, I’ll take you through the entire process of drawing your favorite animal digitally in the iPad app.

Ready to get started sketching? Let’s dive in!
Gather reference images
Whether you’re drawing your animal digitally or with a pencil and paper, the first step is to gather your reference images. When it comes to drawing animals, I’m actually not the best. I rely on reference photos when I draw animals to make sure I’m getting the proportions right and that the animal will be recognizable. This doesn’t mean that I’m stealing or copying from a photo, but instead, this gives me a solid starting point for my illustration.
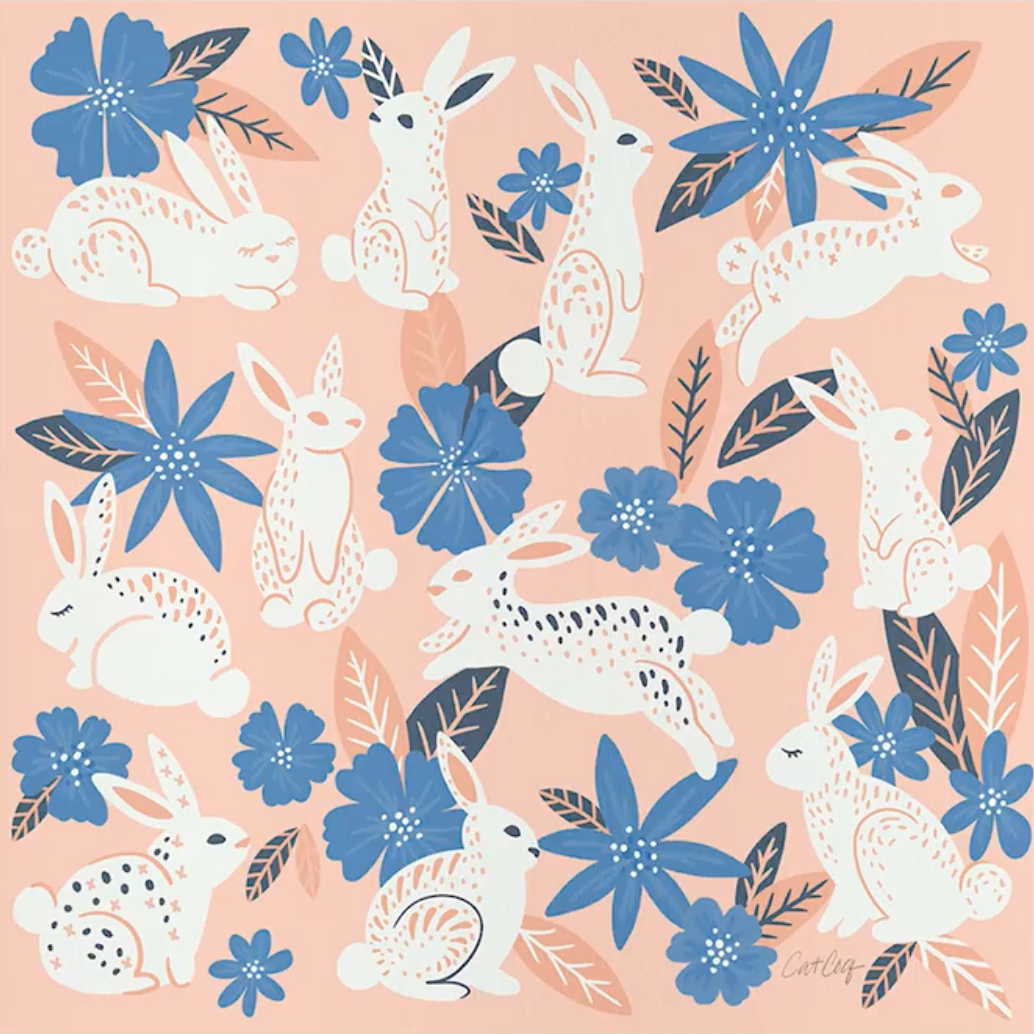
In this example, I used different reference images of bunnies to sketch out their bodies, but all of the other elements of this illustration like the colors, composition, and the stylization of the characters are what make it uniquely mine.
Reference images & the final illustration:

Take some time to research using Google, Pinterest, and free stock image sites like Unsplash to put together some reference images of your own based on your favorite animal. It can be helpful to have a bunch of different images to reference so you’re not limited to the elements of one single image. Once you have your reference images you’ll be set to get started sketching!
Sketching from a reference photo in Procreate
We’ll start with walking through sketching in Procreate. If you want to skip ahead to analog sketching, click here!
To start, you’ll want to import your reference photo. You can do this by tapping the wrench icon in the top left corner of the screen. Under the “Add” menu, select “Insert a Photo.”

This will pull up your camera roll, and you can select a reference image from there. Once your photo is imported you will want to turn down the opacity of that image so you can see what you’re sketching on top of that. Pull up the layers panel and tap the “N” next to the reference photo layer. Then pull the scrubber down to about 30% to turn down the opacity.
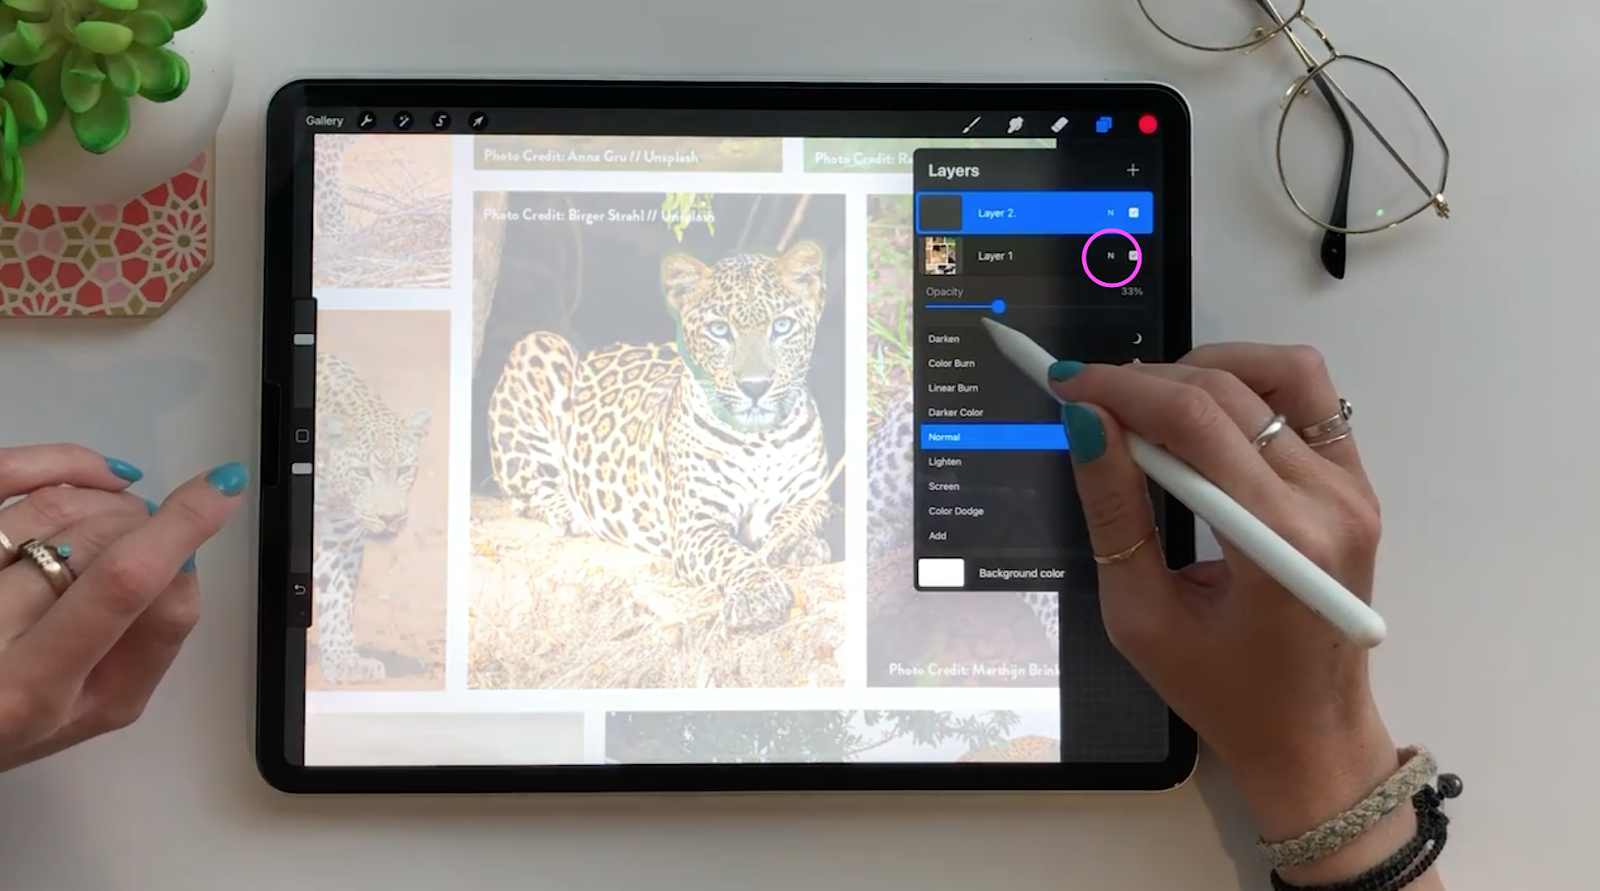
Next, you’ll want to add a new layer where you’ll draw your actual sketch. It’s important to keep the photo and the sketch separate because you want to have the ability to turn the reference image off eventually.

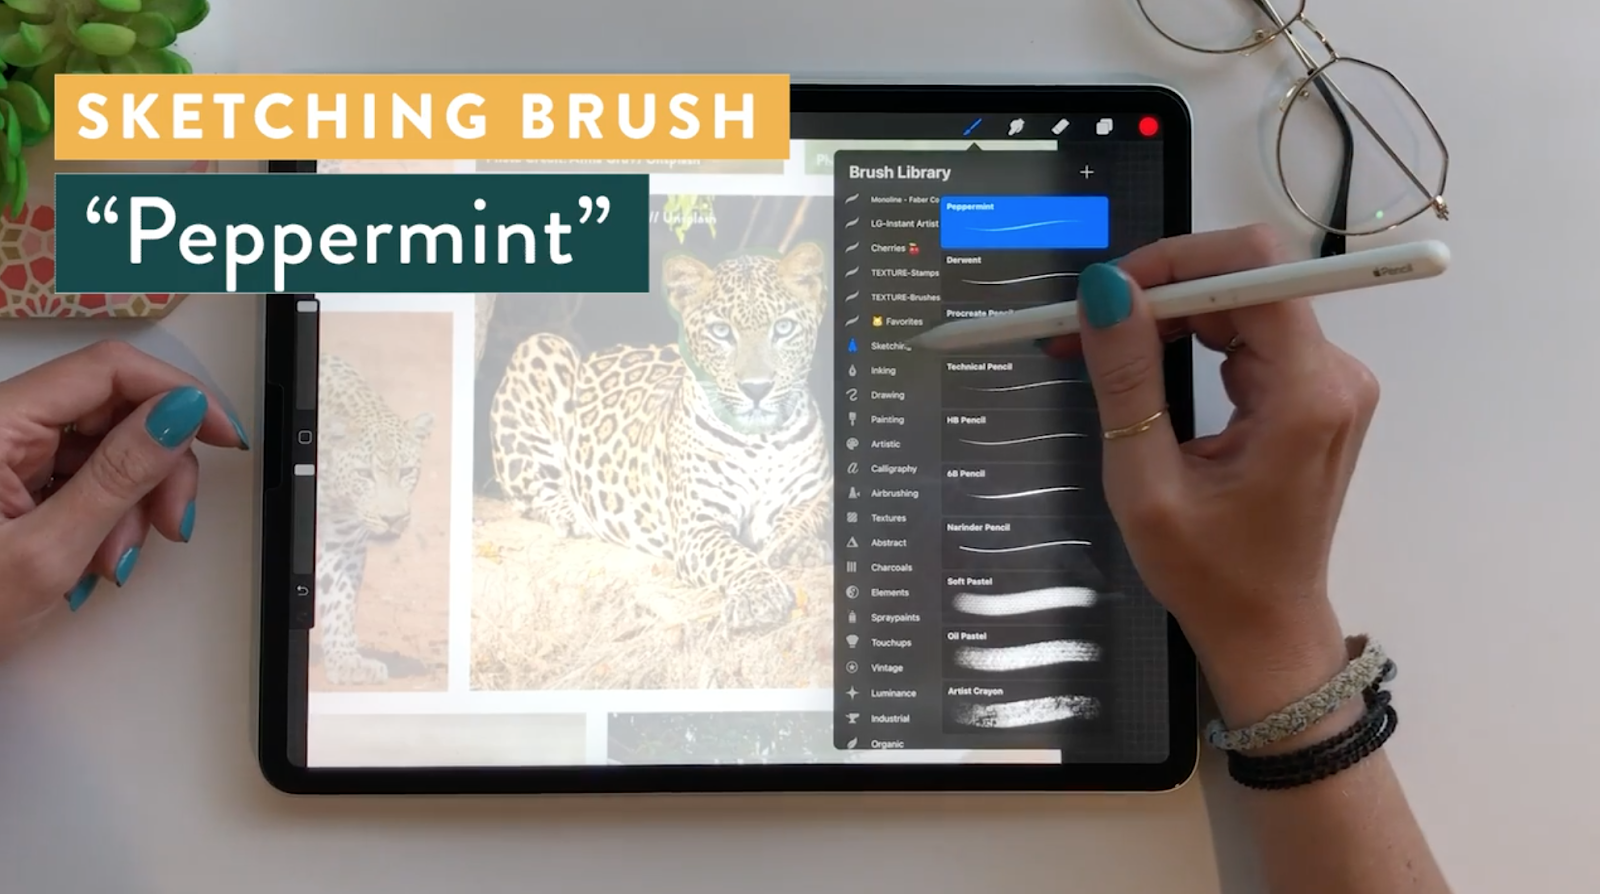
With the sketching layer selected, it’s time to grab your sketching brush! I like to sketch using the built-in free Procreate brush called Peppermint. You can find it under the “Sketching” group of brushes.
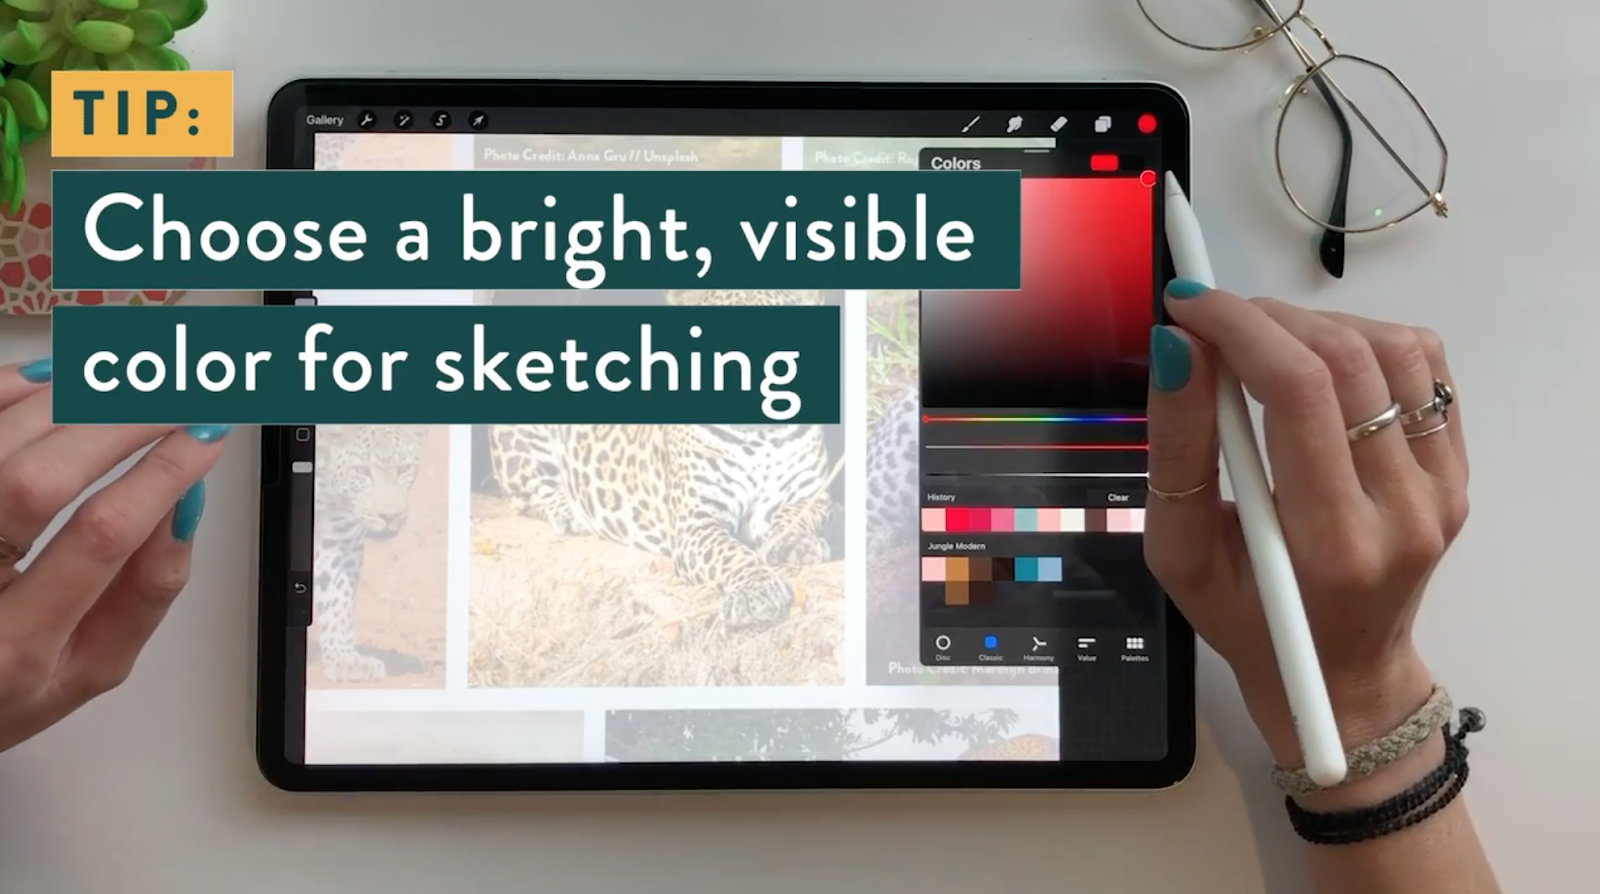
I also like to sketch with a bright red pencil when I’m drawing digitally. This allows me to really see what I’m drawing especially when I’m tracing over a reference photo like this. If I were using a black pencil it might get a little lost against the desaturated tones of the photo. To make your pencil red, tap the color palette icon on the top right and select the reddest red you can get!
Note that this is just my personal preference. You can sketch using whatever color you want. This sketch won’t show up in the final illustration, so choose any color you like!
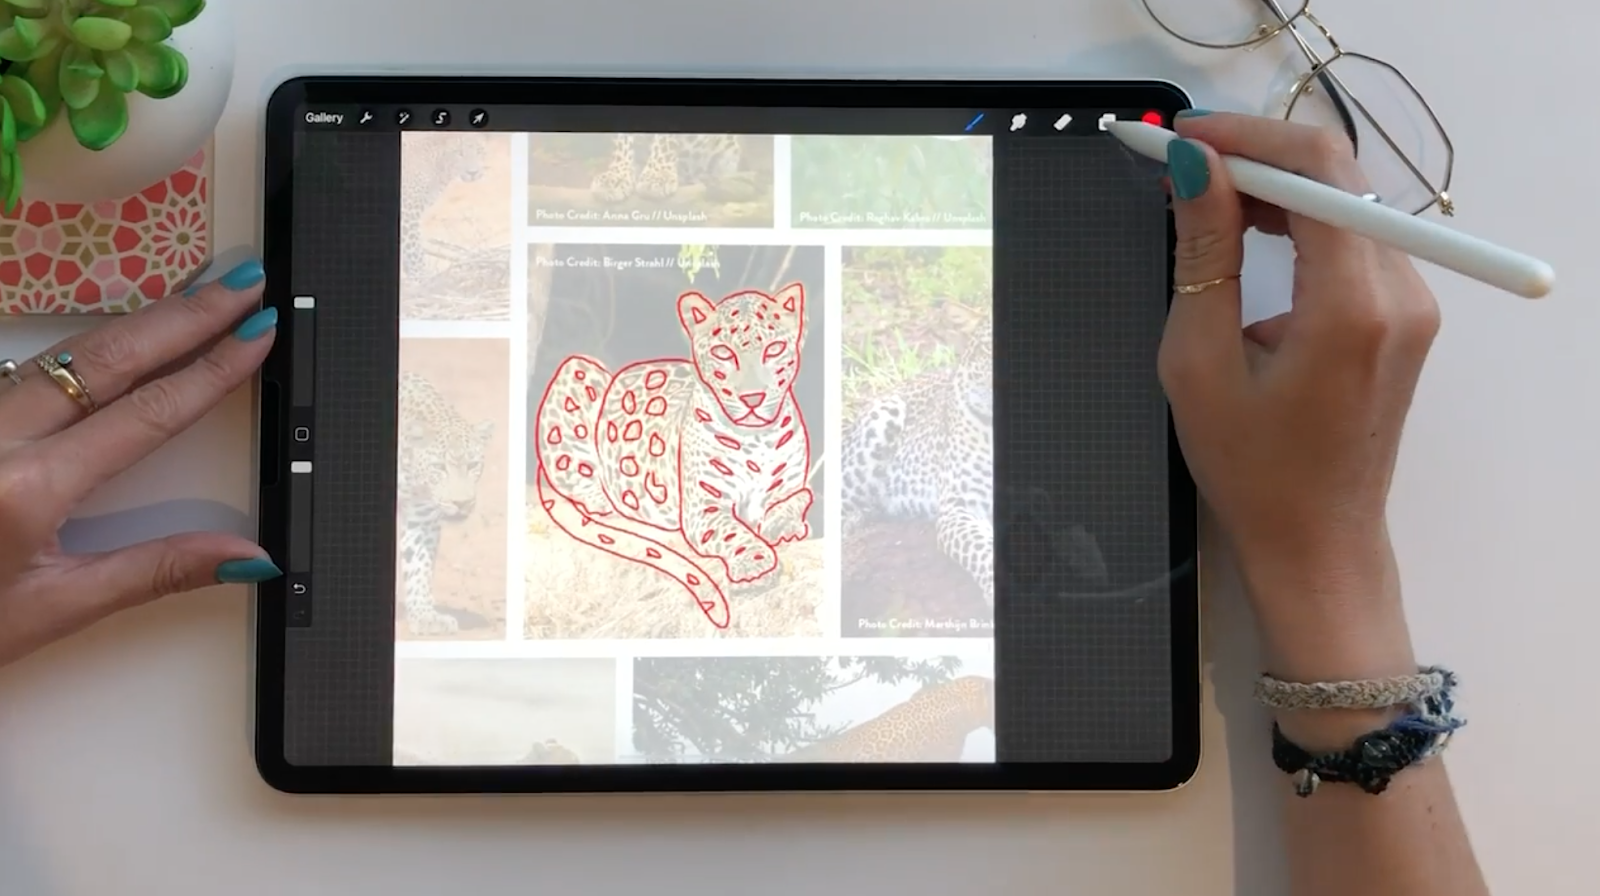
Now it’s time to sketch! My best tip for sketching is to keep it really simple and loose. This is not the time for perfection. You can always refine your lines when you start inking your illustration.

In a sketch, the goal is to get an idea of the shape and form of the animal. I want to make sure that the animal is recognizable, but I don’t want to overwork it by worrying too much about the details.

In this example, I also want to add in a few of the spots on this jaguar so I can reference them when I ink the illustration later. This helps me get a general idea of the shape, size, and positioning of these details.

The last step to your sketch is to add your own flair! If there are any elements that you feel are missing, this is the time to add them. For example, in my reference image, you can’t see this jaguar’s tail and I want that to be a part of the illustration. No problem! I’ll just add one in myself!
If you don’t want to trace over your reference photo and would prefer to just use it as a guide, you can do that by tapping the wrench icon and toggling on “Reference” under the “Canvas” menu.

From here you can import a photo, and it will pop up in a smaller box next to your artboard that you can reference as you’re drawing.
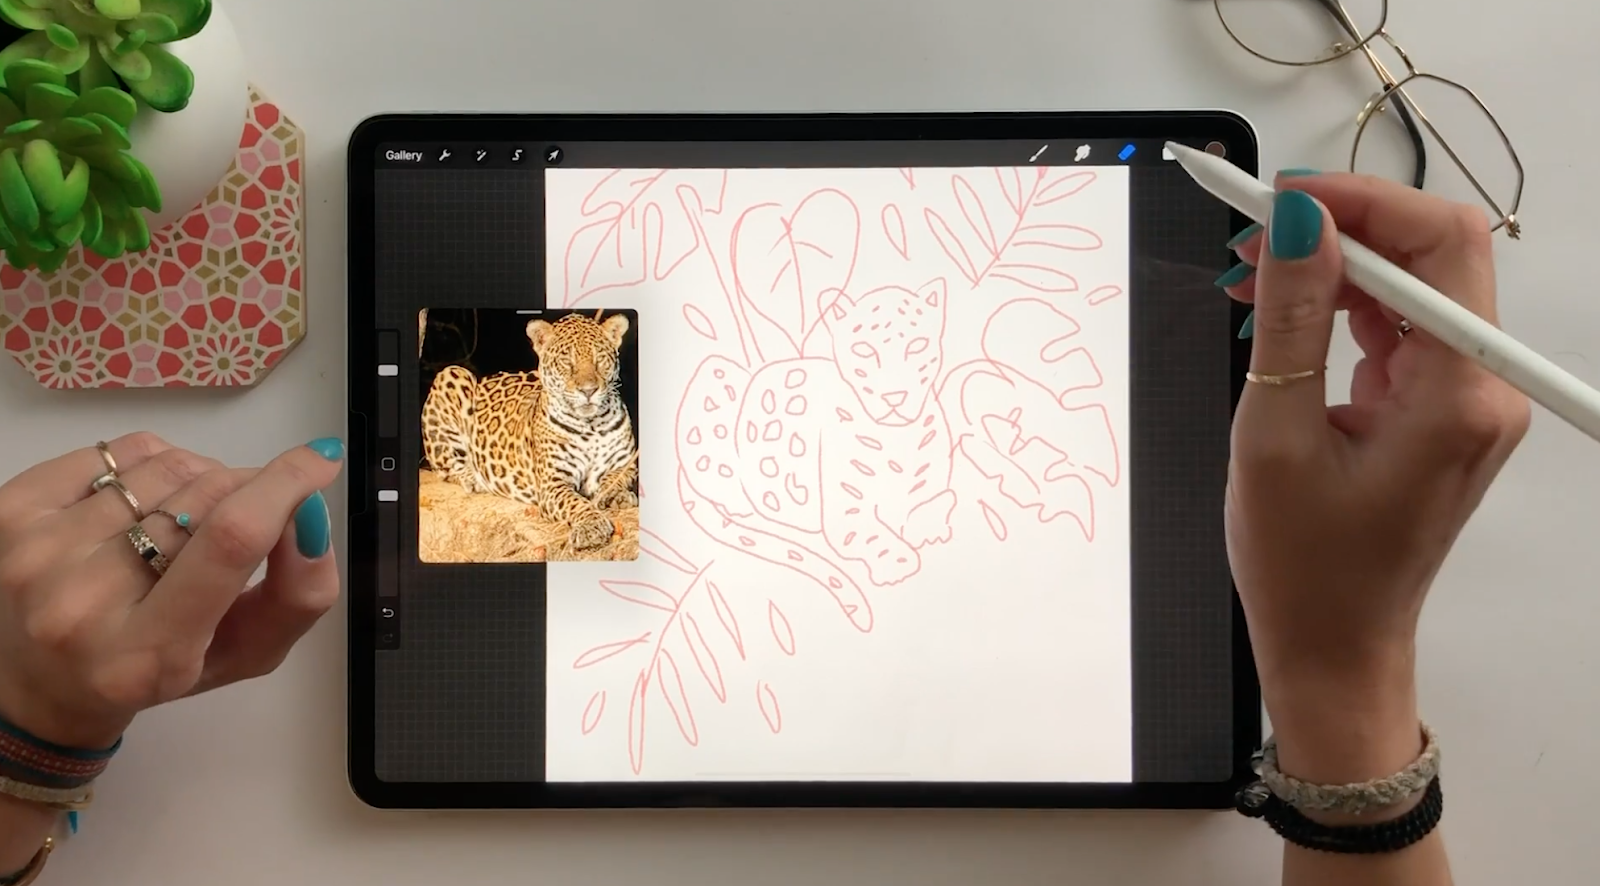
Both of these techniques are great ways to sketch in Procreate depending on your level of comfort with drawing animals. I love being able to trace directly from a photo, but if that’s not your thing, the reference box is a great option as well!
Sketching for analog artwork
In the Procreate example, our main form of sketching was to trace over our reference image. You can definitely do this with analog artwork using tracing paper or transfer paper, but I tend to paint simplified motifs so I find that tracing can overcomplicate things with analog artwork.
I keep it old school and start with really loose thumbnail sketches. A thumbnail sketch is a small, rough sketch where you can play with different forms, compositions, and positions of your motif. In this example, I was planning to paint a fox, so I experimented with different positions the fox could be in like standing, sleeping, and looking off to different sides. Lean on your reference images here to help you if you’re feeling stuck getting started. And remember, these sketches don’t have to be anywhere near perfect. They’re just here to help you decide on the composition of your illustration.

When you decide on a composition you like, work on a few more refined versions of that animal position. In my example, I liked the fox looking off to the right, so I did a few more versions of this in my sketchbook before doing the final sketch on watercolor paper. You can see that this sketch is still pretty rough, but there are more defined shapes.

When I’m ready to take it to watercolor paper I use my more refined sketch as a guide and start to think through where I want to add whitespace in this illustration. With my painting style, pencil marks indicate where I’m going to leave whitespace. So I break down my motifs into simple shapes that will be broken up by whitespace. From here I sketch the final motif on the paper I’ll be painting with. Since watercolor is a transparent medium I’m careful to sketch super lightly so you can’t see any pencil marks if I accidentally paint over them.
The biggest lesson I’ve learned with sketching is to keep it simple! This works well with my modern style and has helped me paint all kinds of motifs even if I was feeling intimidated by them! Knowing that your sketch doesn’t have to be perfect is so freeing and it will help you get your ideas on paper more easily. I’d encourage you to practice sketching often so it doesn’t feel as overwhelming when you’re starting a new piece.
Ready to take your animal sketch to the next level?
Join me in my full-length classes that will help you turn your sketch into a stunning illustration!

Modern Watercolor Techniques
In Modern Watercolor Techniques, you’ll paint along with me to create a watercolor fox illustration. And you’ll learn all of the watercolor techniques that I use every day as a professional artist!

Draw Animals in Procreate
In my class, Drawing Animals in Procreate, I’ll take you through the entire process of drawing your favorite animal digitally in the iPad app.