DIY Tutorial: Gouged Unicorn Princess

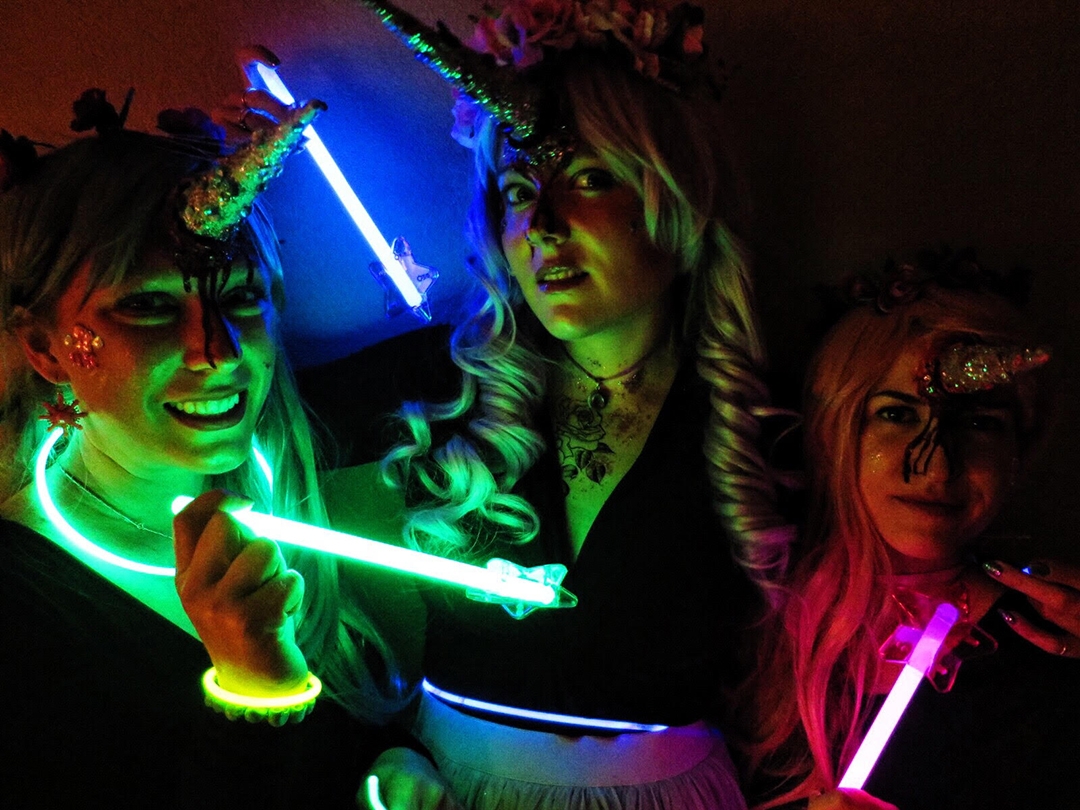
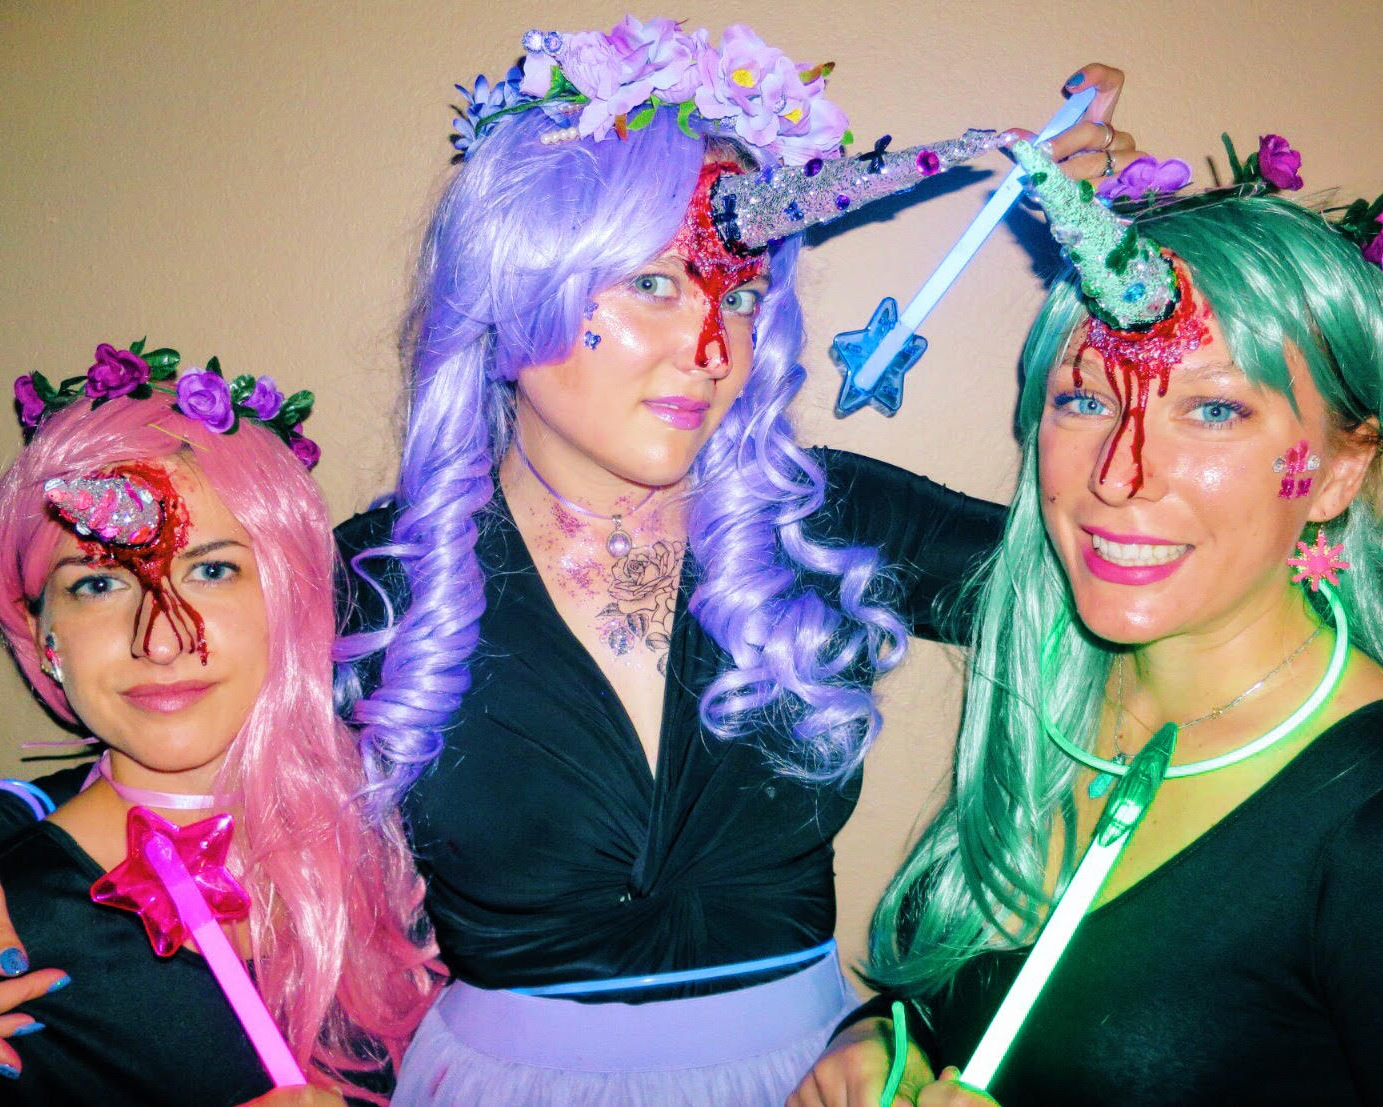
Every Halloween, my friends and I embrace the gory side of Halloween with our group costume. This year, we wanted to weave some cuteness into the macabre. We decided to be pastel princess unicorns... with a twist. Check out the full tutorial for a step-by-step on how to achieve the look!
Unicorn Horn in 4 Steps:
Note: The horn needs to be as light as possible in order to get it to adhere to your forehead. In my first attempt, I sculpted a horn out of lightweight clay. After it dried, I realized it wouldn't work. I didn't even bother trying to attach it to my head– too heavy. Paper was a solid second choice.
Materials Needed:
• letter-sized typing paper
• tape
• liquid latex
• toilet paper (half-ply works best)
• 2 paintbrushes (disposable)
• acrylic paint (your color of choice)
• spray adhesive
• spray sealant
• hot glue gun
• glitter and gemstones

Step 1: Cut a letter-sized paper in half (hamburger, not hot dog). Twist it into a cone & secure with tape. For added texture + durability, brush with liquid latex and wrap with toilet paper. Let dry.

Step 2: Paint with a thin layer of acrylic.
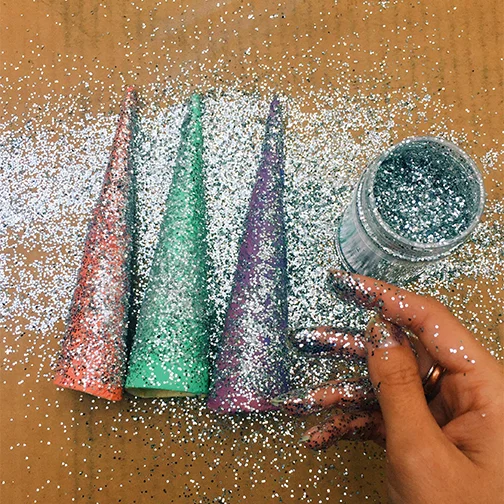
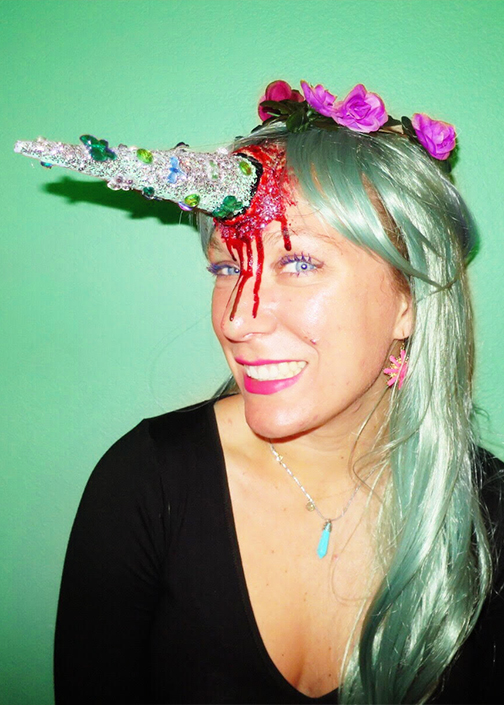
Step 3: Spray with adhesive & dust with glitter. I finished with a sealant so the glitter wouldn't flake.

Step 4: Bedazzle! (gemstones + hot glue)
Facial Prosthetic
Materials Needed:
• your prosthetic (unicorn horn)
• scar putty
• spirit gum *or* eyelash glue
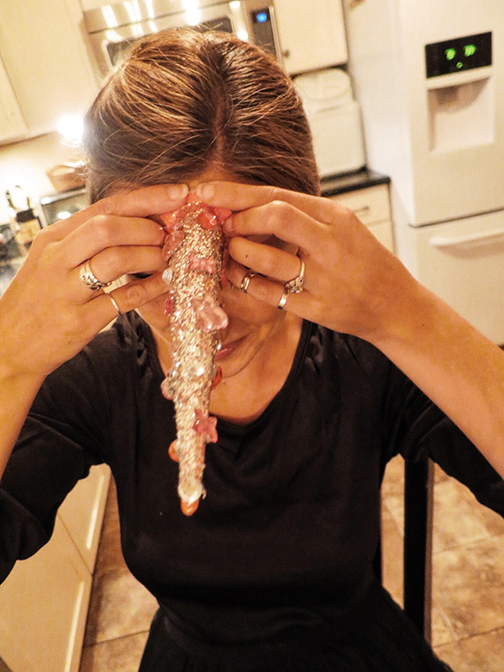
Step 1: Make a series of 1/2" snips on the bottom of your horn. Fold these back so they splay outwards on your forehead. This will provide more surface area for the adhesive.
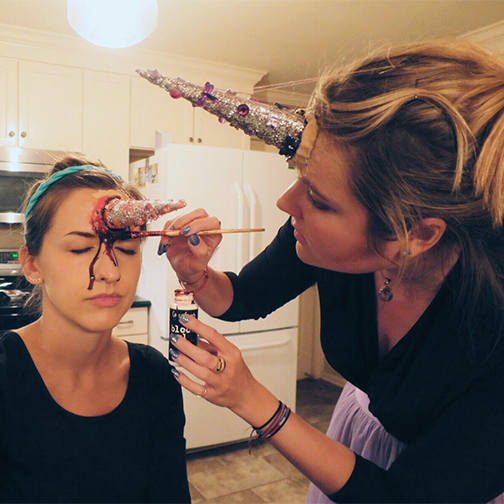
Step 2: Glue the horn to your forehead using either spirit gum or eyelash glue. Roll the scar putty into a snake & wrap it around the base of your horn. Using your fingers, smooth onto your forehead. This provides reinforcement for the prosthetic, as well as a "cratered" appearance for the horn.

Step 3: Hold your horn in place until dry. This takes 10–15 minutes.
Step 4 (Optional): For added reinforcement, loop a piece of thread around one of the gems on your horn and wrap the string to a bobby pin. Clip the pin on your head so that the string is taut. This saved us few times when we banged our horns against door frames, mirrors, and each other.
The Blood & Gore
Materials Needed:
• black acrylic paint
• paintbrush
• blood gel
• sponge
• glitter (optional)
1. Paint inside the "crater" (where the base of the horn meets the scar putty) with black acrylic. This helps add depth to the injury.
2. Use a sponge to dab the blood gel around the injury. This will help blend the scar putty into your skin.
3. Using a disposable paintbrush, pool the blood gel inside the crater and let gravity work its magic to create the blood drips. Avoid contact with eyes.
4. (Optional) sprinkle glitter on your wound. You're a unicorn, after all.