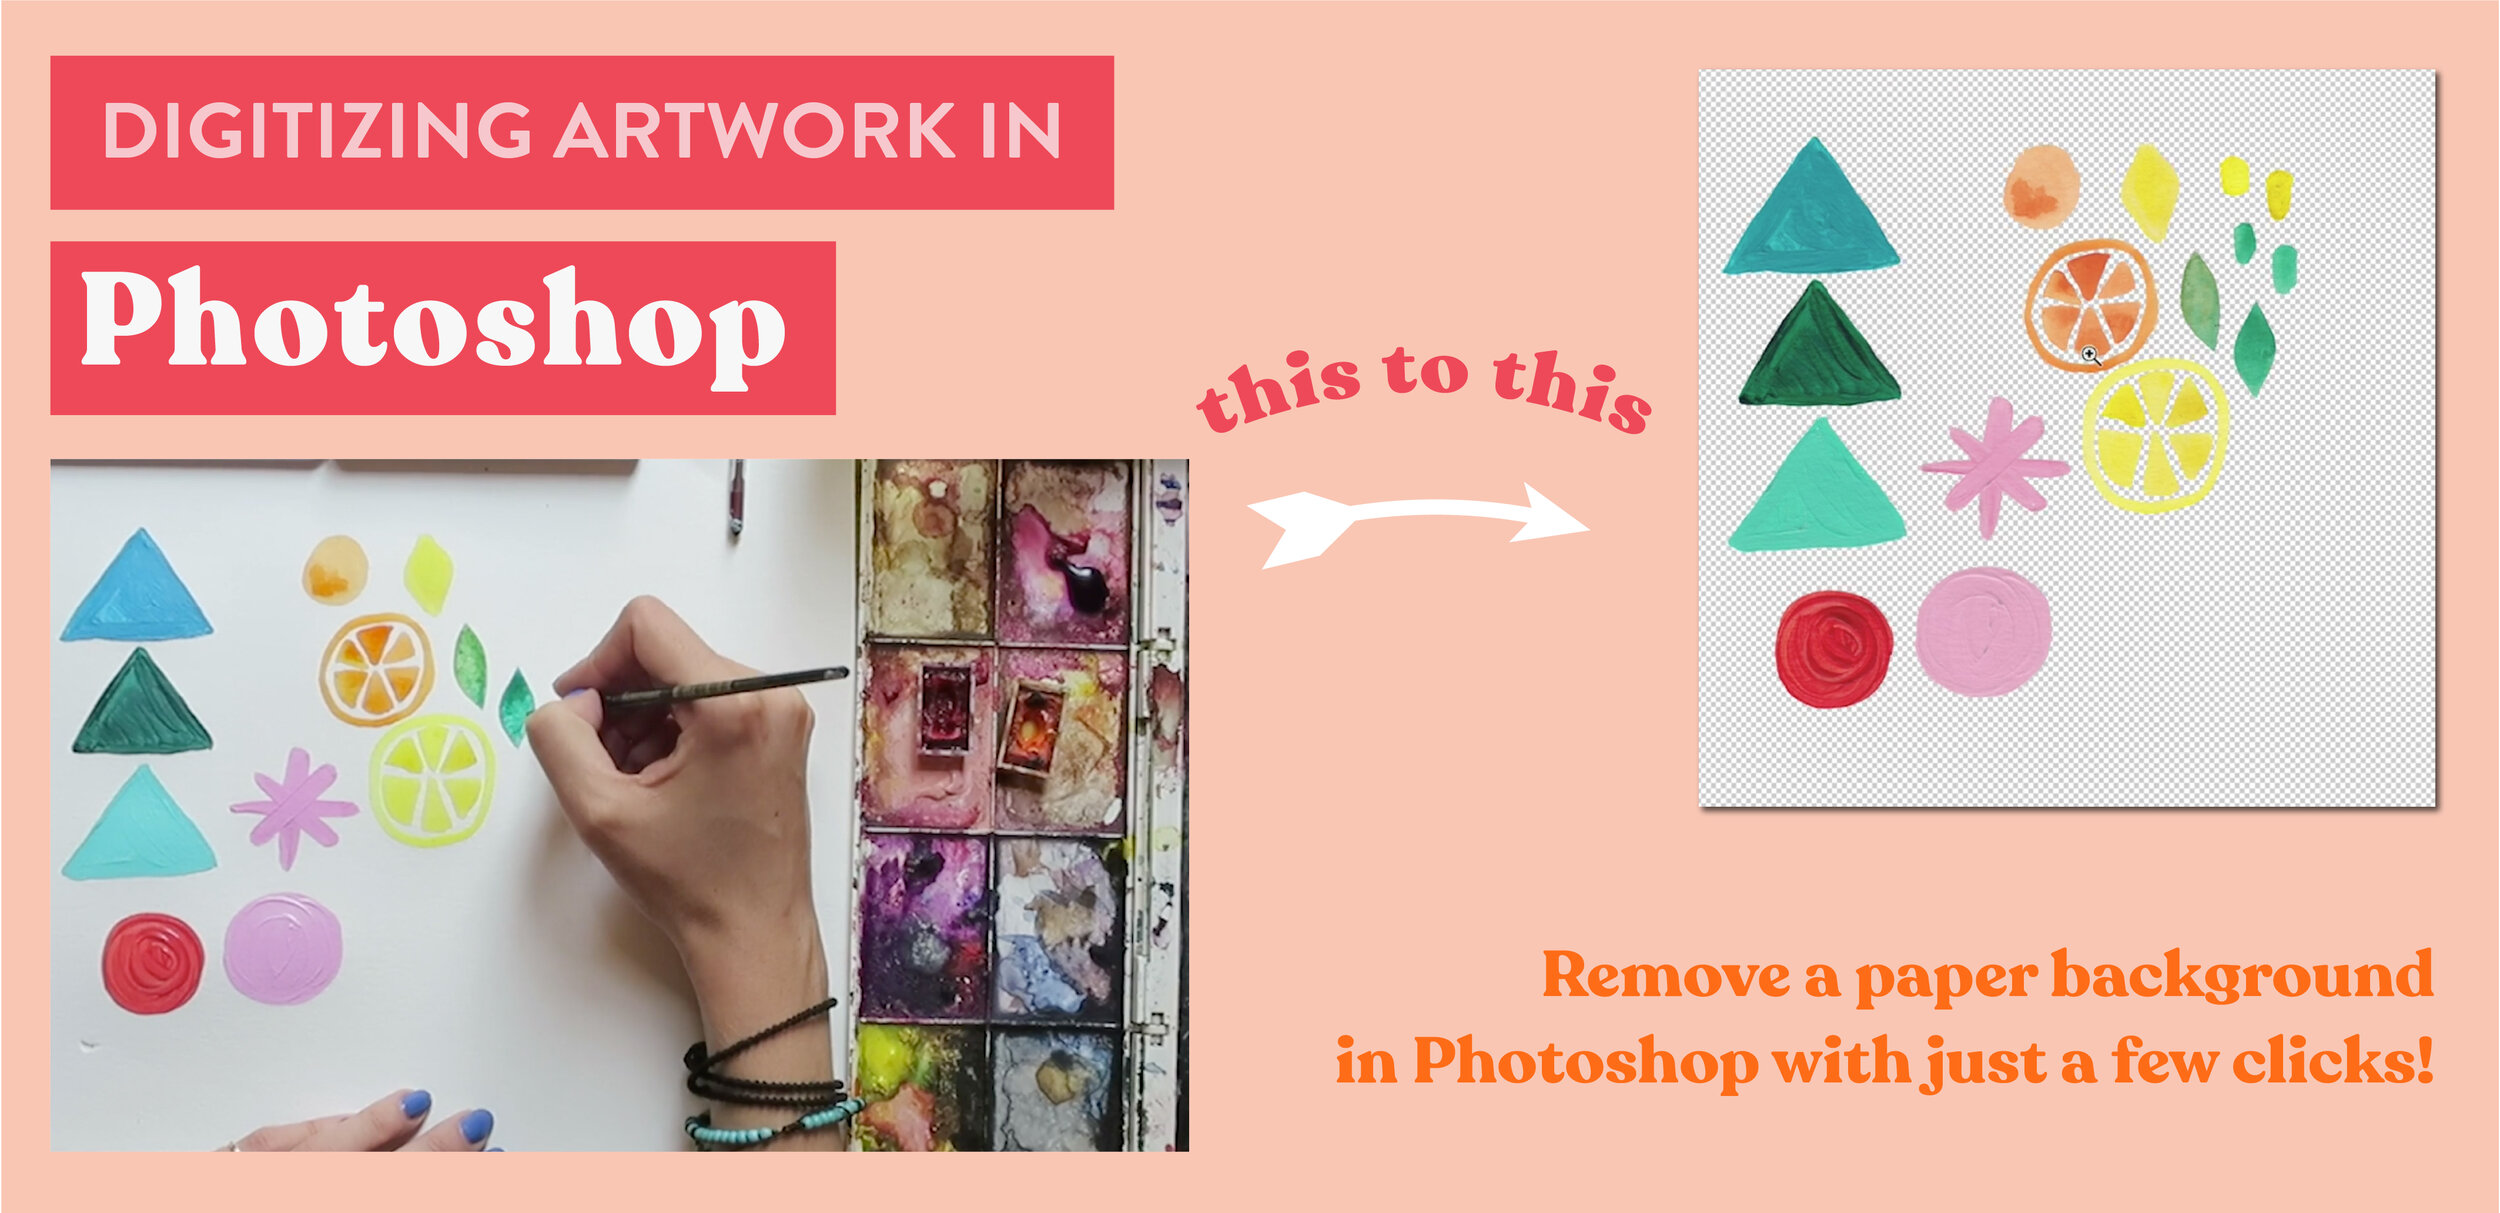
The Step-by-Step Guide to Digitizing Artwork in Photoshop
In this tutorial, we’ll focus on digitizing individual painted elements. I love painting simple elements like these and using Photoshop to digitally arrange them into seamless patterns. The first step to digitizing art is to remove the white paper texture background in Photoshop which is what I’ll show you how to do today.
In this tutorial you’ll learn how to:
Take a hand-drawn or painted piece of artwork and import it into Photoshop
Remove the white paper texture background of your artwork so you can manipulate it digitally
You’ll need:
Phone, Camera, or Scanner (I use this Epson scanner)
Adobe Photoshop (sign up for a free trial here)
A hand-drawn or painted piece of art
No matter what kind of art you are digitizing, you’ll be able to follow along with this tutorial. The process is completely the same whether you’re digitizing small individual elements or a full illustration. Taking an illustration from paper to screen can seem daunting, but it is actually pretty simple once you get the hang of it!
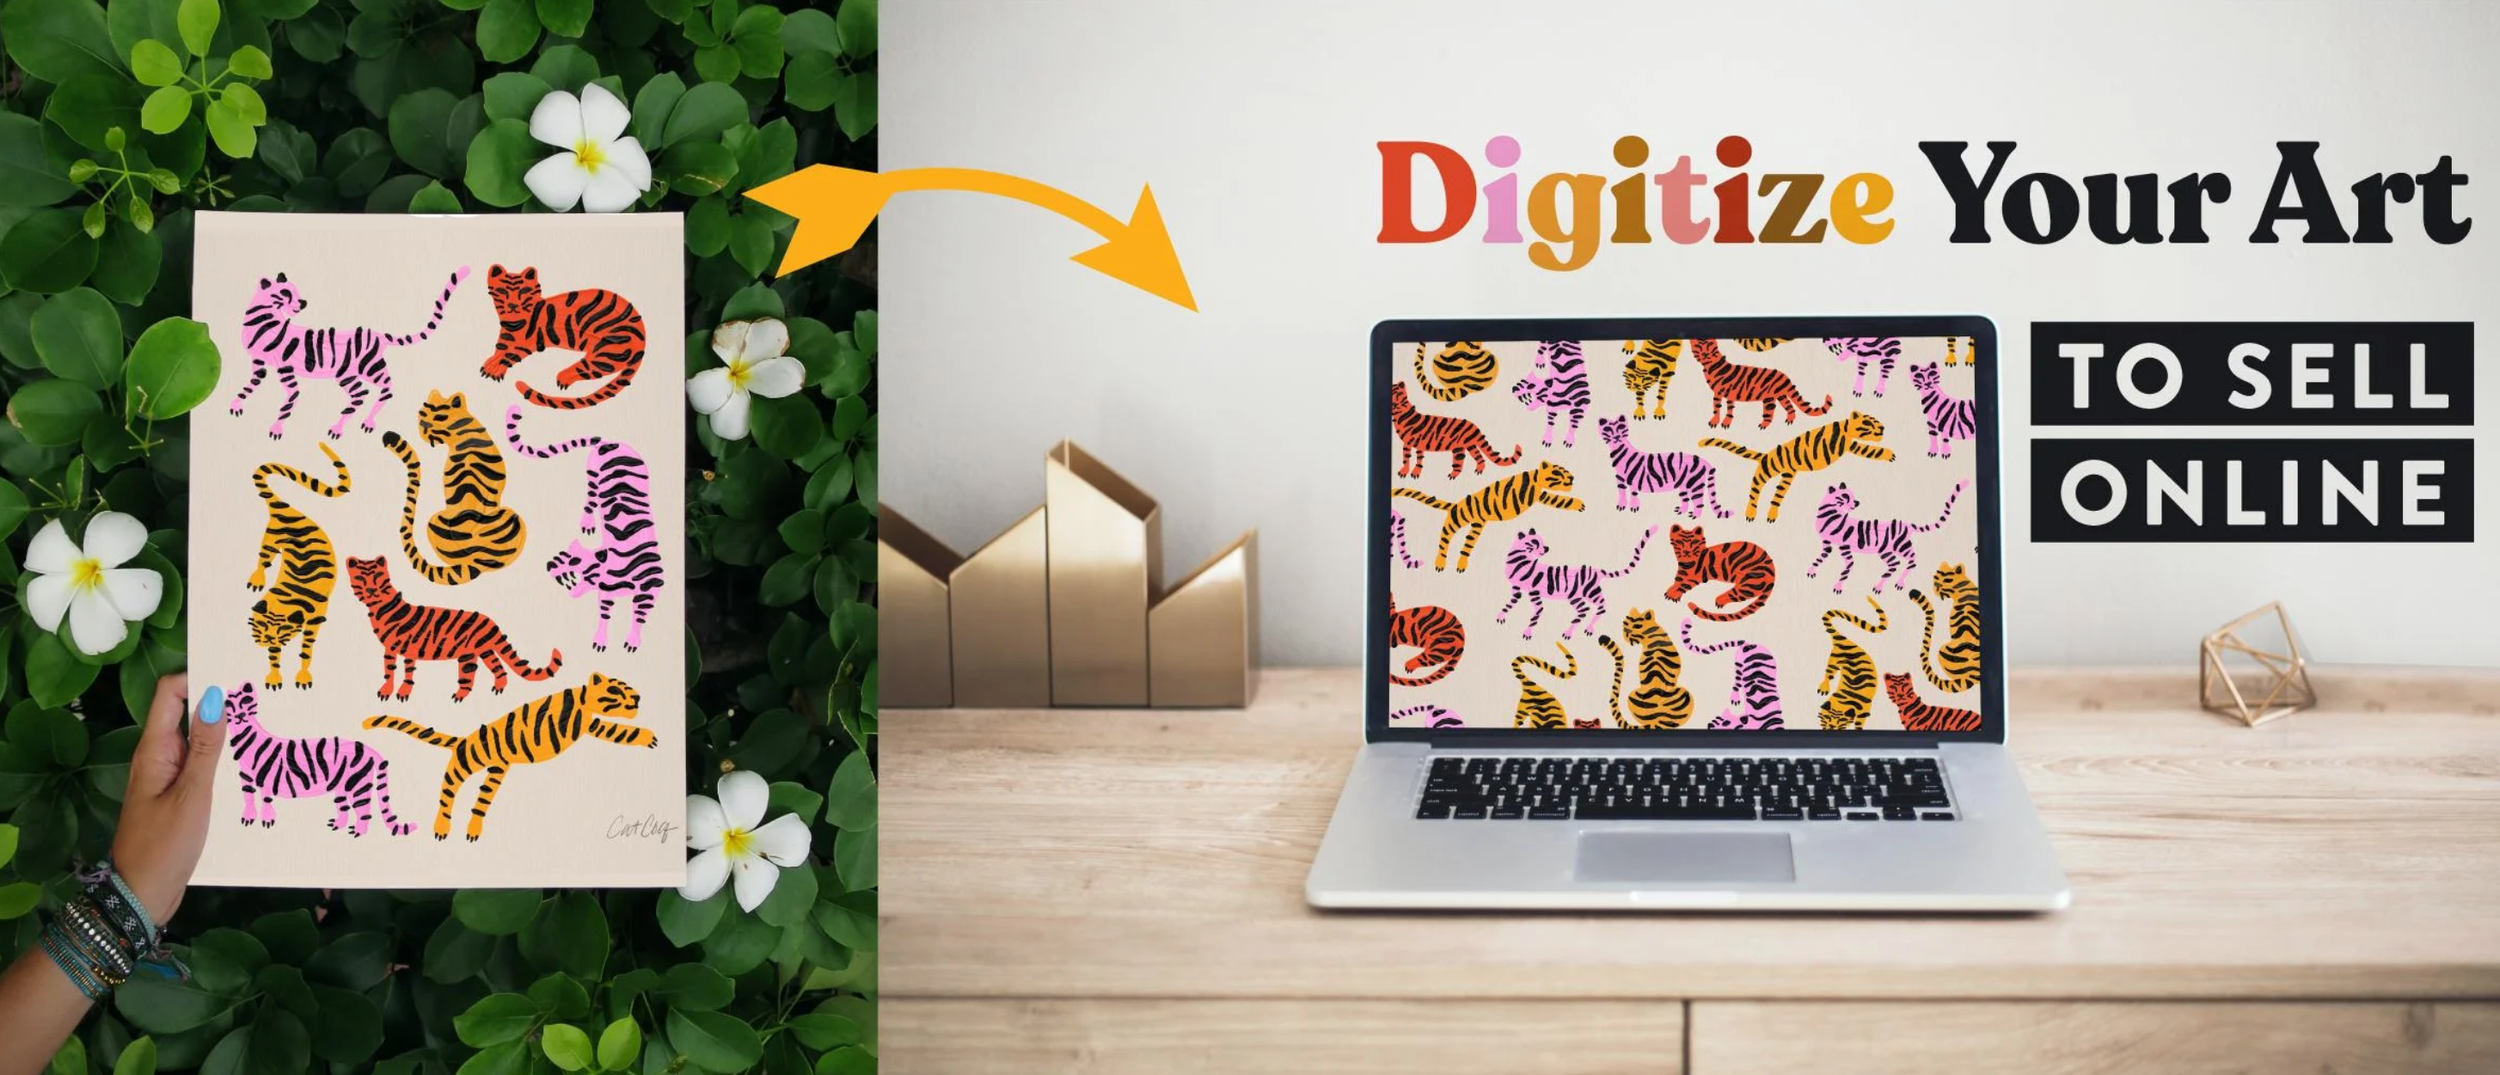
One last thing before we get into the tutorial. If you’re more of an auditory and visual learner, I teach this same concept in my class - Digitize Your Art to Sell Online.
Ready to dive in to digitizing painted elements? Let’s do this!
Step 1: Scan Your Artwork
You have two options when it comes to scanning your artwork. The first is to use your phone to snap a picture. You can also use a scanner, which is my preferred method. Using your phone is the quick and accessible option, and will work great if you’re just getting the hang of digitizing your artwork.
If you’re interested in using this art at a more professional level, you’ll want to use a scanner. A scanner allows you to digitize your artwork at a higher resolution which means you can print it on larger surfaces like tapestries, bedding, shower curtains, and more! I use this scanner for digitizing all of my artwork.
Scan with your phone:
To scan artwork with your phone, start by laying your artwork flat in a well-lit space. You’ll get the best result if you shoot in bright light with no shadows. Hold your phone perfectly overhead, not at an angle, and snap your picture!

Scan with a scanner:
To scan with a scanner, simply scan in your image using your preferred scanner. I recommend this Epson Scanner. Scan the image in at 1200 dpi. This high resolution will yield the highest quality scan of your artwork.

Step 2: Open the Scanned File in Photoshop
Our goal with digitizing these elements is to remove the paper background. Let’s move into Photoshop to start digitizing! To get started, open up Photoshop and click “Open.” Select your scanned image to create a new Photoshop file.
Now we’ll clean up the image to isolate the elements on the paper background. We’re going to remove the extra white parts and paper edges of this image to cut as close to our painted elements as possible. To do this select your Marquee Tool (Keyboard Shortcut: M).
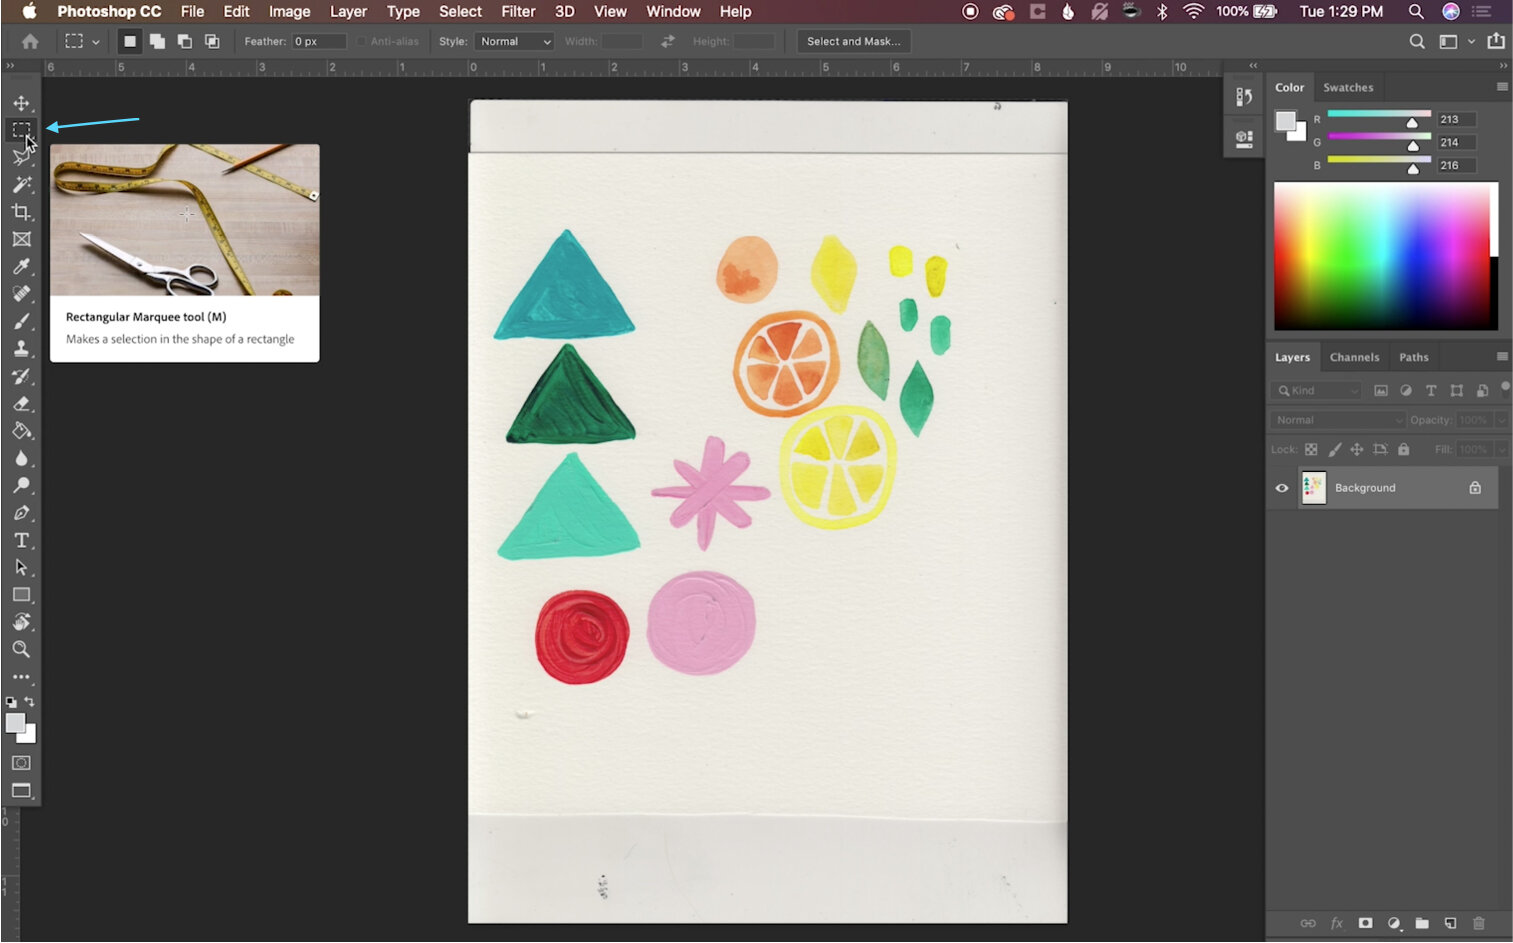
Select any of the excess white parts of the image at the top and bottom with the Marquee tool and cut them out by using the shortcut cmd + X on your keyboard. Now all that’s left are your elements on a simple paper background.

Step 3: Remove the Paper Texture Background
Now it’s time to remove that paper texture background! To get started, select your Magic Wand Tool (Keyboard Shortcut: W).

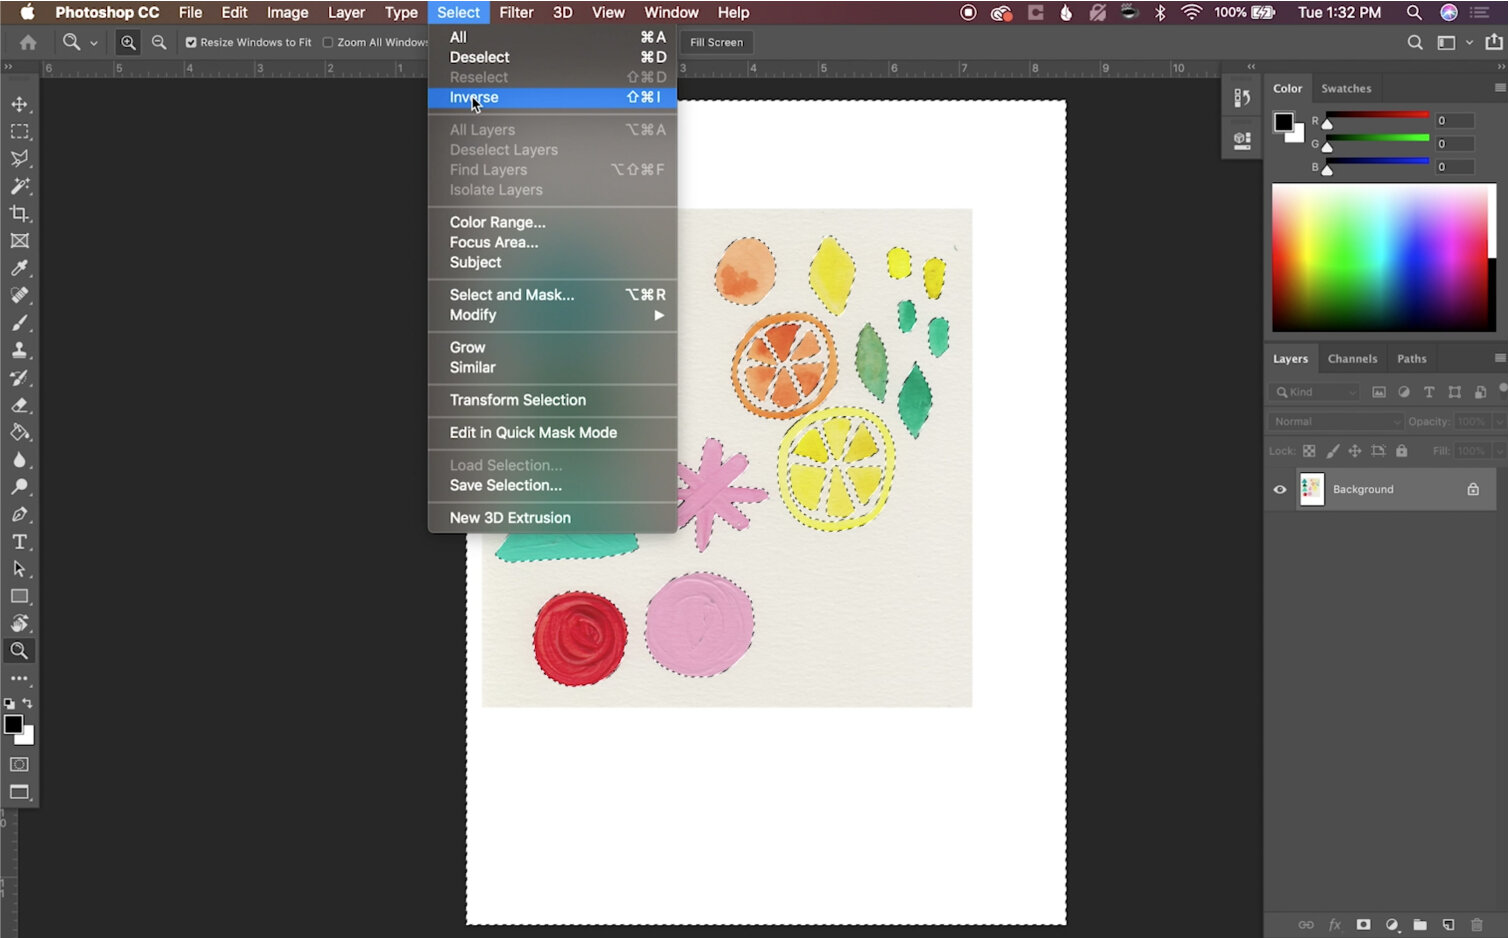
At the top menu bar, make sure that “Tolerance” is set to 30 and the box next to “Contiguous” is unchecked. This is important if you have white space in your elements like I do in the middle of the orange and lemon. By turning Contiguous off, I’m telling Photoshop to select all of the areas of the paper including the white space within those elements.

With the Magic Wand Tool selected, click on the paper background. This will isolate your painted elements so we can remove the background!
If you have any white space around the paper background of your illustration like I do here, hold the Shift key and click in that area with your Magic Wand Tool. This will ensure that we’re removing the entire background and leaving only the painted elements.

Now we’re going to refine the edges of our elements to make them look a bit more natural. We want to make sure that there are no white outlines around our painting. Here’s my trick for doing this:
With everything still selected, click Select → Modify → Expand. Expand by two or three pixels and click OK. This cuts into your illustration a little bit so that there is no white outline.

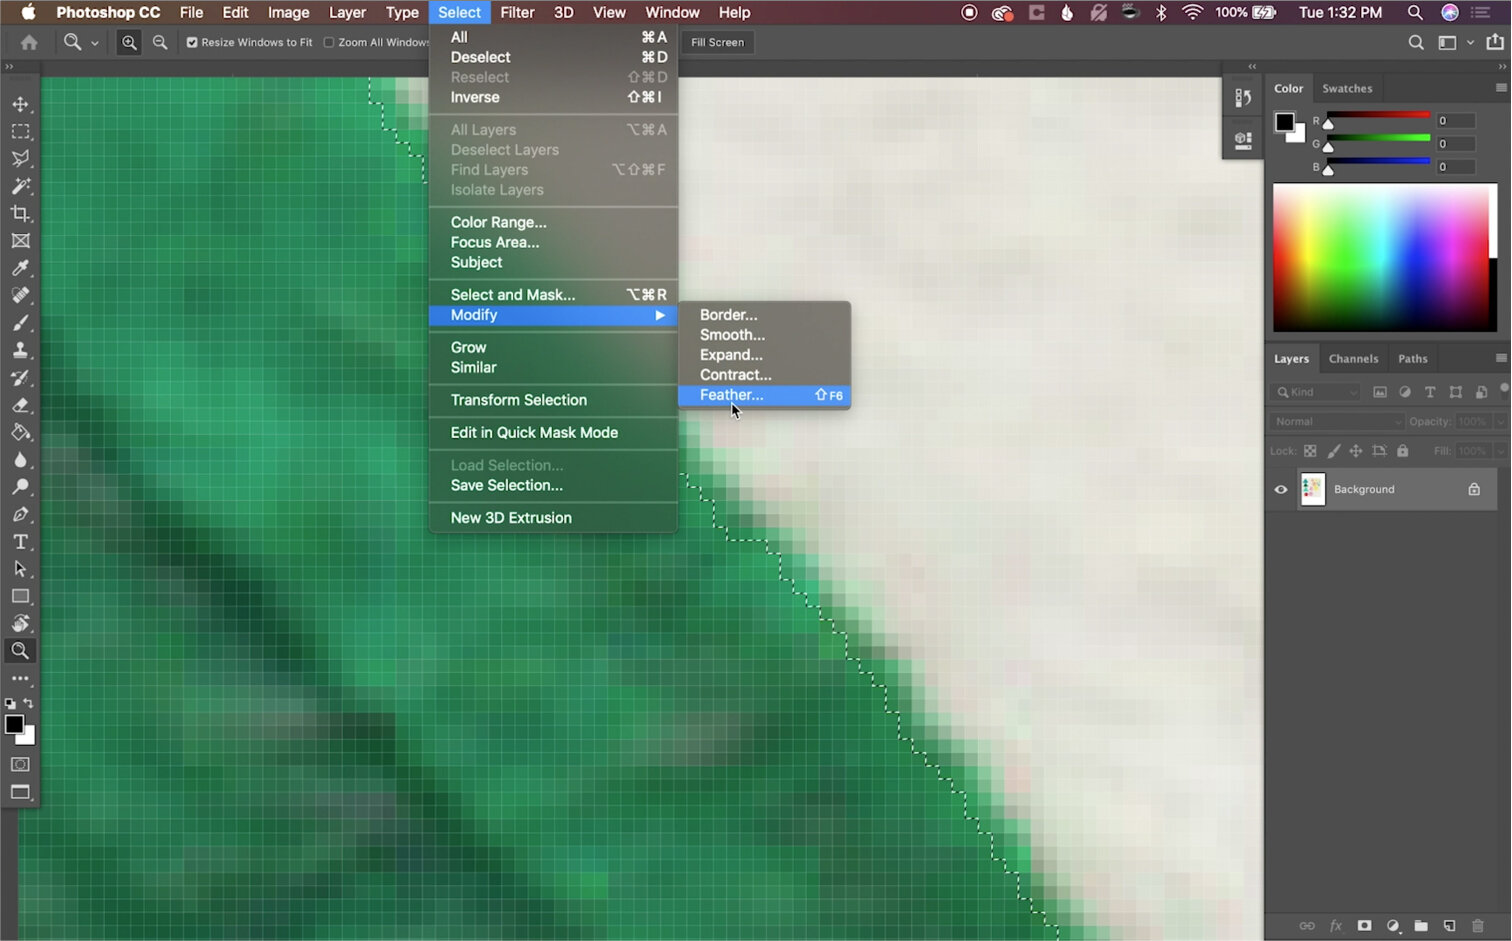
We also want to make sure that the edges around our elements look soft and natural. I have another trick for this! With everything still selected, click Select → Modify → Feather. Feather by one pixel and click OK. This gives the illustration a slightly blurred edge and helps it look more natural.
Now it’s time to officially remove that background!
Right now, we have the white background selected. We want to flip that selection from the background to our painted elements and copy them onto a new layer. To do this, get the inverse of the selection by clicking Select → Inverse.
Copy the painted elements onto a new layer:
Now the elements are selected and you can copy them to a new layer by using the shortcut cmd + J on your keyboard. You should now have two layers. Your original background layer, and a new layer with the copy of your painted elements on a transparent background. Delete your original background layer, and voilà! You have officially removed the background of your artwork in Photoshop! You can tell that the background has been removed on your new layer because you’ll see a white and gray checkered pattern behind the elements instead of white. It should look like this!

Whether you’re looking to remove the background on watercolor illustrations, hand lettering, or painted elements like these, the process is exactly the same! Pretty simple, right?
Now that you’ve digitized your art, the options are endless. You can create patterns with these elements, change up the colors, and even add in different background colors and textures, like this:
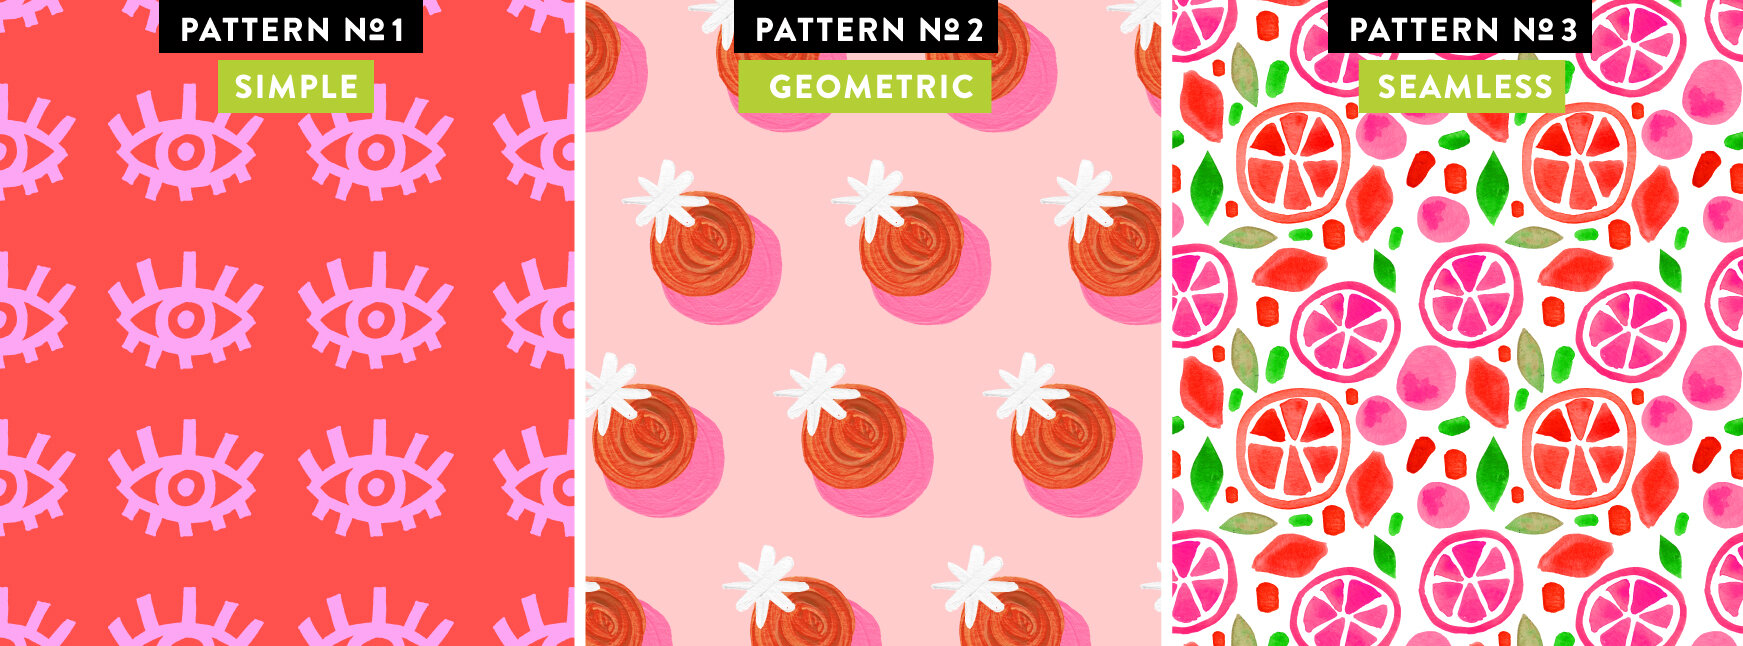
Want to learn how? Watch this class to learn how to make these three patterns & more!
I hope this Photoshop tutorial was helpful, and I can’t wait to see what artwork you digitize! Tag me on Instagram at @catcoq so I can see what you create! If you have any questions about digitizing your artwork, feel free to comment below!

Want to learn more about digitizing art?
There is so much more to learn about digitizing your artwork, and I teach a lot of those skills in my classes. The best part? You can take these classes for free when you sign up for a free trial with Skillshare!


