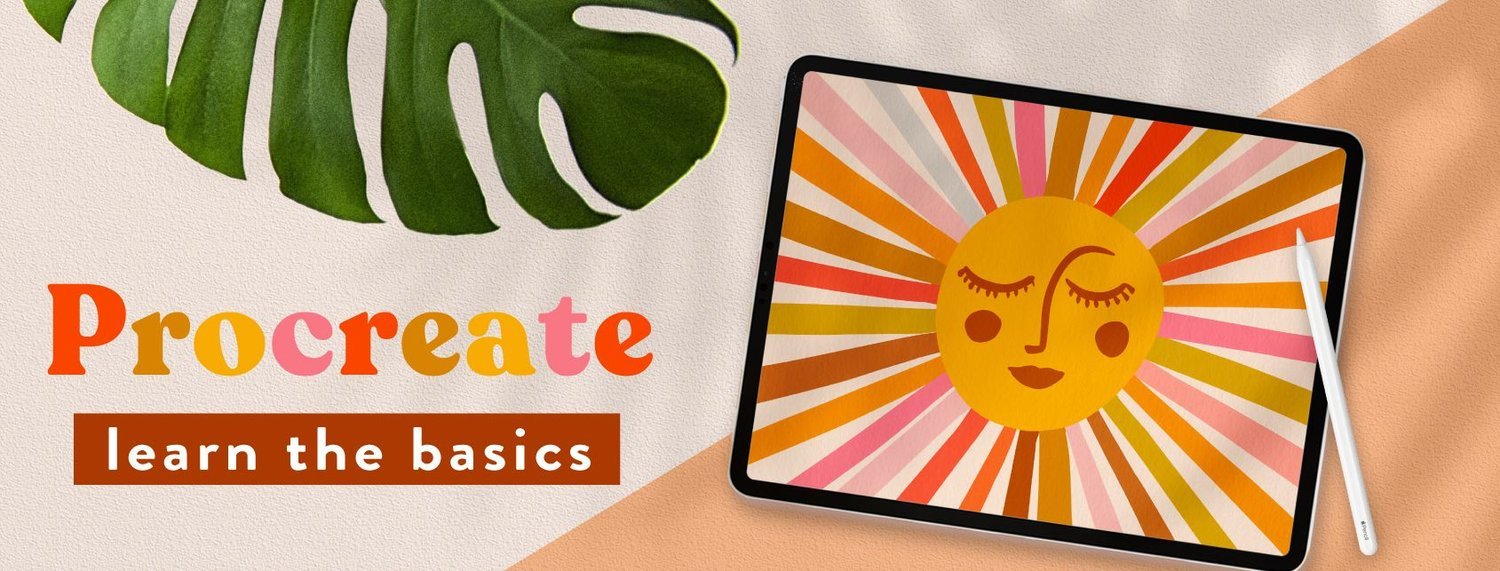
How to Draw a Textured Monstera Leaf in Procreate
There’s something very relaxing about being able to create art anytime, anywhere which is one of the charms of drawing on your iPad with Procreate. If you’re new to the medium and you feel a little overwhelmed, then I got you! This blog will walk you through some different Procreate drawing ideas so you can get comfortable with the app! In this step-by-step Procreate tutorial, you’ll learn how to draw Monstera Leaf in Procreate!
Tropical leaves are great to have in your portfolio because they are huge sellers in the summer months along with florals and animals. You might want to consider dedicating a portion of your portfolio to tropical leaves like Monstera because they help boost sales and gain traction!
Here are some of the key Procreate tips & techniques we’ll cover:
Setting up a canvas in Procreate
Using a reference photo to sketch your motif
Working with the layers panel
Navigating different Procreate brushes
Adding vibrant textures
Filling in color in Procreate
Using the eraser tool
Supplies:
All you’ll need for this tutorial is an iPad with Procreate installed. If you have an Apple Pencil that’s fantastic, but you’ll also be able to follow along using your finger if you don’t have one.
The final illustration will look something like this when you’re finished - beautiful, refreshing Monstera leaves! If you’re ready to learn some new Procreate skills and get a new drawing idea for the iPad app, let’s dive in!

Step 1: Choose your reference photo
One of the best things about drawing with Procreate is that you get to use reference images while sketching your design. I personally like using reference photos to help me get the shapes and proportions right.
Using reference images does not mean that you are stealing or copying from the photo! It’s a great way to familiarize yourself with shapes, proportions, colors, textures, and more. Reference images help you get a solid start to your sketch but, of course, you want to infuse your own elements and personal style to your design to make it your own!
This is the reference photo that I used, but you can find your own reference on royalty-free stock image sites like Unsplash.com!

Step 2: Choose your color palette
Choosing a color palette will help you set a foundation for the piece you are working on. It also makes the drawing process so much more organized. Creating your own color palette can be intimidating for new artists, but don’t worry– I’ve got you covered!
If you’re not sure where to start with building a palette I have 10 free Procreate palettes available for download here. Feel free to choose a palette from this pack of free palettes.
In this tutorial, I’ll be using a palette called Tropical Leaf. So if you want to follow along, just grab that palette and you’ll be good to go!

So, how do you use the color palette in Procreate? All you need to do is to download the color palettes and then upload the swatches to your iPad. They will show up in your color palette menu in Procreate automatically. You can now select the three dots next to the palette you want to use for your artwork and set it as your default palette. This means that it will show up first and you can easily pick colors from it while you’re working.
Step 3: Choose your brushes
Now that you have chosen your reference photo and color palette– it’s time to choose your brushes! You'll need an inking brush and a stamp texture brush for this tutorial. The brushes that I’m using aren’t default brushes in Procreate, but you can work with whatever default brushes you like!
In this tutorial, I’ll be using two brushes:
Lisa’s Pencil - The inking brush for drawing all of the main shapes in the illustration
Roasted - A stamp texture brush for adding texture to the background
If you want to get the exact same effect as what I’m drawing, you can get all of these brushes for free as a student of my class, Procreate for Beginners. If you want to purchase any of these brushes, you can buy them here.
Step 4: Create your canvas
Now that we have everything we need in place. We can start by creating a custom canvas. All you need to do is to tap on the plus sign in the top right corner of Procreate. Procreate does provide some default canvas sizes that you can use but for a very high-resolution design– you want to tap on the gray plus sign right beside “New Canvas”.
This will open up options for a custom canvas. You can choose your preferred unit of measurement, but in my case, I want to change it to “inches”.
The largest size I can go with my iPad is 27 by 27 inches. Then I’ll set my canvas to 300dpi. This is the standard size for high-resolution prints. Creating such a large canvas can limit the number of layers you can use– but it’s worth it!
Then you can name your artwork and tap on “Create”. This will open up your canvas where you can start drawing.
Step 5: Insert your reference photo

Tap the wrench icon, tap add, insert a photo, then tap the Recents option, and select your reference photo. Pinch to fit the image to your canvas. Remember that Procreate crops everything outside the canvas, so make sure to keep any part of the image that you want to trace inside the boundaries.
Step 6: Sketch the Monstera Leaf

Great! Now that we have our reference photo in place– let’s start sketching! Tap on the layers icon which is the two overlapping squares. Add a new layer above your reference photo. For this tutorial, I will be using Lisa’s Pencil for the sketch and the lighter green color from our Tropical Leaf palette.
Make sure you’re on the new layer (not the same layer as the photo), and start outlining your Monstera leaf. Don’t worry too much about the line pressure or the thicks and thins. Your sketch does not need to be perfect! All you need to do is to make sure that the outline is completely closed and connected to prepare for our next step.
Step 7: Fill in Your Sketch

Once you finish your outline, it’s time to fill in the sketch! To do this, you need to tap on the colored circle on the right-hand corner of your screen– drag and release the color inside the shape. If your color fills the whole page, it means that you need to go back and check to make sure that your outline is completely closed and there aren’t any openings.
Step 8: Erase sections of the leaf

The Monstera leaf on the reference image has some areas cut out like Swiss cheese. I want to get a similar effect on our design. What we need to do is to go to the layer where our leaf is and lower the opacity. Let’s bring it back enough so that we can see the reference photo underneath. To do this, tap the small “N” on the layer. This will pull up a scrubber that you can use to turn down the opacity.
Now grab the eraser tool. Tap and hold on the eraser icon to erase with the same brush that you have been sketching with. Erase sections from your leaf. You can use your photo as a guide but you don’t need to match the photo completely.
Step 9: Add the veining on the leaf

I think our Monstera leaf is just about ready. But wait! Let’s add some veinings to make it look more realistic and interesting.
Let’s add a new layer and use Lisa’s Pencil to draw the veinings. For this design, I’m using white for the veins. Go ahead and adjust the brush size to your preference. You want to use heavy to light pressure as you draw this detail to make the drawing look dynamic.
Step 10: Delete Your Reference Photo
The thing with using a very large canvas is that it limits the number of layers we can use. At this point, we can delete our reference photo and free up some space.
So how do you delete your reference photo? All you need to do is to slide left on the layer to see the delete option. Simply tap on the delete option to remove your reference layer.

Now that the reference photo is gone, you can now bring back the opacity of your leaf shape back to 100% and clean it up.
Step 11: Add Texture to the Leaf
We are now ready to add some texture on our leaf! Add a new layer between the veining layer and the leaf shape layer. Choose the Soft Pastel brush which is a default Procreate brush that you can find under the Sketching tab.
Select the darker green from the Tropical Leaf palette and start adding the texture to the new layer. You may notice that the texture does not stay within the shape. How do we fix this?
To only apply texture on the shape, tap on the layer thumbnail and you’ll find more options for you to choose from. Tap on the Clipping Mask option and now the texture stays within the shape.

Tip: To add some dimension on the Monstera leaf, I like using more pressure when applying the texture on the middle part of the shape and then lightening the pressure towards the edges. It gives the leaf a curved appearance.
Step 12: Add a textured background
We want to make the background look interesting as well so tap on the background layer and pick a color. For this one, I think an orangey color works well with the Monstera leaf.
Now, you want to create a new layer and place it right above the background layer. Use the exact color of your background with the Roasted brush to add some texture. The way I do it is to adjust the brush size to maximum and I apply the texture one tap at a time.

To help the texture blend more with the background, you want to tap on the “N” on the layer and select Multiply. The texture will look intense so you can now adjust its opacity to your preference.
—-
We now have a beautiful, texture Monstera Leaf design! Don’t forget to sign your work!

If you’re looking for a deeper dive into Procreate, I teach in-depth procreate tutorials in my online classes. You'll learn new things to draw in Procreate and will get all my best Procreate tips and tricks. Plus, free Procreate brushes and color palettes! Click here to browse all of my Procreate classes!