How to Draw Textured Citrus Fruit in Procreate
Drawing on your iPad with Procreate is such a fun way to create art, but if you’re new to the medium it can feel a little daunting. If you’re a Procreate beginner this blog series will walk you through some different Procreate drawing ideas so you can get comfortable with the app! In this step-by-step Procreate tutorial, you’ll learn how to draw textured citrus fruit in Procreate!
Here are some of the key Procreate tips & techniques we’ll cover:
Managing layers in Procreate
Using Alpha Lock
Drawing with texture in Procreate
Working with color palettes
Using blending modes
Supplies:
All you’ll need for this tutorial is an iPad with Procreate installed. If you have an Apple Pencil that’s fantastic, but you’ll also be able to follow along using your finger if you don’t have one.
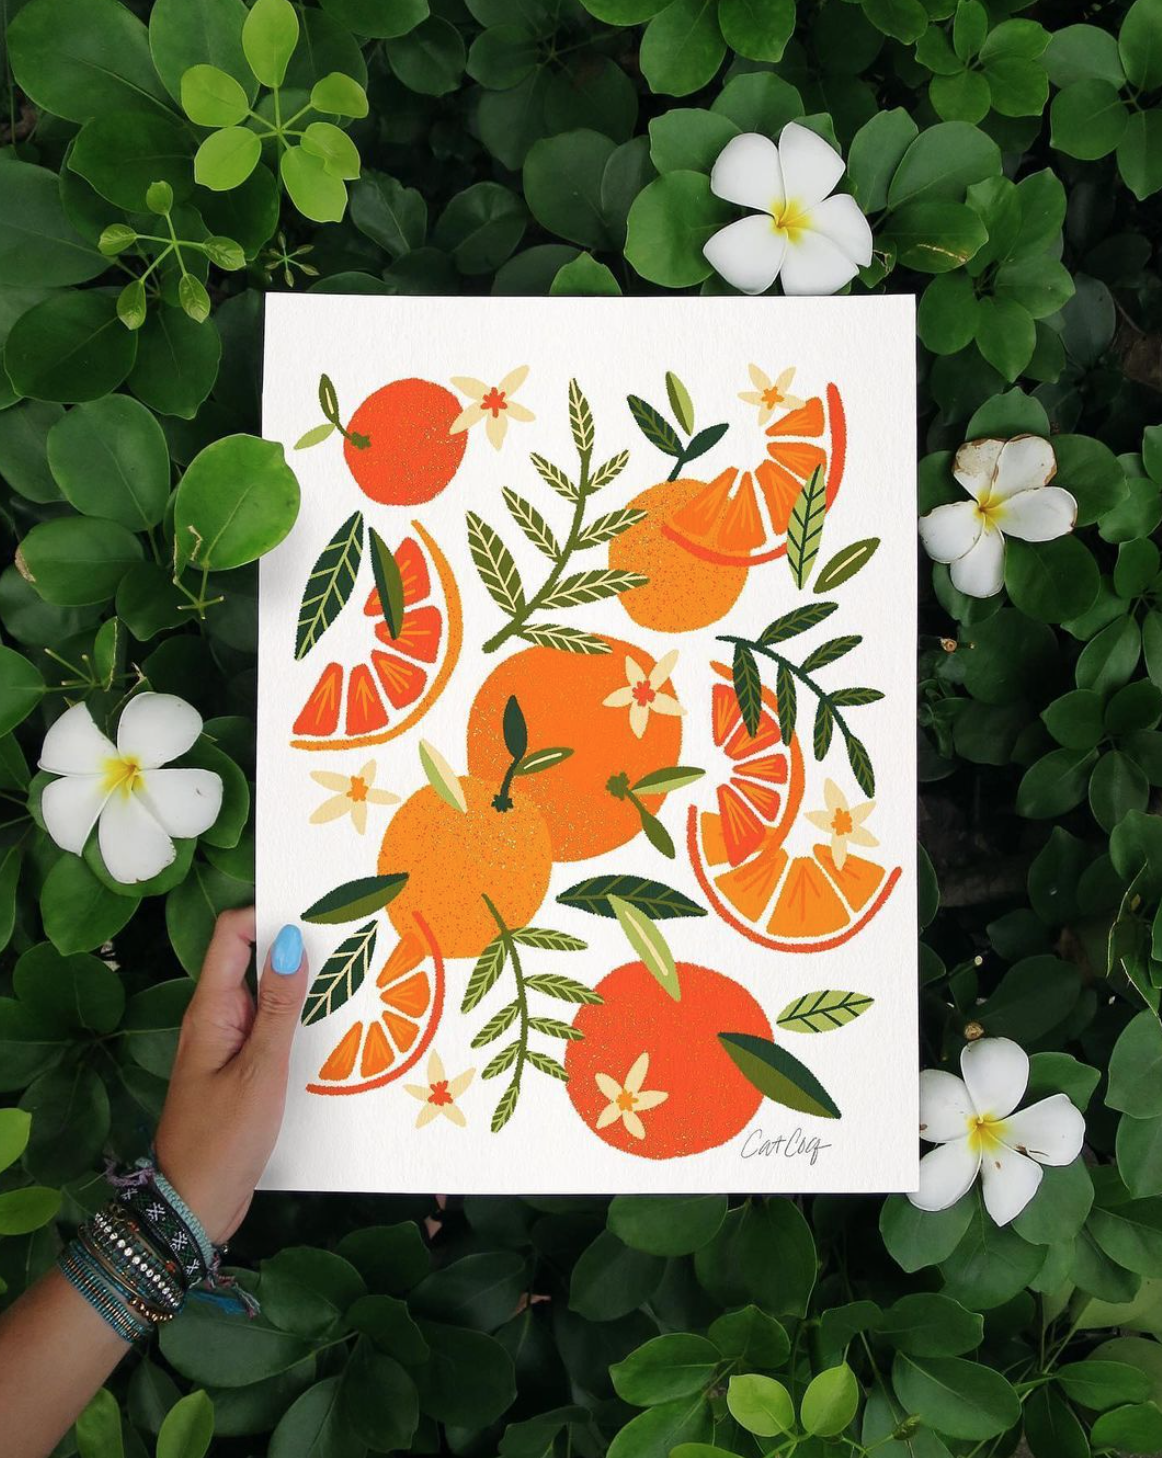
The final illustration will look something like this when you’re finished - textured, abstract, citrus shapes! If you’re ready to learn some new Procreate skills and get a new drawing idea for the iPad app, let’s dive in!

Step 1: Choose a Color Palette
I always like to start my Procreate illustrations with a color palette. This sets a foundation for the piece and makes the drawing process so much more organized as I’m working. I know that color palettes can be daunting as a new artist, but I’ve got you covered. If you’re not sure where to start with building a palette I have 10 free Procreate palettes available for download here. In this tutorial, I’ll be using a palette called Juicy, but it’s very similar to the palette called “Sunset” from this pack of free palettes. So if you want to follow along, just grab that Sunset palette and you’ll be good to go!

Once you’ve uploaded the swatches to your iPad they will show up in your color palette menu. Select the three dots next to the palette you want to work with to set it as your default palette. This means that it will show up first and you can easily pick colors from it while you’re working.
Step 2: Choose Your Brushes
Next up, you’ll need to choose your brushes! We’ll be using an inking brush, a splatter texture brush, and a stamp texture brush. The brushes I’m going to use in this tutorial aren’t default brushes in Procreate, but you can follow along using whatever default brushes you like.
In this tutorial I’ll be using three brushes:
Lisa’s Pencil - The inking brush for drawing all of the main shapes in the illustration
Salt Shaker - A texture brush for adding shadow and dimension to our drawing
Roasted - A stamp texture brush for adding texture to the background
If you want to follow along with what I’m drawing, you can snag all of these brushes for free as a student of my class, Procreate for Beginners. And the best part? You can enroll in the class for free when you sign up for a free trial with Skillshare! If you want to purchase any of these brushes, you can buy them here.

Step 3: Draw!
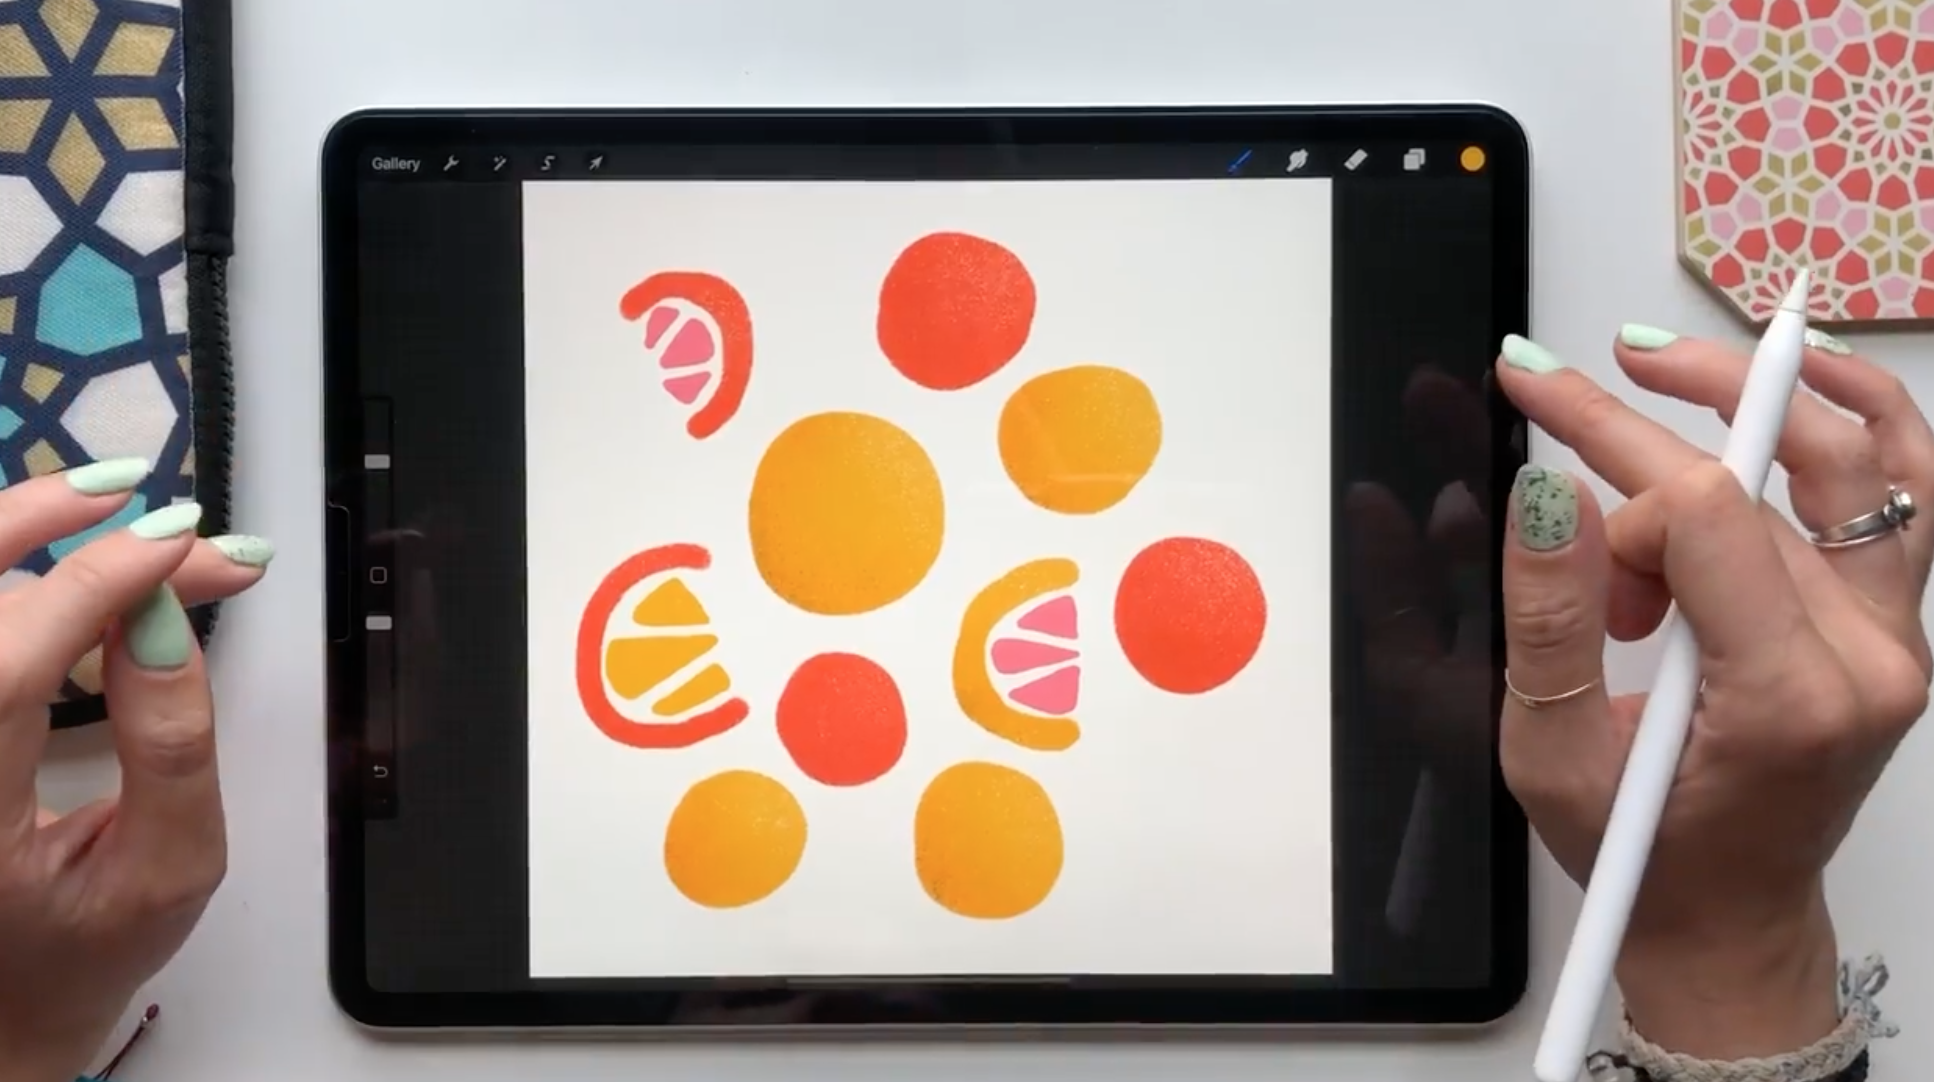
Now that you have your brushes, it’s time to start drawing! For our abstract citrus motif, I started by selecting Lisa’s Pencil as my brush.

I’m focusing on circles for whole fruit and a half-moon shape as the rinds. I used two different colors for these shapes - a lighter yellow-orange, and a darker orange. Because I’m working with two different colors, I want to put each of them on separate layers. This will allow me to edit each color individually down the line. To add a new layer, tap the layers icon on the top right of your screen and then tap the plus icon.

Next, choose the color you want to start with and start to draw your shapes. You can select your color by clicking the round icon on the far right at the top of the screen.

When you’re ready to move on to the second color, make sure to add a new layer before you start drawing with the new color.

Remember, your illustration and shapes don’t have to be perfect. Imperfections are what makes your art truly unique and I think they give it even more visual interest. Don’t be afraid to be loose with your drawing. This will help you draw more confidently and have more fun while you’re drawing!

Step 4: Adding Texture
Now that you have the base of your drawing it’s time to add some texture! Citrus rinds have a lovely bumpy texture to them, so I want to try and emulate that in this illustration. I’m going to be using a brush called Salt Shaker, but you can use any texture brush you like! If you sign up as a student of my Procreate for Beginners class you can snag this brush for free, otherwise you can purchase it from the amazing Lisa Glanz!

We want to make sure that when we’re adding the texture so it only shows up on our illustration - not on the white background. Instead of trying to meticulously “draw within the lines” using the texture brush, Procreate gives us a great tool that allows anything you draw to stay contained on your illustration. Here’s an example of what I mean. You’ll see that even though I’m drawing over the whole canvas, it only shows up on the yellow shapes.

This is called Alpha Lock, and to turn it on simply tap the thumbnail of the layer that you want to add texture to, and then select Alpha Lock from the menu. Now anything you draw on that layer will stay contained just to the shapes you’ve drawn.
Now it’s time to add the texture. I wanted to give these citrus fruits a little extra dimension, so I added a shadow on one side and a slight highlight on the other. To add the shadow, select a color darker than the one you’re adding texture to, and start to apply the texture to one side. Remember to pick up your pencil between strokes because that’s the only way you’ll be able to get that texture to appear darker.

To add in some highlights, you can switch to a lighter color and tap in a little texture on the opposite side.

When you’re finished your citrus should look something like this.

Don’t forget to do the same thing on the other color layer before moving on to the next step!
Step 5: Final Details
One thing that’s missing from the illustration right now is the fruit inside of the rinds we drew! Add a new layer, and draw in a few citrus segments to complete the illustration. I chose to draw mine in pink and orange for a grapefruit and orange look! Since the inside of these fruits aren’t textured in real life, I’m going to leave them free of texture on my illustration.
Step 6: Adding Background Texture
I like to make my illustrations pop by adding a textured background. To do this, add a new layer and drag it down so that it’s right above the background layer. This will be the layer that we add texture to.

Now you’ll want to change the color of your background layer. To do this, tap the background layer thumbnail and select the color you want to use. I’m using a tan color. Then, select that same color for your brush color. The texture brush I’m going to use is called Roasted. Again, this is a free Procreate brush for students of my Procreate for Beginners class, or you can purchase it here!

Right now, the brush color is the exact same as the background color, so if you start to draw, you won’t see anything. To make that texture appear, we want to change the blending mode of the texture layer to “Multiply.” This will allow it to be multiplied against the background layer so it becomes darker and shows up a bit more. To do this, tap the “N” next to the texture layer and scroll through the blending options until you find “Multiply.”
Now you can see that texture as you apply it and can fill the entire artboard with texture!

If you want to make the background texture a little more subtle you can turn donw the opacity on the layer by selecting the “M” next to the layer and using the scrubber to turn down the opacity.

Last but not least, be sure to sign your work!

And there you have it! Your beautiful citrus illustration is complete!

Looking for a deeper dive into Procreate? I teach in-depth procreate tutorials in my Skillshare classes. You'll learn new things to draw in Procreate and will get all my best Procreate tips and tricks. Plus, free Procreate brushes and color palettes! You can enroll in any of these classes for free when you sign up for a free trial with Skillshare.

Procreate for Beginners
This is a comprehensive, all-in-one Procreate course. You’ll create five cool illustrations, each lesson focusing on a core skill in Procreate.

Draw Animals in Procreate
Wondering what to draw in Procreate? In this class, you'll learn step-by-step how to draw artwork on your iPad.

Drawing Seamless Patterns in Procreate
In this class, you will learn how to use your artwork to illustrate professional, repeat patterns that easily line up into perfect pattern blocks.

Draw Your Dream Home in Procreate
This step-by-step class covers the full process of envisioning your dream home and drawing it in Procreate.