How to Remove a Background in Photoshop
By far one of the most googled questions about Photoshop is "how to remove a background in Photoshop." If you want to learn how to remove backgrounds in photoshop, this tutorial will cover everything you need to know. Even if you're a Photoshop beginner you'll be able to follow along easily. In this Photoshop tutorial, you'll learn my favorite and fastest technique for removing backgrounds.

Before we dive in, let's talk about why you'd want to remove an image from the background in Photoshop. The biggest benefit of removing backgrounds is that it gives you so much flexibility with your photos.
I almost always end up doing this on my product photos. When I remove the background from a product it allows me to use the same photo for a multitude of purposes without having to re-shoot it every single time.
I can easily change the background color without affecting the product or I can swap in a completely different background. This can make photos more interesting and dynamic, and best of all, it saves you time!

Supplies:
All you need for this tutorial is Photoshop and something that you want to remove the background from. Don't have Photoshop yet? No problem. You can get a free trial of Photoshop here.
In this tutorial, I'll walk you through how to remove the background from a photo, but you can use the exact same technique to remove the paper background from your artwork as well.
If you want a deeper dive into digitizing artwork specifically, check out this blog post!
Let's dive in and learn how to remove a background in Photoshop!
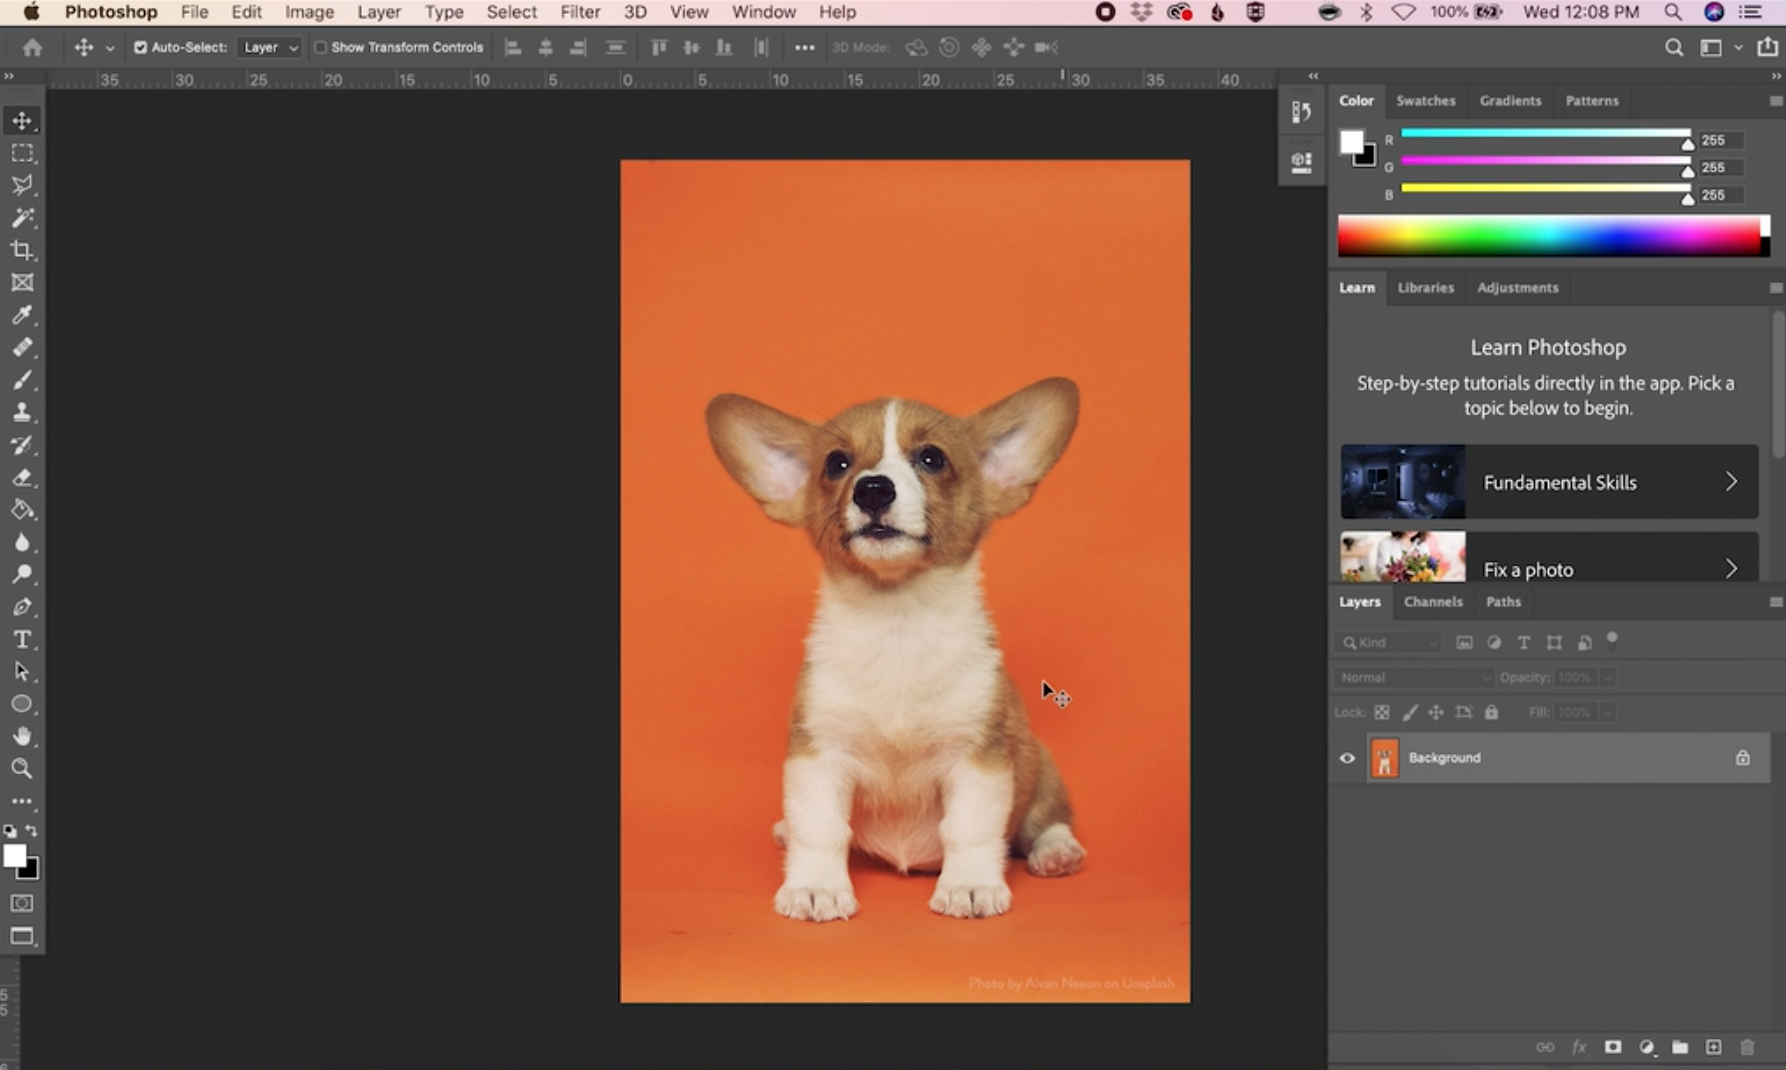
To start, pull up the image that you want to remove a background from in Photoshop. In my example, I'm going to use this picture of an adorable corgi puppy.
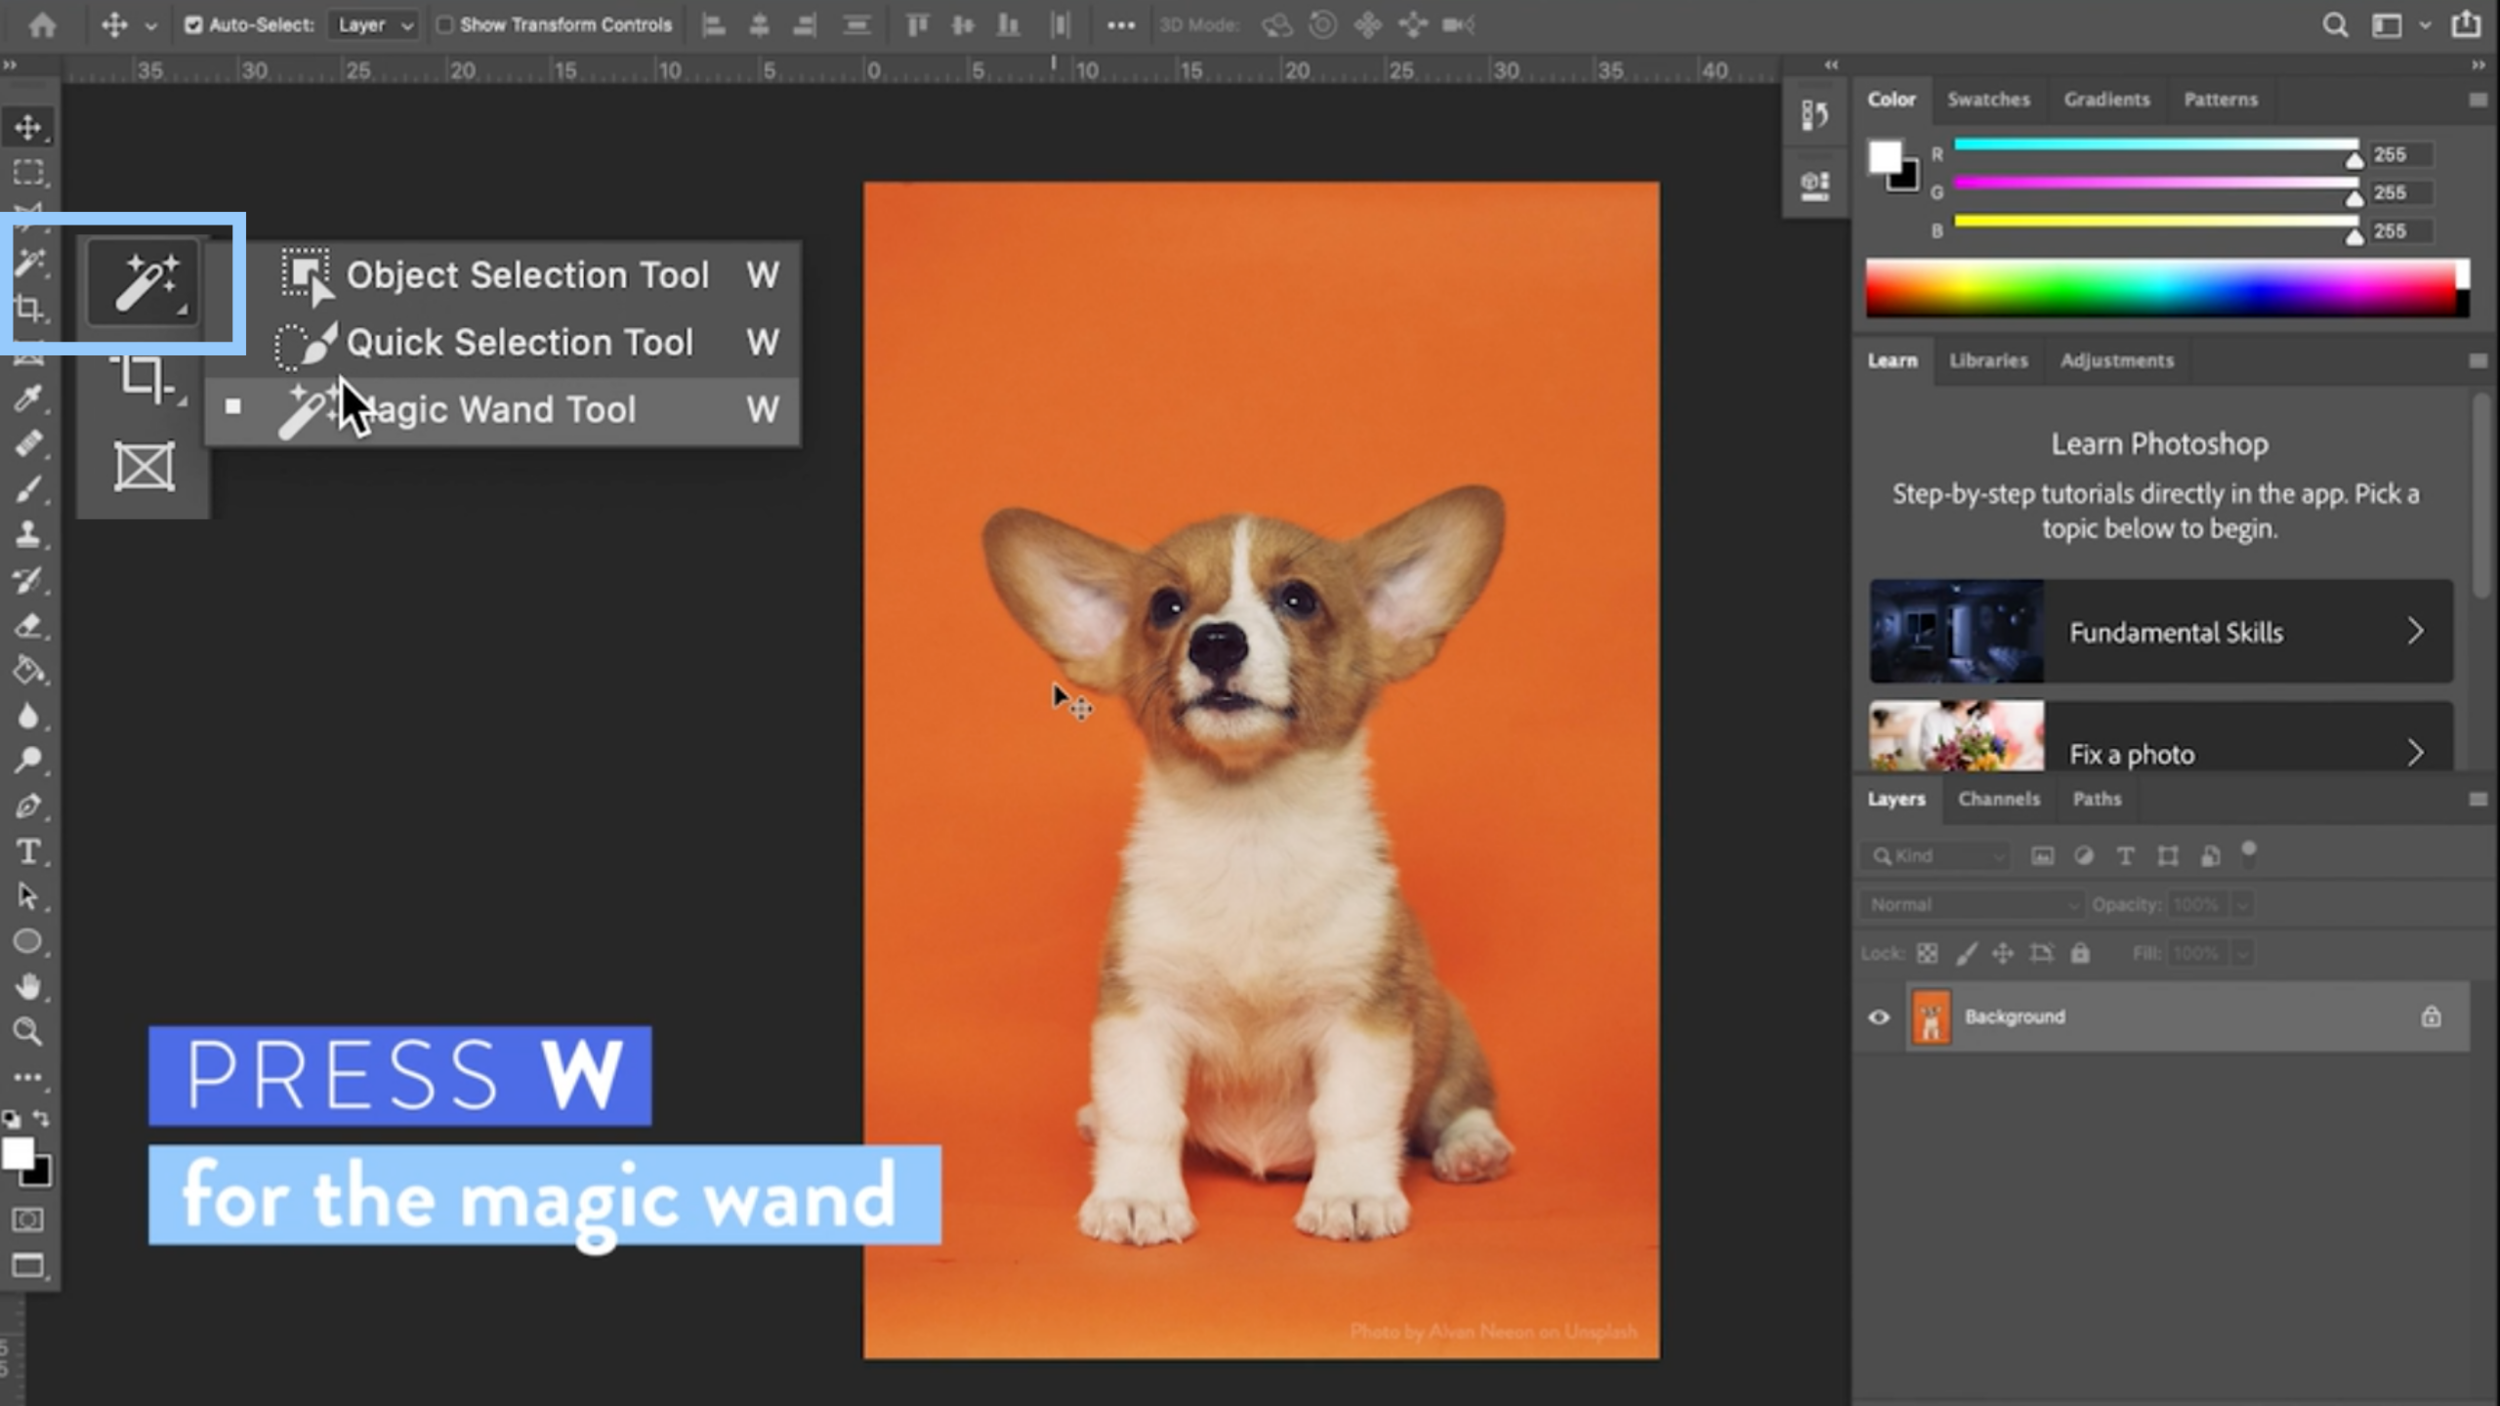
The background on this image is about the same color and texture, so we can remove most of it using the Magic Wand Tool (Keyboard Shortcut: W). Select your magic wand tool by pressing "W" on your keyboard or by selecting it on the toolbar.
Once you have the Magic Wand Tool selected, go up to the menu bar at the top of the screen. The two settings to pay attention to here are Tolerance and Contiguous. I turned my tolerance down to 20 to make sure that it doesn't cut out any essential parts of the image when I go to remove the background. I also make sure Contiguous is selected so that it only selects parts of the image that are touching each other.

Now with the Magic Wand Tool selected, click anywhere in the background area and it will select most of the background you are trying to remove.
In my example, it selected most of the orange area around the puppy. Because the tolerance is only at 20, it missed some of the darker and lighter areas. The reason for this is that the selection will stay in a range that is close to the sample point where you click the magic wand. Not to worry though, there are some simple tricks for making sure the rest of those areas get selected.

In my example, you'll see that there are quite a few big chunks that the Magic Wand Tool missed. The easiest way to get these areas selected is to keep using the magic wand but make your selection closer to those areas.
You want to make sure that you don't lose any of the area that has already been selected when you do this, so be sure to hold down the shift key as you work. Then start clicking in the areas that the magic wand missed the first time around.

This will get most of the remaining areas, but if you have any areas that are different than the majority of the background color, the magic wand won't be able to get those.
In my example, there's a watermark at the bottom of the photo. To select that, grab the Marquee tool by pressing "M" on your keyboard or selecting it on the toolbar.

Now with your Marquee tool selected, hold down the shift key and draw over the remaining areas that need to be selected. There might be a few small straggler pixels that need to be selected, so be sure to zoom in on your image and grab all of those.

There are some areas around the edges in my example where it's harder to get all of the orange selected. Due to the texture and transparency of the puppy's fur, there are still some orange bits that come through at the edges. But there is a technique to get as close to the edge of your image as possible.
To get as tight of a selection as you can, go to Select → Modify → Expand

Then expand your selection by three pixels. You can play with the number of pixels you expand by when you're doing this in your own selection, but for this example, three was the right fit. This expansion cuts into the image just slightly so that it removes as much of the background as possible even in those hard-to-reach edges.

After this, the majority of your background should be selected. But we want to invert that selection so only the area that you want to keep will be selected. In my example, we're flipping the selection from the orange background to the puppy. You can do this by clicking Select → Inverse.

Now just the main part of your image is selected (in my case, the puppy!).
Next, there is another trick you can use to make your selection look more natural. Go to Select → Modify → Feather. I generally choose to feather by one or two pixels. This just softens the edges of your selection so that it doesn't look so blunt. This makes it look natural and more convincing.

Now it's time to remove the background! To do this, make sure that your working layer is selected and click to add a mask.
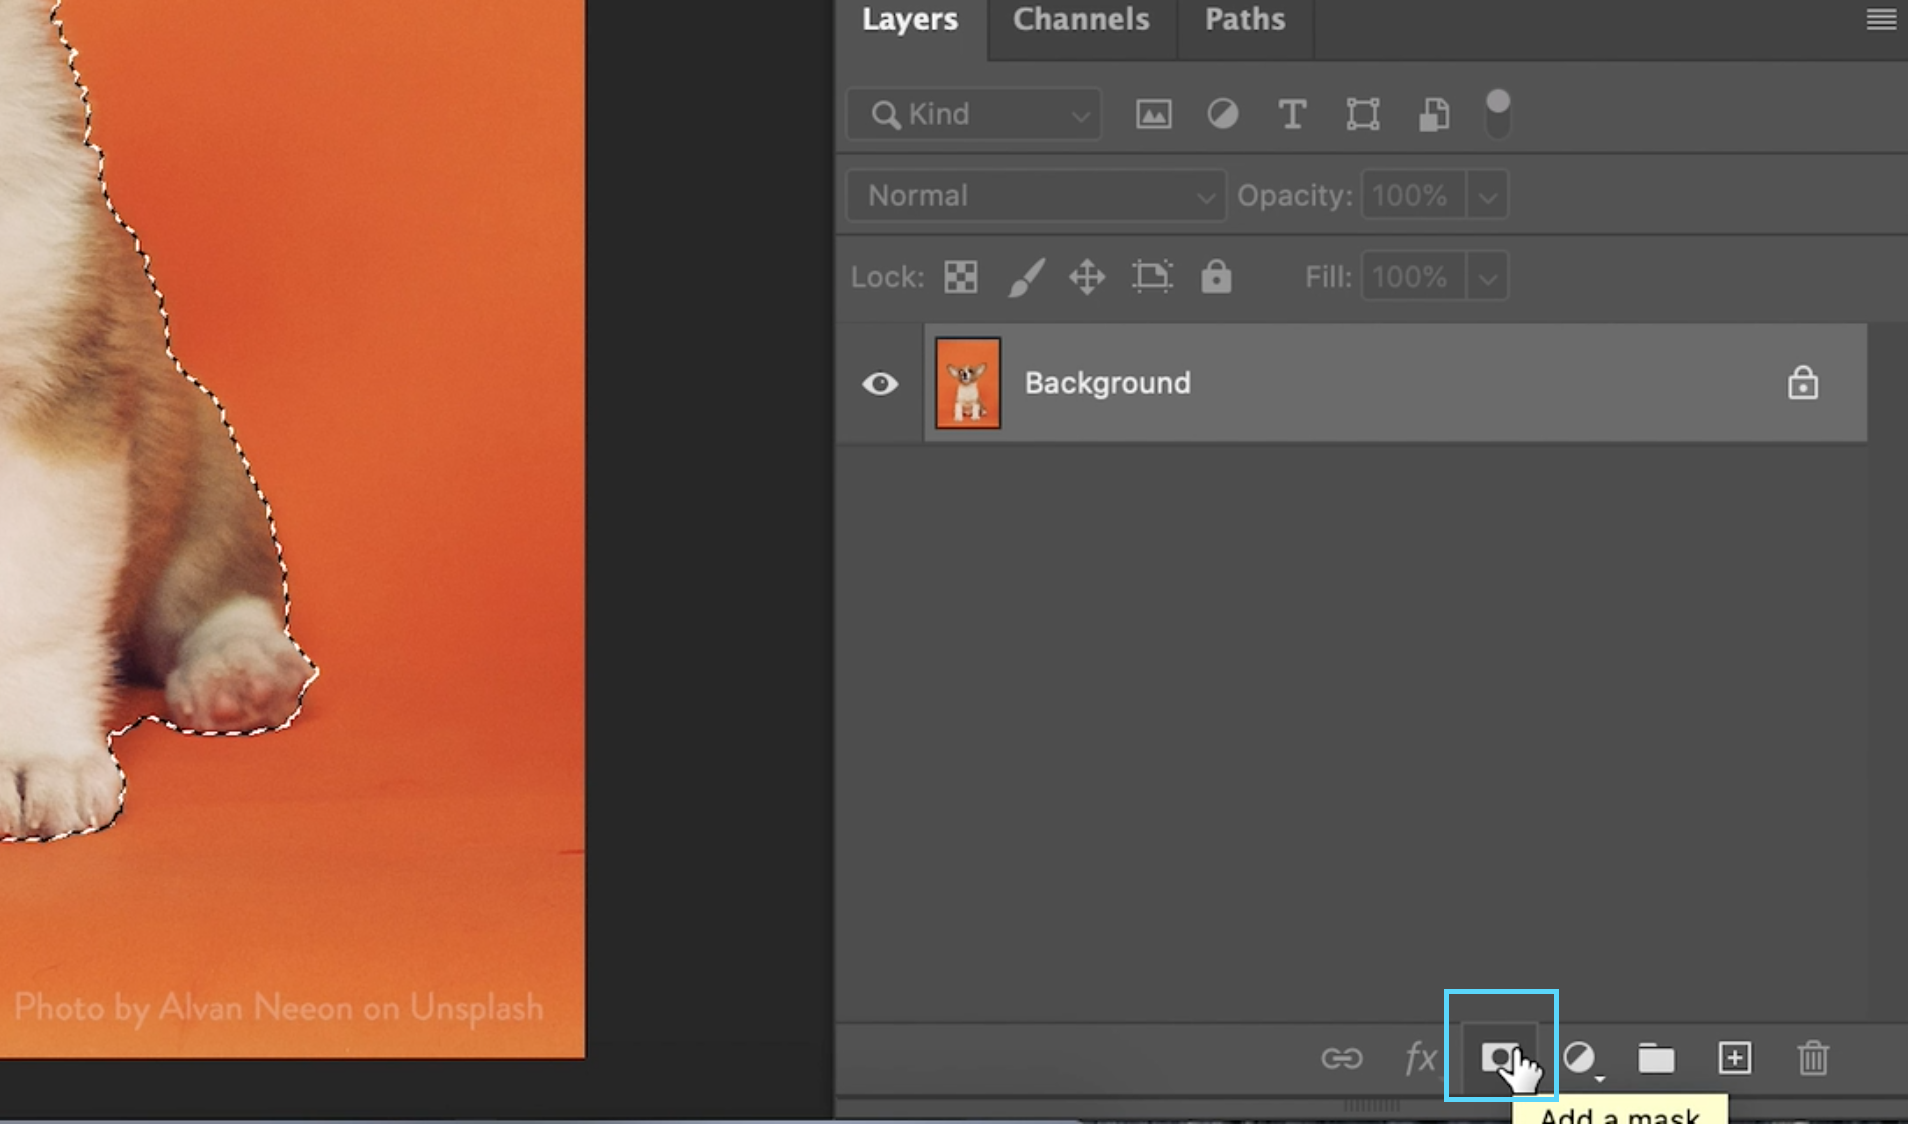
This cuts out your background leaving just the image that you want to isolate on a transparent background.
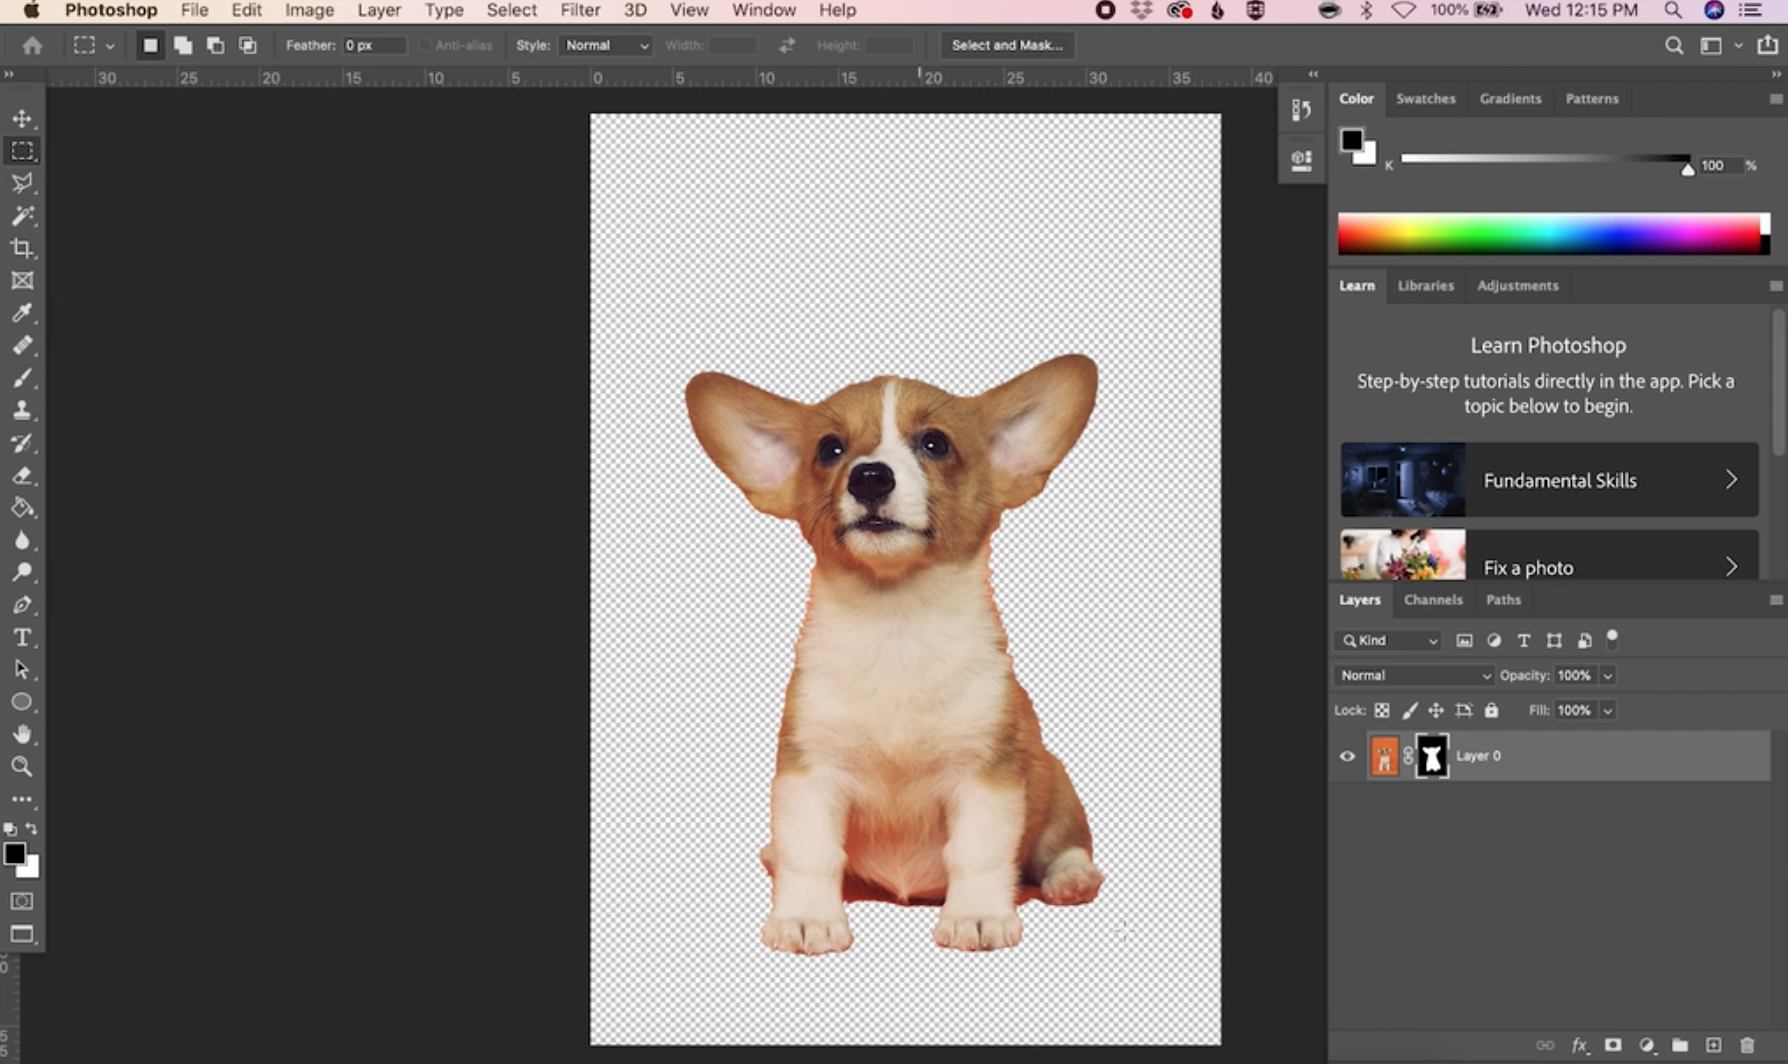
You can see in my example, that there are still some orange areas around the puppy's paws. We can clean that up easily to make sure that the selection is as natural as possible.

To remove these areas, start by making sure that your mask is selected, not the image itself.

Then grab the Lasso tool. You can get the Lasso tool by clicking "L" on your keyboard or by selecting it from the toolbar. We'll use the original Lasso tool (not Polygonal or Magnetic) for this example.

Now simply draw around the remaining background areas that you want to remove. If there are multiple areas that you want to remove, be sure to hold down the shift key as you're making multiple selections. When they're all selected, go back to Select → Modify → Feather and feather by however many pixels you did on the other parts of your selection. This helps keep things consistent.

Now with your layer mask still selected, grab your brush tool by using the keyboard shortcut "B." We're going to paint over this selection using the mask to remove the remaining orange areas.

In the settings menu, make sure the brush opacity is turned up to 100%.

Then make sure that your color picker is set to black. This will ensure that those areas are getting removed or masked when we paint over them.

Next, just paint over the selected areas to remove them!
And that's it! Now you know three different tools to us to remove a background in Photoshop - the Magic Wand Tool, the Marquee Tool, and the Lasso Tool. There are tons of different techniques to achieve this, but these are the simplest and fastest that I've found.
I hope you enjoyed the tutorial! If you have any questions just drop them in the comments below!
Want to learn more Photoshop skills?
I teach in-depth Photoshop tutorials in my classes. The best part? You can take these classes for free when you sign up for a free trial with Skillshare!


