How to Turn Analog Artwork Into a Digital File
In this art tutorial, I'm going to share how to turn your analog (hand-drawn or painted) artwork into a digital file. This is a key skill to learn if you want to sell your artwork online.
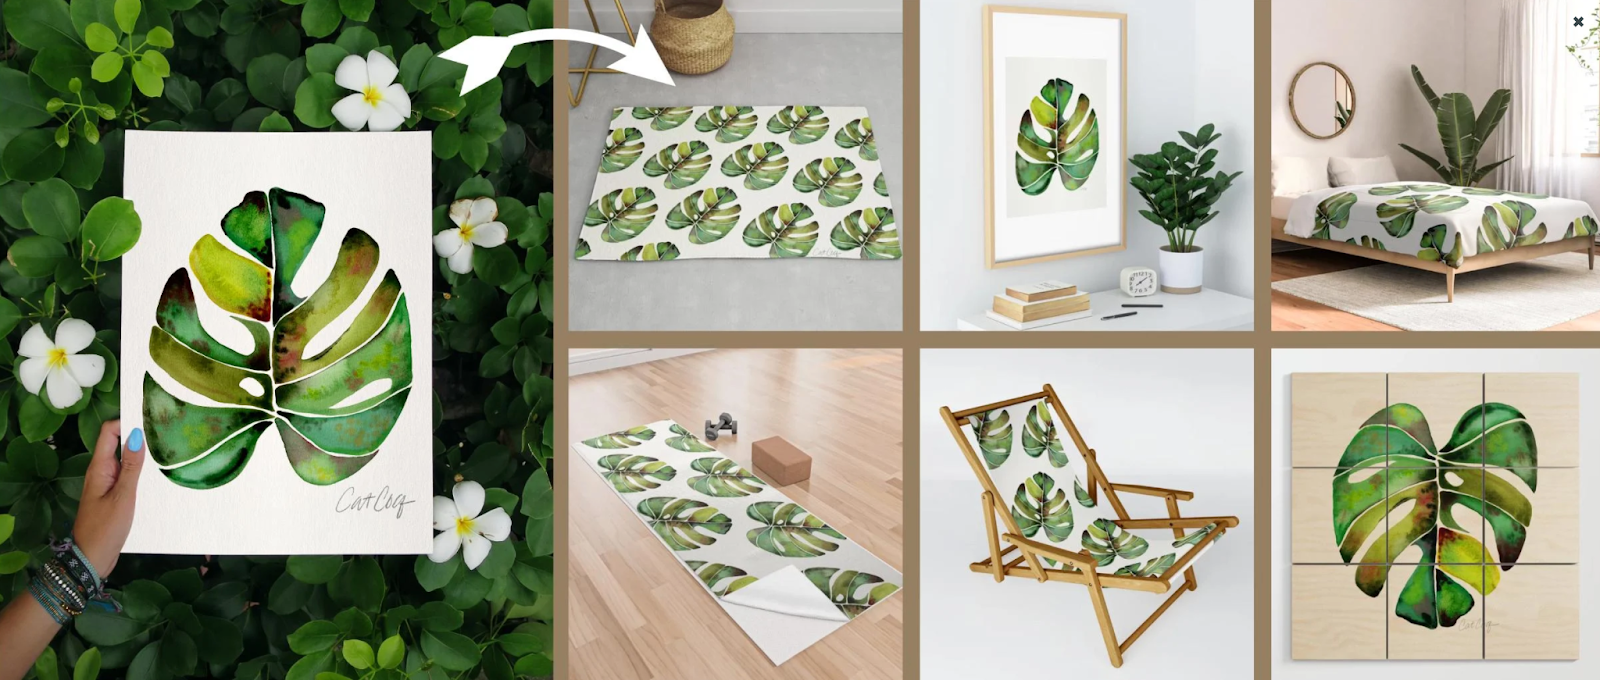
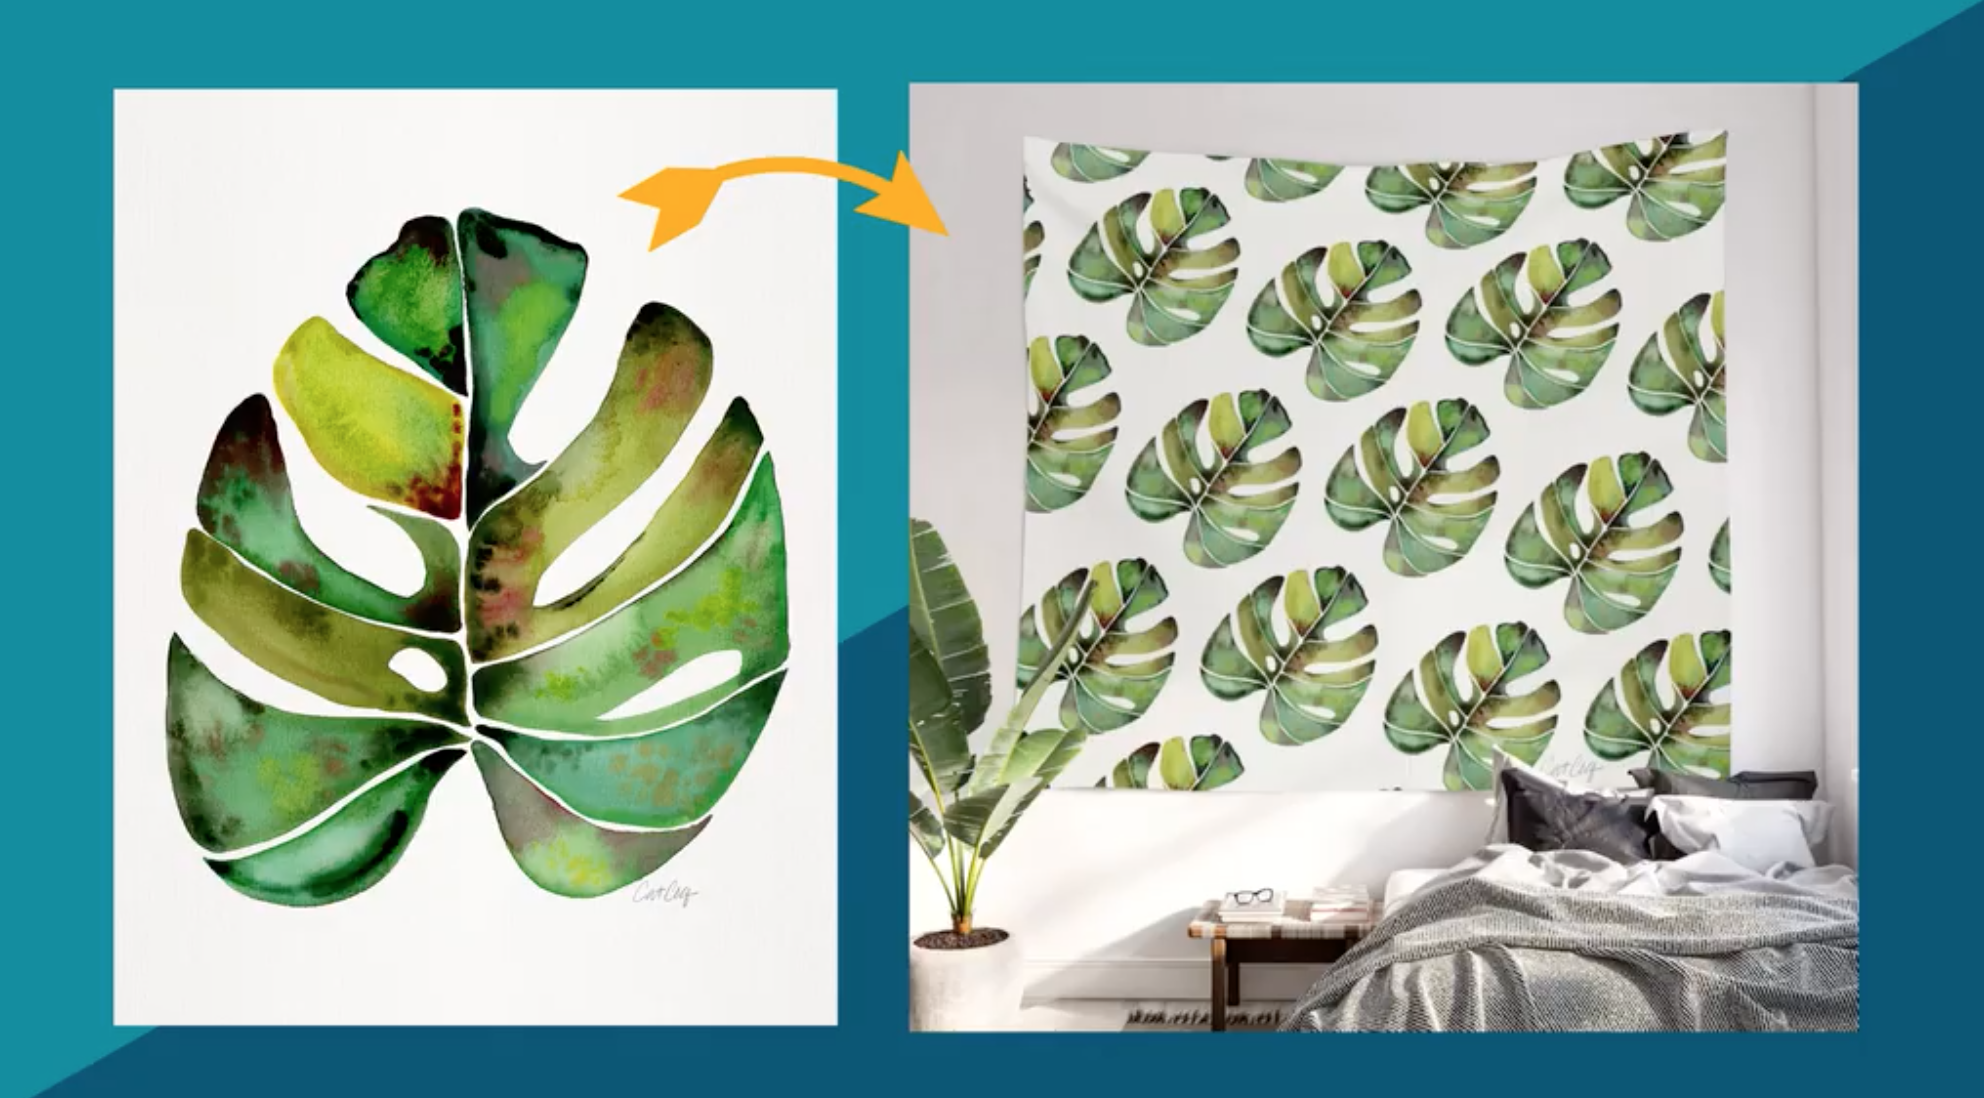
In order to sell my hand-painted art on print on demand sites like Society6 and Redbubble, I need to have a digital version of the painting. That way I can upload the design and sell it on multiple different products like home furnishings, bedspreads, art prints, tapestries, and more.
Before we dive in, this tutorial is part of my full class on digitizing your artwork called Digitize Your Art to Sell Online. This class is a comprehensive guide to my entire digitization process as a professional surface designer. You’ll learn how to professionally digitize and enhance your hand-drawn or hand-painted artwork in easy-to-follow lessons! Learn more about the class here!
Now let’s dive into the tutorial!
There are two main ways to do digitize your artwork - scanning your artwork or photographing it. Since I sell my artwork on large products I need to have the highest quality file possible, so my preferred method for digitizing my artwork is to scan it. I use this Epson scanner and I absolutely love it.
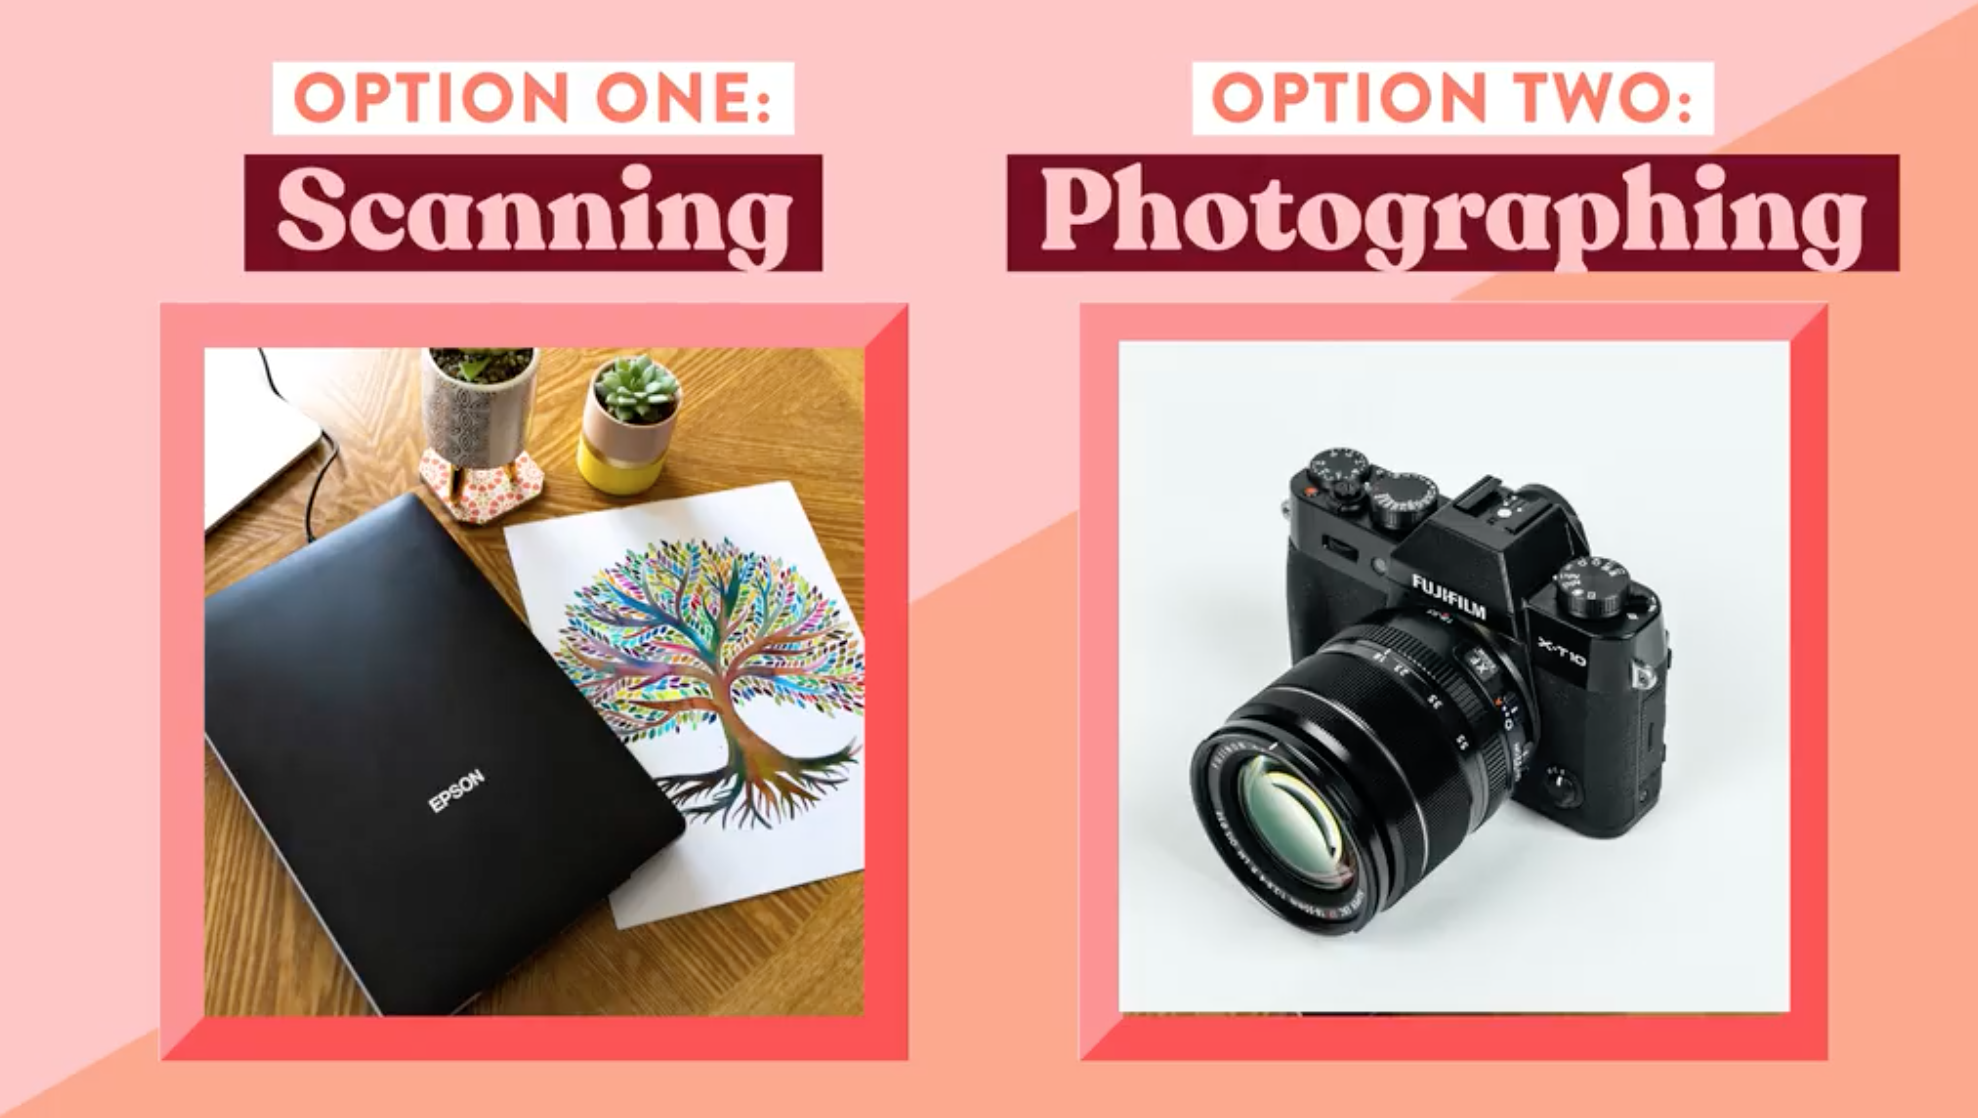
I'll start by walking through the scanning process, but if you don't have access to a scanner, no problem! You can just as easily digitize your artwork by photographing it with a camera or phone. Click here to jump to the photographing tutorial.
Scanning
I use this Epson scanner, but you can follow along with this tutorial using whatever scanner you have access to.

Understanding Resolution and DPI
The first thing I want to go over when it comes to scanning your artwork is DPI which stands for dots per inch. This dictates the resolution of a digital file, and it's important to understand how it works if you plan to digitize your artwork to sell online. You are able to adjust the DPI on your scanner settings which allows you to have a lot more flexibility with how large you are able to scale the digital file. The higher the resolution (DPI) of your original scan, the larger you will be able to print your artwork.
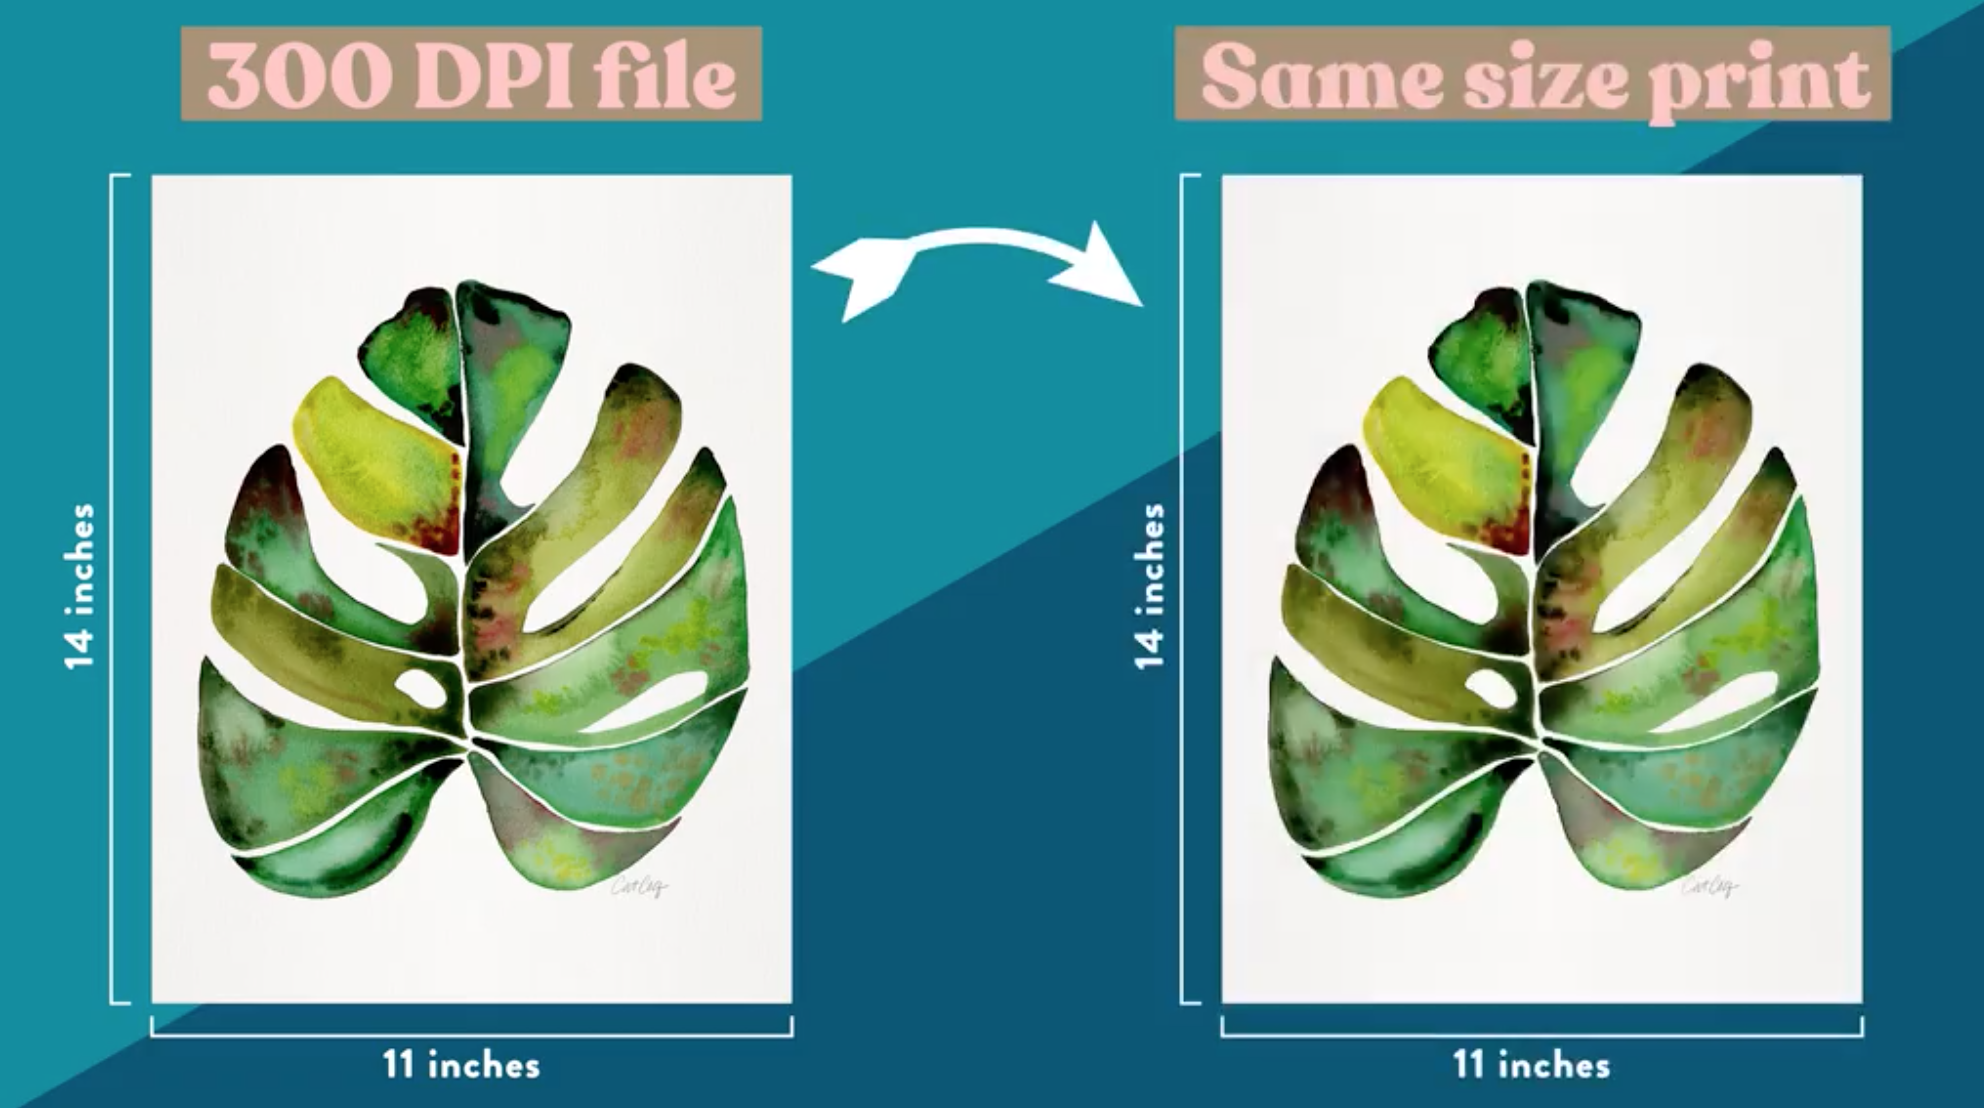
The industry standard for printing on paper is 300 DPI. I painted this painting on a piece of paper that was 14" x 11". If I scan it in at 300 DPI, I will be able to print it out on anything up to the size of 14" x 11" without it losing its resolution.
The industry standard for web is 72 DPI, so if you're scanning your artwork with the intention for it to only be viewed digitally like on Instagram or a website, you can scan it in at a lower resolution. However, I always digitize my artwork with the intention of it being printed on products, so I always scan mine in with a setting of at least 300 DPI.
If you want to scale your artwork up even larger than the original size, you can adjust for that in your scanner settings. If you scan your artwork in at 600 DPI, it can be printed up to two times larger than the original painting without losing resolution.

The higher the DPI, the bigger you can print your design. Scanning at 900 DPI will allow you to scale the design up to three times its original size, 1200 DPI up to four times the original size, and so on.

I tend to scan my artwork in anywhere from 1200 to 1600 DPI since I plan to print it on large items like bedspreads, tapestries, and shower curtains. Scanning in at such a high resolution results in a large file size, but it's worth it to have basically unlimited options as to what you can print the design on. Simply put, a high DPI gives you more flexibility.
Scan Settings
Before you start your scan, you'll need to input the settings your want in your scanner dialogue box on your computer. This is where you'll set the DPI and other settings before the scan begins. Every scanner has a different style of dialogue box, but they all should have the same main settings. It's likely that yours will look different than mine, but you can use this as a reference guide for setting up your own scan settings.
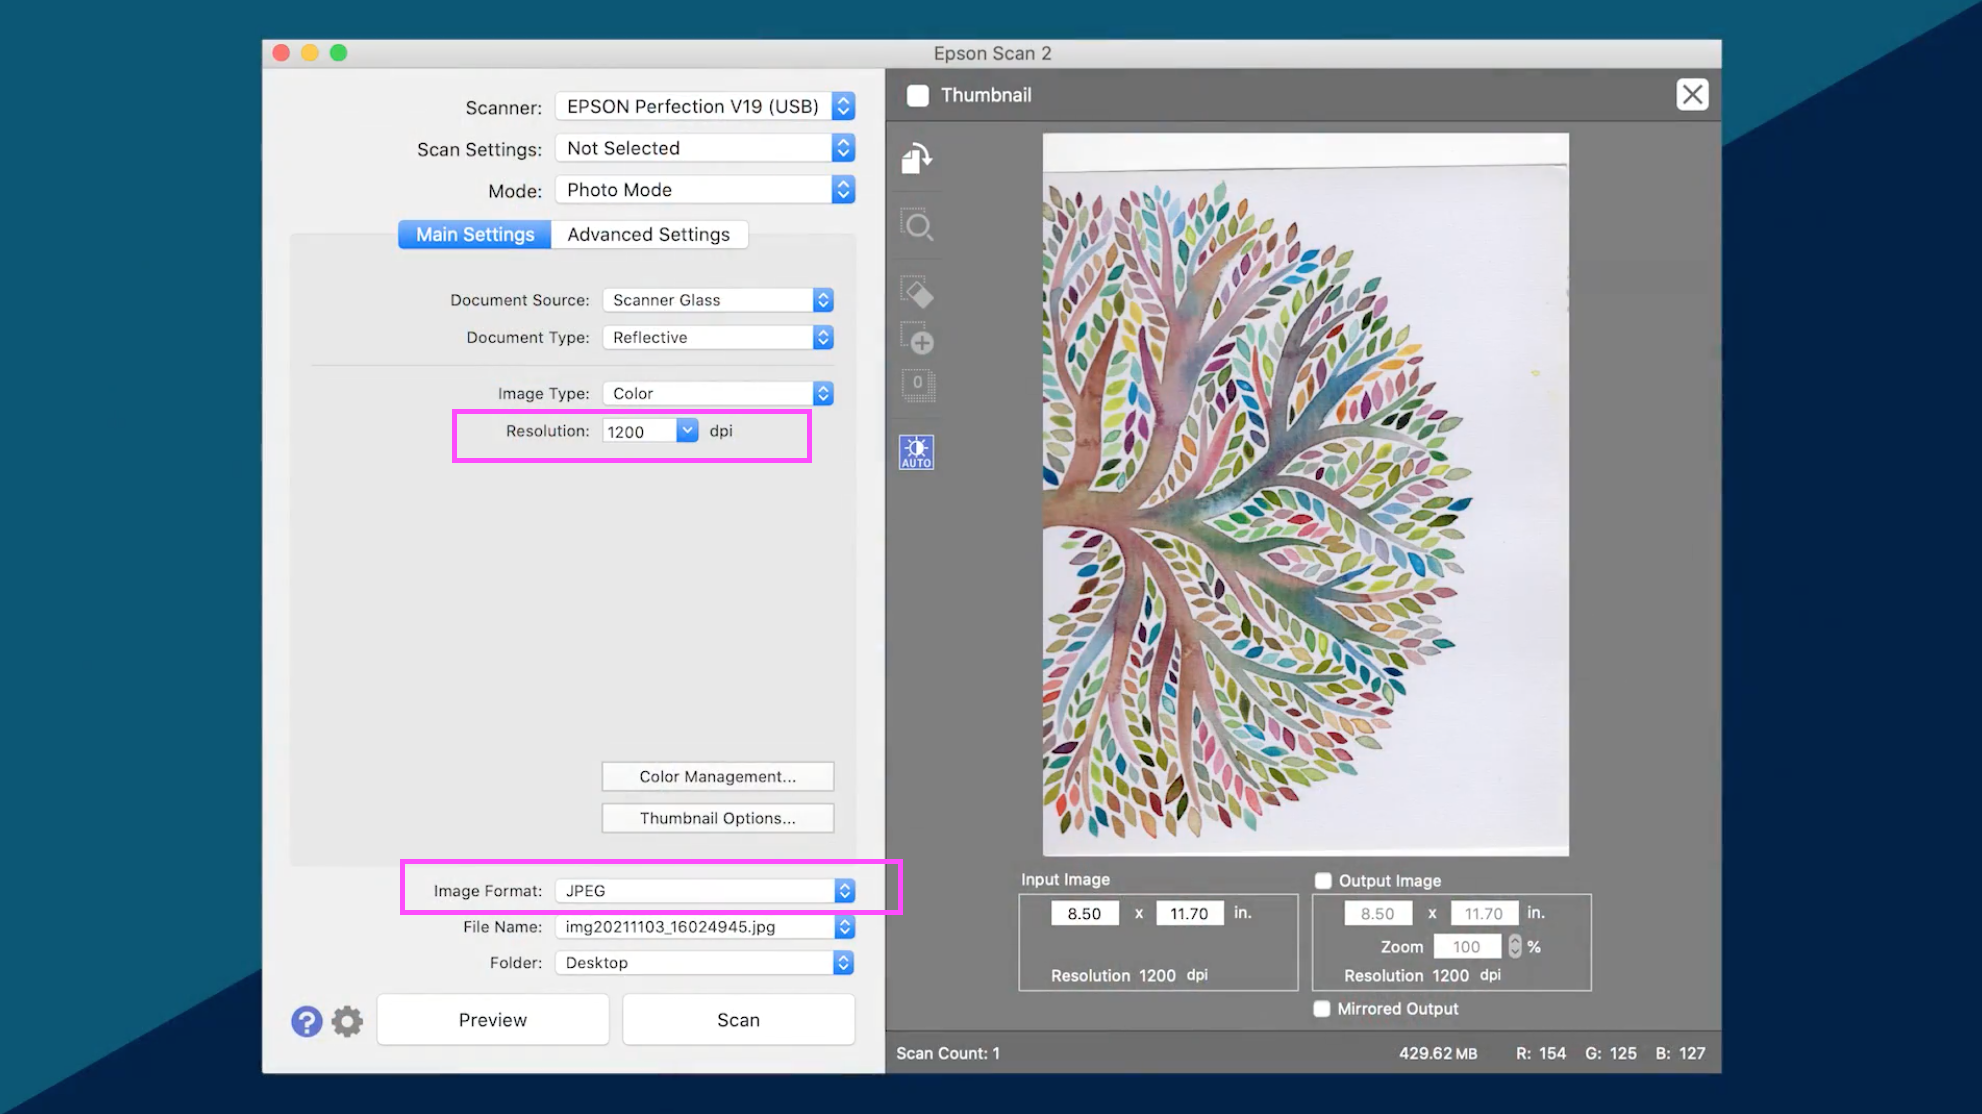
The most important settings are the Resolution (DPI) and the Image format. You have different options when it comes to the image format, but I prefer to scan my artwork as a JPEG file. JPEGs tend to be smaller file sizes than TIFF files which means that they open up faster in Photoshop and are generally easier to work with.
The Scanning Process
Now that you have an understanding of DPI and the scanner settings, we'll go over how to actually scan in the artwork.
Clean the scanner bed
First things first, always make sure that your scanning bed is completely clean. This ensures that you won't be scanning in any dust, eraser nibs, or flaked off paint along with your illustration. I use my glasses cleaner to clean the scanner bed before I scan something in, or I'll use a clean paintbrush to brush away any debris on the scanner.

Scanning in multiple pieces
I usually have to scan my artwork in two pieces since the paper I use is typically larger than the scanner itself. If you also have artwork that is larger than your scanner, it's really easy to fuse the scans together into one cohesive image in Photoshop after you scan them.
I'll go into more detail about fusing multiple scans together in a future blog post tutorial, and if you want to learn more about this part of the process, you can watch a full video tutorial in my Skillshare class, Digitize Your Art to Sell Online. If you're new to Skillshare you can watch it for free when you sign up for a free trial.
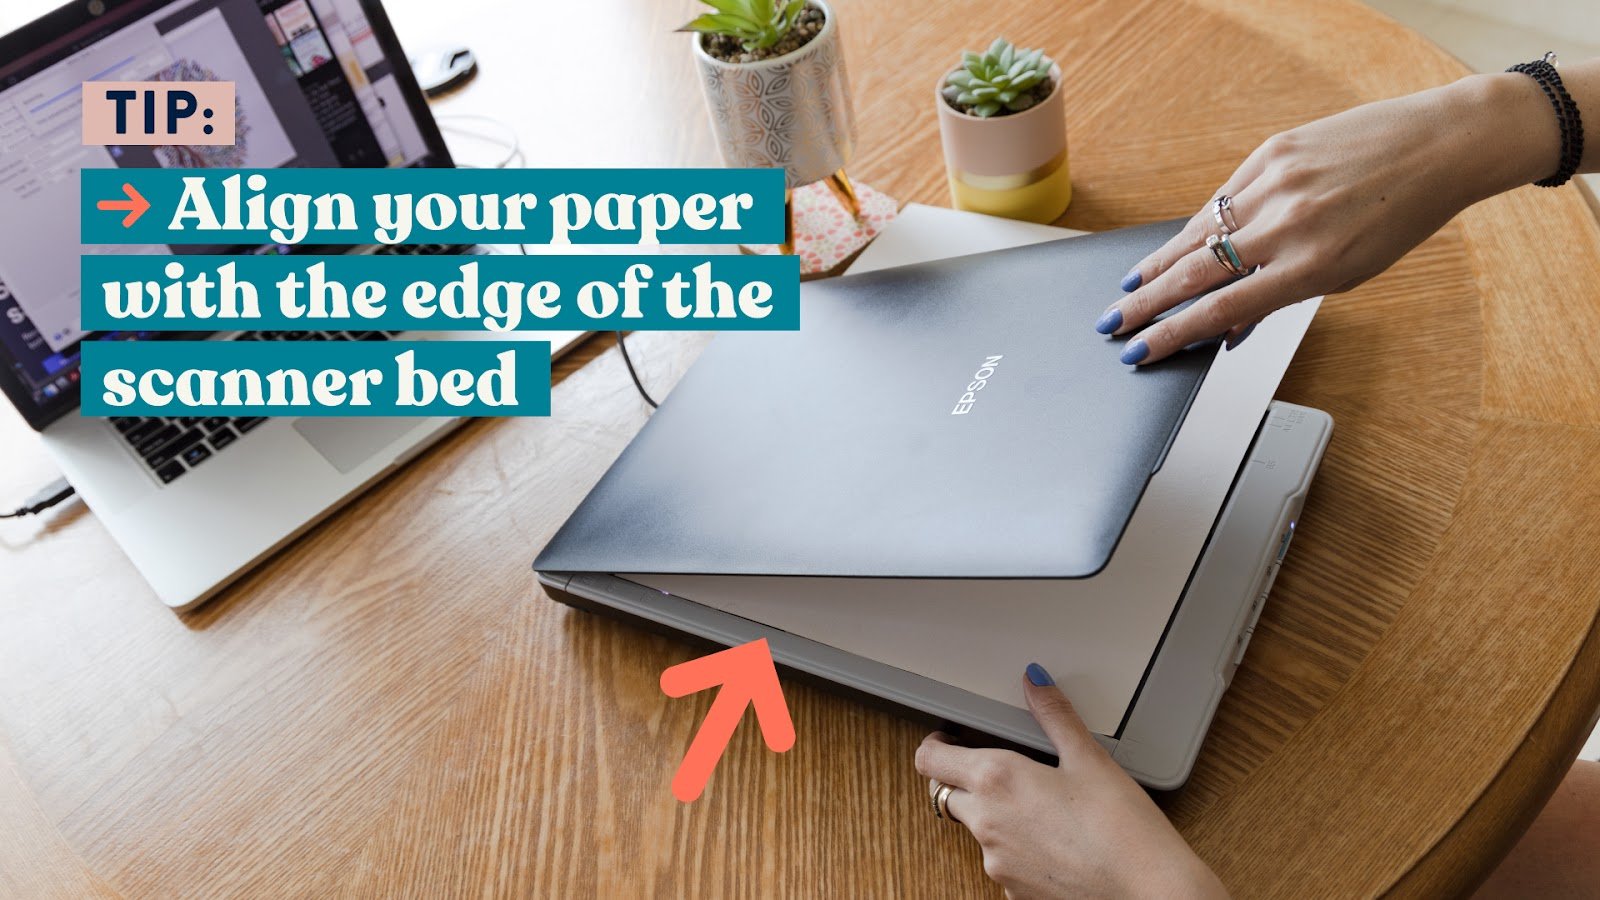
To make things as simple as possible when you go to fuse the scans together in Photoshop later, make sure that your paper is aligned perfectly with the edge of the scanner bed.
Then when you go to scan the second part of the artwork simply push it forward and align the bottom of the page with the back edge of the scanner bed. You want to make sure to keep the orientation the same, meaning you're not taking the artwork out of the scanner and flipping it around. Scanning at the same orientation makes it infinitely easier to line up your artwork in Photoshop when you go to fuse the two scans into one.

Make sure the paper is flush with the glass
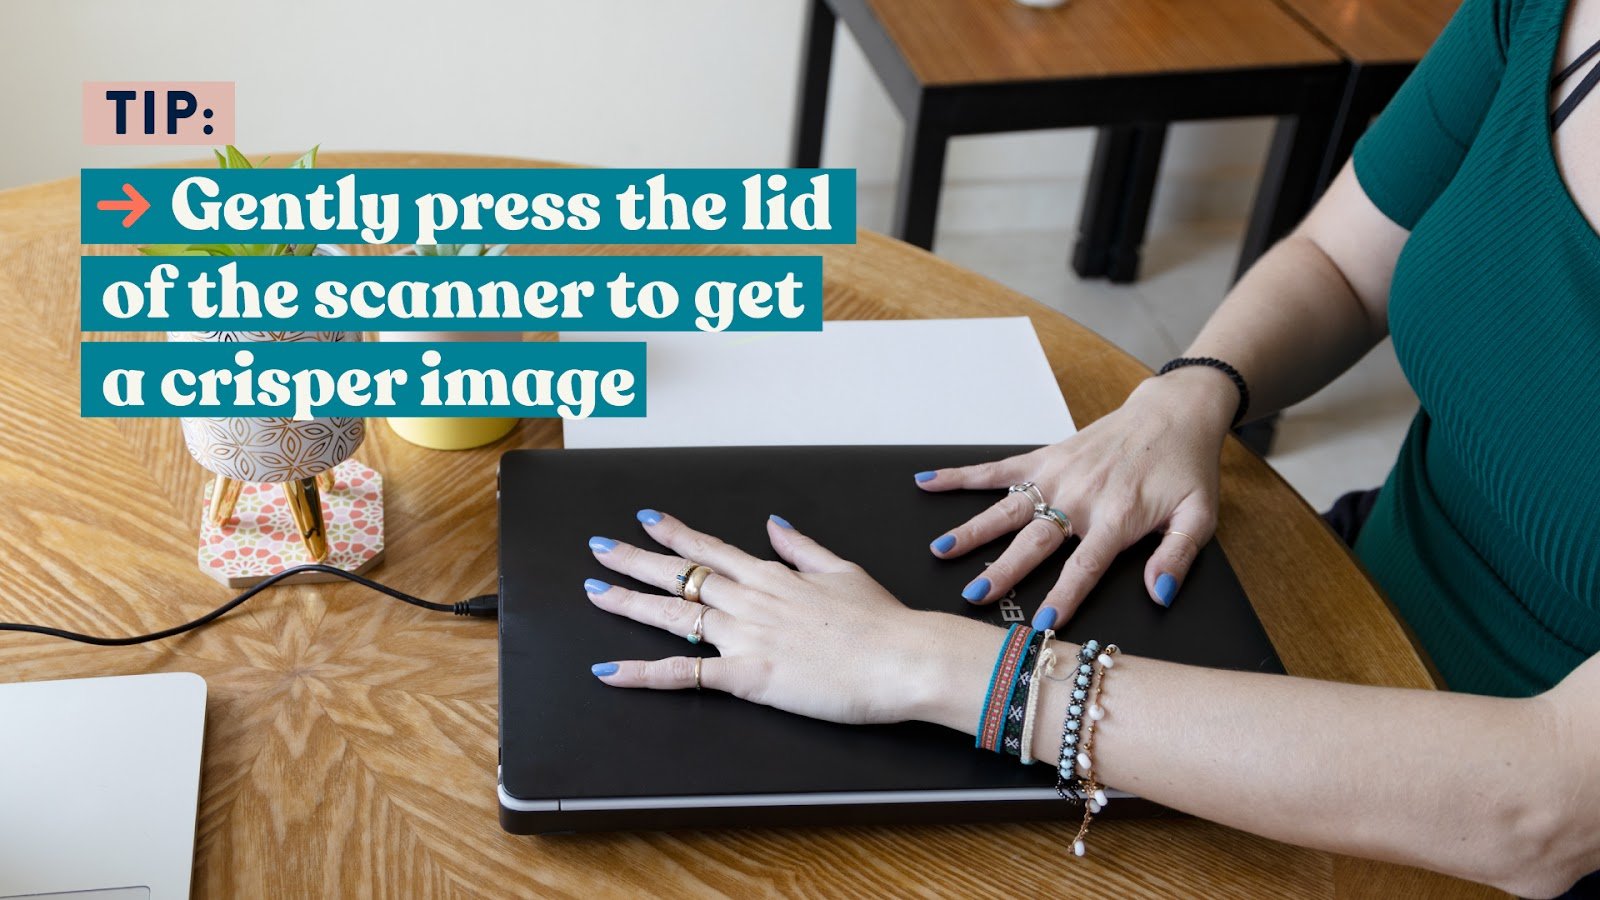
Scanning can take a few minutes depending on the DPI, so I always gently press down on the scanner while it's scanning. This ensures that the paper stays flush with the glass as the light is going over it.
If you press down too hard, the scan will get compromised and there will end up being some streaks on your digital file. If you don't press down at all it can get blurry because the paper isn't completely flush to the glass. A little light pressure will help you get the highest quality scan possible.
Once your scan is complete, you'll have your digital file! If you want to dive deeper into how to edit your digital file in Photoshop and get it ready to sell online, check out my class Digitize Your Artwork to Sell Online. This is an in-depth course that teaches you the digitizing process from start to finish.
Photographing
If you don't have access to a scanner, photographing your artwork can be a great way to digitize it. You can use either a nice camera or your phone. I want to remove as many barriers as possible for you when digitizing your art, so if you don't have access to a camera, no problem. You can just use your phone!
Lighting
The most important thing when it comes to photographing your artwork is the lighting. Natural light tends to yield the best results for photographing artwork.

Cloudy days are actually better than sunny days for photographing because the sunlight filters through the clouds and gives your artwork a more even-toned appearance. If it's a bright and sunny day, the sun can cast some hard highlights and shadows on your artwork.

If it's a sunny day, you can always step into the shade to take your picture, or take the photo inside with the sun facing your artwork. It's important to avoid backlit situations where the sun is behind your artwork. To avoid this, just flip your artwork around and make sure that it is being photographed in the direction of the natural light.
Photo Angle
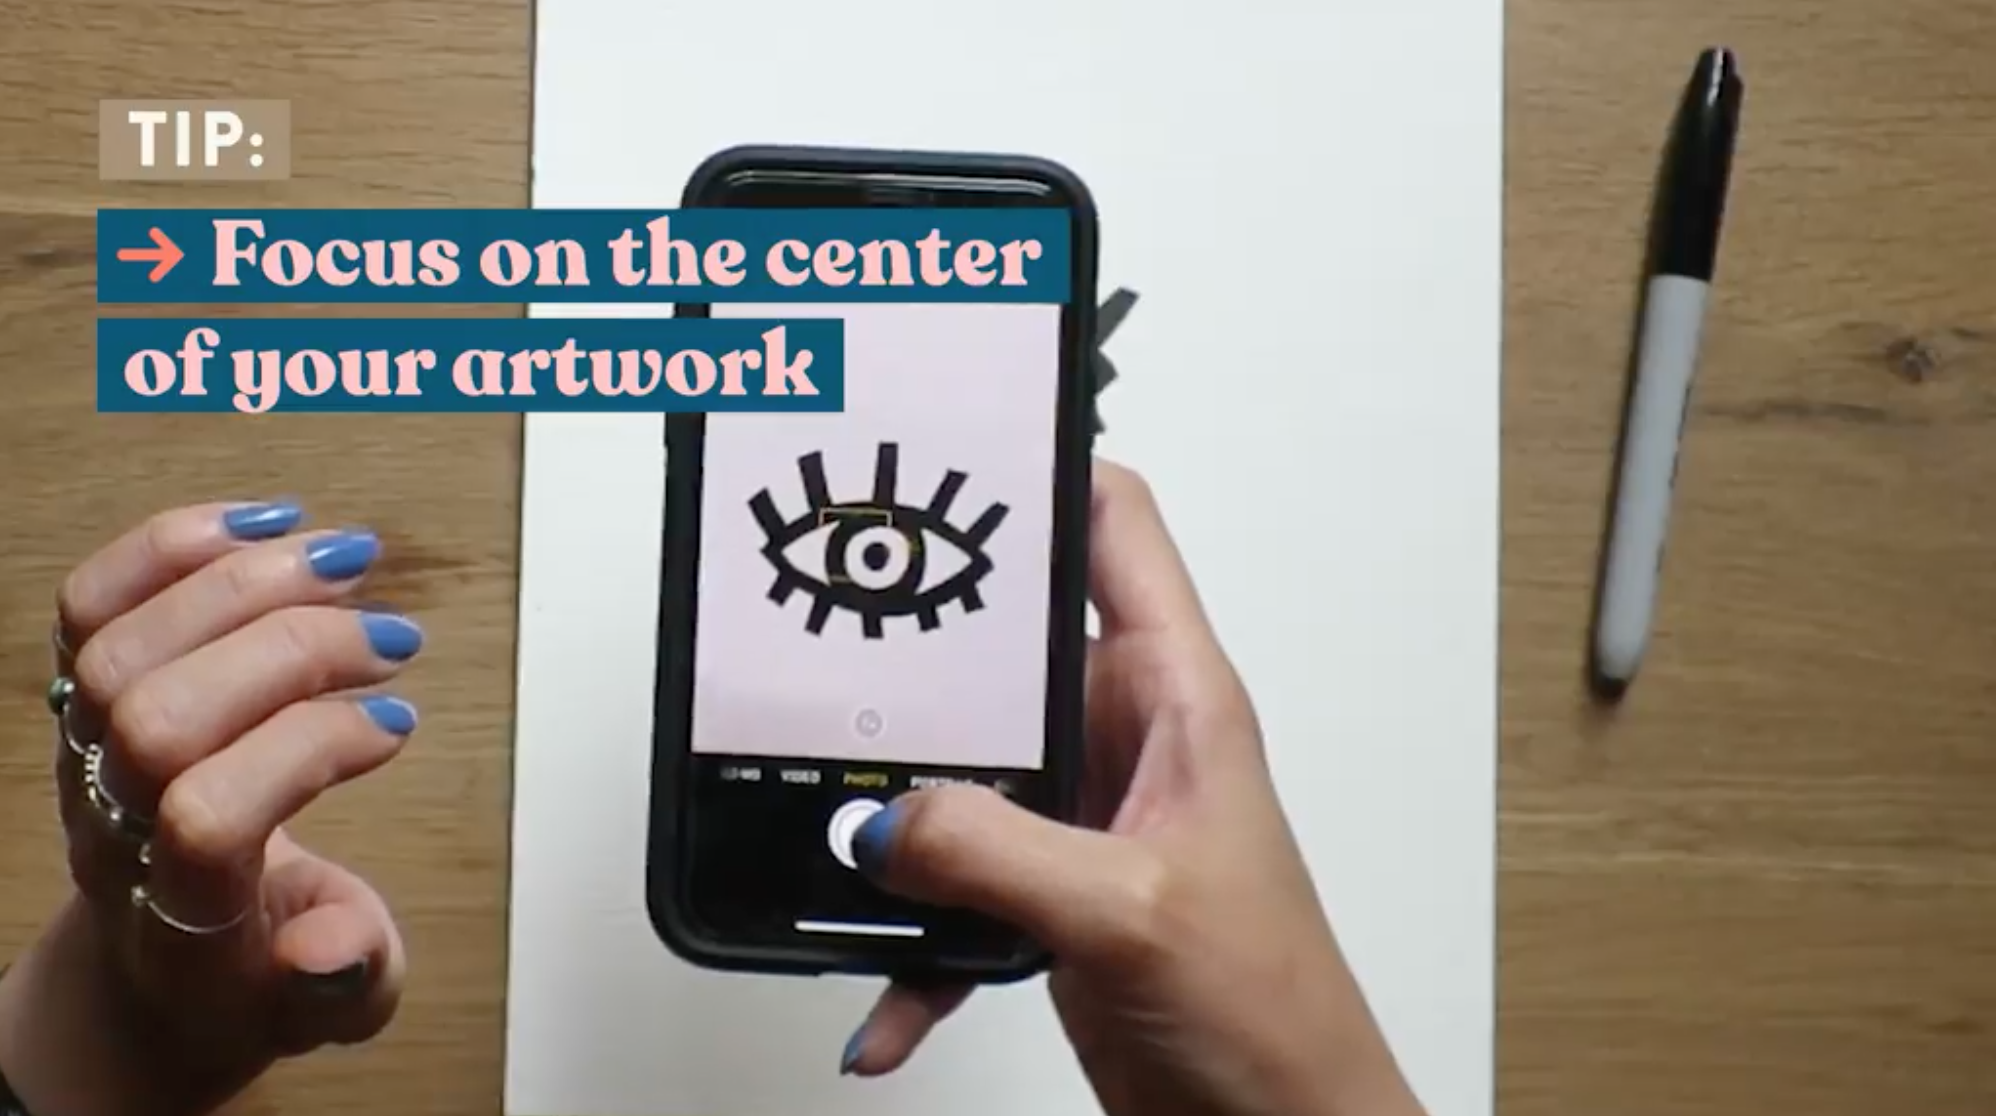
The next thing to be aware of is the angle of your photograph. You want to capture a perfect straight-on shot of your artwork. I make sure to hold my camera directly from above, not at an angle, and make sure that the artwork is lined up perfectly with my camera. I also make sure to tap my screen if I'm using my phone to take the picture so that it focuses on the artwork.
Another thing to note when photographing your artwork is that you should never photograph it behind glass because this can distort the look of the artwork when you're digitizing it. If you've already framed your artwork, just pop it out of the frame to take the photo. If you plan to apply varnish or any kind of shiny coat to your artwork, simply take the photo before you apply that varnish.
There is a lot to take into consideration when taking a photo of your artwork, but this can be a great way to get started with digitizing your artwork. If you're planning to digitize your artwork more regularly I would highly recommend investing in a scanner especially if you plan to sell your art online. It takes so much of the guesswork out of it and ensures that you get a clear and consistent digital file each time.
Want to dive deeper into the process behind digitizing your artwork to sell online?
Learning how to turn my hand-painted artwork into digital files was a turning point for my creative business. Now I help other artists learn how they can transition into selling their art online like I did. If you want to dive deeper into learning how to digitize your art and sell it online, check out my classes that will walk you through the process step-by-step.

Digitize Your Art to Sell Online
In this class, you’re going to learn the step-by-step process of digitizing and enhancing your analogue artwork specifically for print-on-demand sales. Think of this as the advanced version of this blog post!

Trend Forecasting
This class will teach you my actual process for predicting trends so I can capitalize on them before anyone else! This is a vital skill to have if you want to sell your artwork online.
Hand-Painted Seamless Patterns in Photoshop
Learn how to create one of the most sought after pieces of artwork in the surface design industry - seamless patterns! In this class you’ll take hand-painted elements and turn them into a stunning repeat pattern.