The Ultimate Beginner's Guide to Procreate on the iPad
One of my favorite new digital art mediums is Procreate on the iPad. It is an affordable and intuitive app to use, and you are able to create some seriously stunning artwork with it. From illustrations to animation, Procreate is a powerful tool that you can take with you on the go.

Even though Procreate is a great tool for beginners, it can feel overwhelming to get started. In this tutorial, I'm breaking down the essentials you need to know to get started with this incredible iPad drawing app.

You'll find that you can learn Procreate with ease. All it takes is learning a few basics and you'll be creating Procreate drawings in no time.
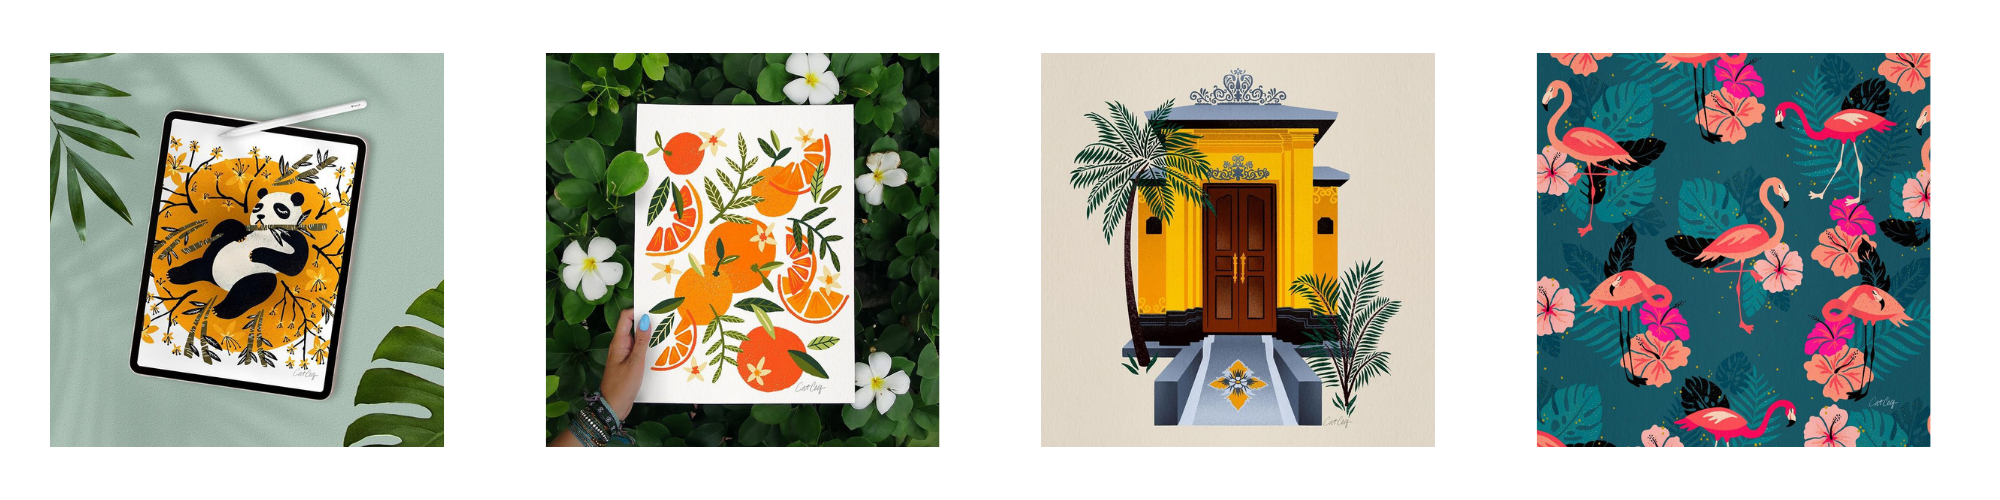
I illustrated all of these designs in Procreate:
Supplies:
All you need to get started with Procreate as a beginner is the iPad app Procreate, an iPad, and something to draw with. If you're brand new to Procreate you can start by drawing with your finger. However, I recommend an Apple Pencil if you want to get serious with the iPad app.

If you're looking for the best iPad for Procreate, this is my top pick. This is what I use for my artwork and it is my go-to tool for digital art these days. I also use this Apple Pencil. Having the pencil helps give me control over my Procreate drawings and allows me to create different effects by applying pressure with the stylus.

You can download Procreate for the iPad here. It is a paid app, but for the amount of power that it brings to the table, it is extremely affordable. Other powerful design programs can cost hundreds or thousands of dollars, but the Procreate app is a simple one-time fee that is cheaper than a meal out at a restaurant.
Want to learn about Procreate in step-by-step video lessons? In my class, Procreate for Beginners, I cover everything you need to know from start to finish!

Ready to dive into my essential Procreate tips for beginners? Let's do this!
Gallery Page
The first thing you'll see when you open Procreate is the Gallery page. This is where all of your projects are stored, where you can create projects, and how you can keep your projects organized.
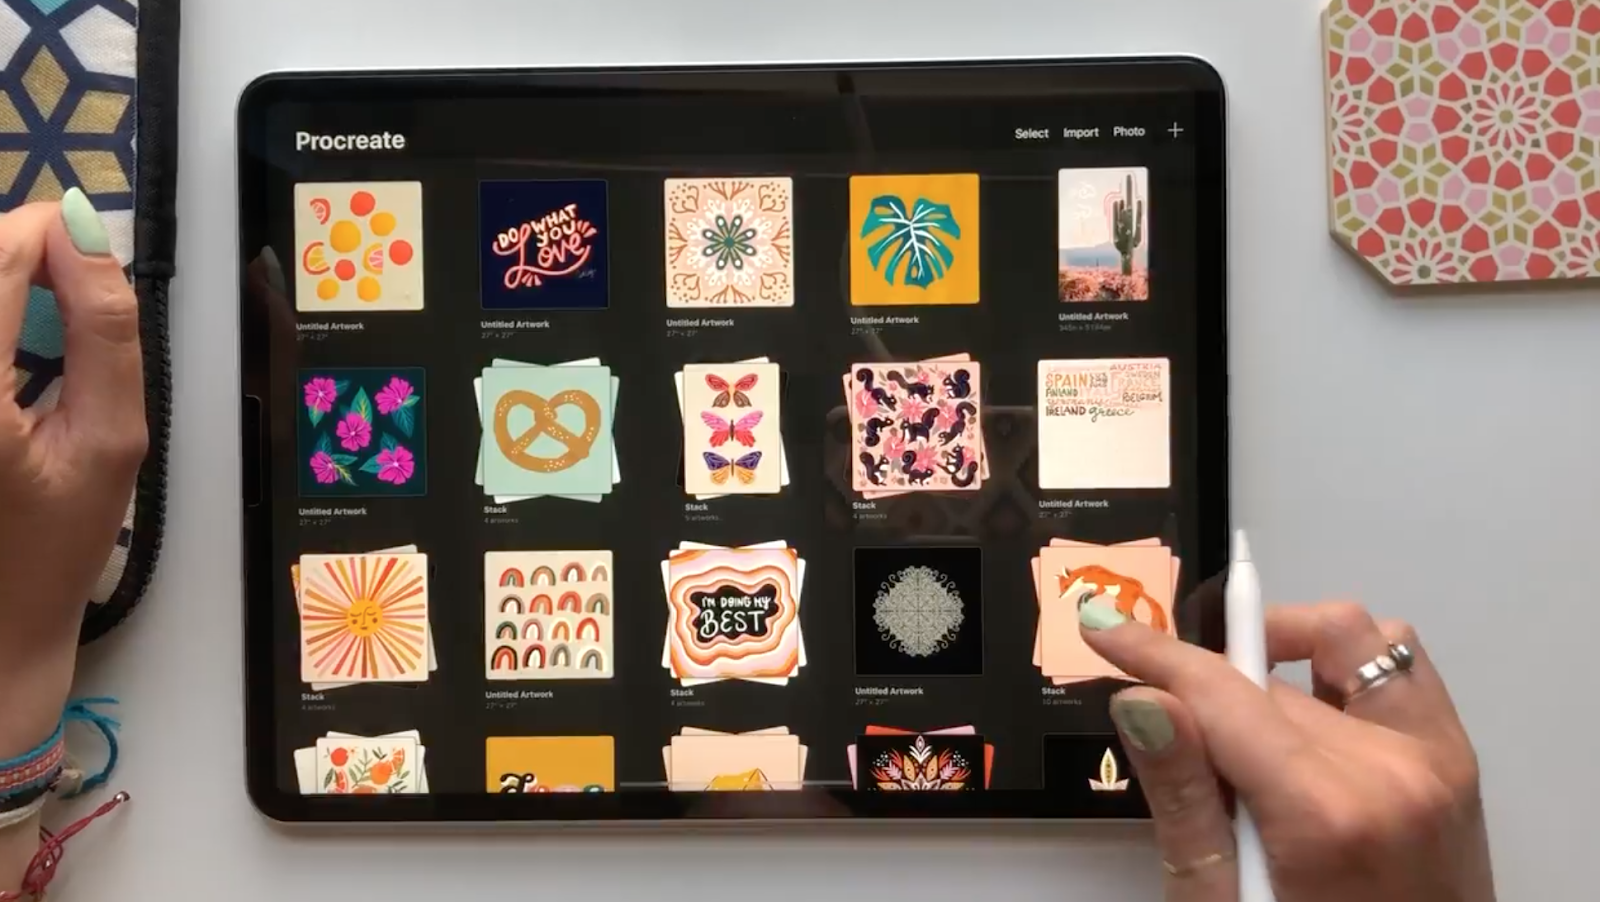
When you have things grouped together it's called a stack. I use this to group multiple related projects whether its illustrations in a series or different canvases that I use to make a repeat pattern. Stacks are a great way to stay organized and keep your gallery area clean. To open up the different projects inside your stack click on the stack, and it will open up all of the different projects within the stack.

If you want to add different projects together to create a stack, tap select in the top left corner, tap each project you want to add to the stack, then tap stack.
To move your projects around, all you have to do is tap and hold on the project you want to move and you can drag it wherever you like.
A couple of other things that I use regularly in the gallery menu are the delete and duplicate functions. The delete function permanently deletes your artwork and is a good tool for clearing up space on your iPad with projects you're no longer using. Tapping duplicate will make an exact replica of your project including all of the layers associated with it. This comes in handy when creating repeat patterns in Procreate. It's also great when you want to make modifications to a piece of artwork without changing the original. It's a bit hard to see in this photo, but once you tap select in the top right corner, you'll have options for Delete and Duplicate on the right-hand side.

To change the name of your artwork, tap where it says "Untitled Artwork" and a screen will pop up where you can rename the piece.

To open up a project, all you have to do is tap on the thumbnail image and it will open up the canvas. To navigate back to your gallery view simply tap "Gallery" in the top left corner.

One of the great things about Procreate is that it automatically saves your projects. You never have to worry about remembering to save them as you go, and you can toggle from your canvas to the gallery screen quickly and easily.
Start a New Project and Set up a Canvas
To start a new project, click the plus icon at the top right of the gallery page.

Procreate comes with a few default options for your canvas size. If you want to get started quickly and play around in Procreate, you can easily get started by selecting "Screen Size." This is exactly what it sounds like - a canvas that is exactly the size of your screen! It's great for doodles and learning the ropes of Procreate. If I'm doing any kind of thumbnail sketch or anything that won't be exported as a final piece, I usually just work with a screen-size canvas.
I personally like to create custom canvases when I'm working in Procreate. Most of my artwork needs to be at a very high resolution so I can include it on large-scale products like tapestries and bedding. I want to make sure that the integrity of the piece stays intact when I scale up to large sizes like that, so I like to work with big canvases in Procreate. The only downside to this is that a larger canvas means you get fewer layers to work with. If you find that you need more layers, you can always start with a smaller size.
To create a custom canvas, tap the black icon at the top right of the canvas menu. It's a black rectangle with a plus sign on it.

From this screen, you can set up your custom canvas. If you want your canvas to be as high-res as it can be, you can set your canvas to the largest size available in Procreate. For my iPad that's 27 inches by 27 inches. Make sure the canvas is at 300 dpi for maximum resolution as well.

Main Tools
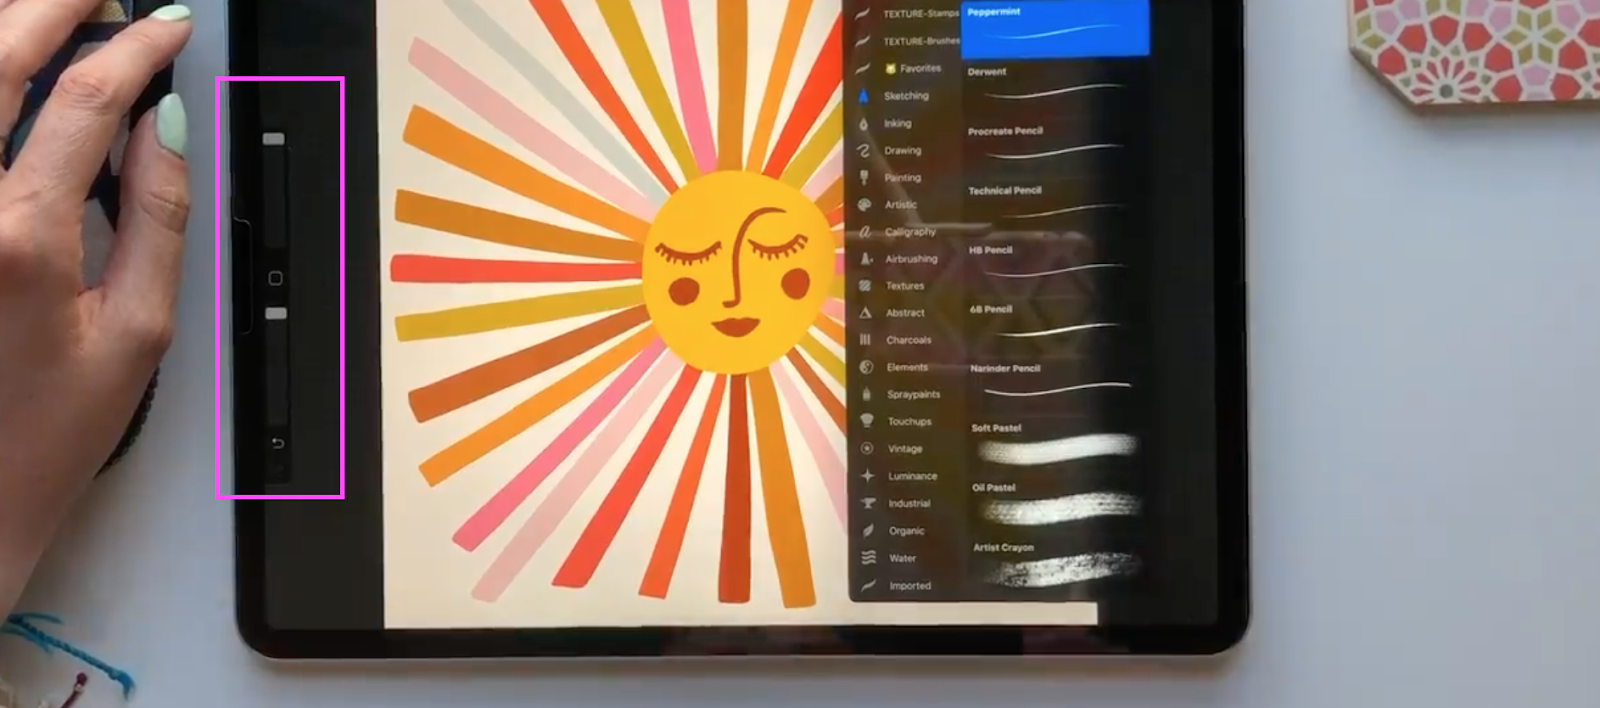
Once you've opened up your canvas, you'll see the main drawing tools at the top right corner of the screen. The first icon is the brush tool. Procreate has a lot of amazing default brushes to choose from. You don't need to worry about purchasing Procreate brushes when you're first getting started, but they can be a great way to spice up your artwork later on. To open up the full brush library, just tap on the brush icon and you can explore all of the different options.

You're able to easily change the size and opacity of your brush using the adjustment bar on the left side of your screen. The top scrubber adjusts the size of the brush, and the bottom adjusts opacity.
Next up is the smudge tool. I'll be honest, for the types of illustrations I do, I rarely use this tool. But if you want to check it out, it functions similarly to the paintbrush tool. Just tap on the finger icon and it will open up a library of smudge brushes.

The next icon in the row is the eraser tool. Pretty self-explanatory. Click on that icon to choose an eraser type if you want to erase anything on your canvas. Generally, I don't recommend using the eraser as an editing tool though. There are many other tools in the app that allow you to undo mistakes. There are also ways of nondestructive editing that I think are much more straightforward and safer than the eraser. We won't dive into that too much in this tutorial, but I'll go over some of my tips for non-destructive editing in future blog posts.
Next in line is the layers panel. If you're familiar with Adobe Creative Suite, you probably have a basic knowledge of how layers function. The gist with layers is that they give you the ability to build your artwork in different pieces or layers. This gives you a lot of flexibility when it comes to your piece. You can move your layers around and have different parts of your illustration move forward or backward, you can hide your layers, you can trace from images - the list goes on. Layers are one of the key pieces of drawing in Procreate, and as you get more experienced with the app you'll start to use them more and more.

Color Palettes
The last icon in that row on the top right of your screen is the color tool. At the bottom of the menu, you'll see that there are a few different options when it comes to choosing a color. The default screen is the color palettes menu, which is one of my favorites. This allows you to select a custom color palette to work with for each illustration you're working on. I love the ease of being able to reference and select my chosen colors with just a few taps.

To the left is the values menu. This is one of the options available for picking custom colors. It has a lot of different scrubbers that you can manipulate to find the perfect color you're looking for.

The next icon to the left is the harmony menu that will allow you to determine complementary colors.

Of the color-picking tools, the one I use most frequently is the classic menu. This one is straightforward but gives you all the flexibility you need to select stunning custom colors.

Once you have selected a color you like, all you have to do to add it to a color palette is to go back to your palettes menu and tap on one of the spaces in the palette you want to add it to. This will automatically add that color to your color palette so you're easily able to reference it later.
The last thing to note about color is that you can also use the color picker tool to grab a color directly from your artwork or photo. The color picker is the little box in the middle of the horizontal tool on the far left of the screen. Simply click the box and drag it around your screen to choose a color from your illustration.
Shortcuts & Tips
The most important shortcuts you need to know in Procreate are how to undo and redo. A big question that Procreate beginners ask is, "Where is command Z in Procreate?" To undo your previous action, simply tap the screen with two fingers. If you want to redo it, all you have to do is tap the screen with three fingers.
And there you have it! The basic fundamentals you need to get started drawing in Procreate. There is always more to learn, but this will get you started with your brand new iPad app!
I hope this tutorial helped you learn your way around Procreate and get comfortable with all the basic tools and techniques that the iPad app has to offer. If you have any questions about Procreate just drop them in the comments of this post! I am always eager to see what you create, so be sure to tag me on Instagram @catcoq so I can see all of your Procreate drawings!
Looking for a deeper dive into Procreate? I teach in-depth procreate tutorials in my classes. You'll learn new things to draw in Procreate and will get all my best Procreate tips and tricks. Ready to take your Procreate drawings to the next level? Join me in one of my full Procreate class!

Procreate for Beginners
This is a comprehensive, all-in-one Procreate course. You’ll create five cool illustrations, each lesson focusing on a core skill in Procreate.
Drawing Seamless Patterns in Procreate
In this class, you will learn how to use your artwork to illustrate professional, repeat patterns that easily line up into perfect pattern blocks.