Watercolor Painting Techniques for Beginners

Are you wondering how to get started with watercolor painting as a beginner? In this tutorial, I’ll walk you through four basic watercolor techniques that are perfect for you to learn as a beginner. This tutorial is geared towards beginners, but if you’re an experienced artist, you’re also welcome to follow along and get some watercolor practice!
Watercolor painting for beginners is one of my favorite things to teach. This medium is so fun to play with. If you’re looking for watercolor painting ideas, I’ve got you! We’ll walk through a few different techniques for painting with watercolor that will help you warm up and get ready to explore this medium.
Are you more of a visual learner? Join me in my signature watercolor class: Modern Watercolor Techniques. In this class, I go into more detail on the watercolor techniques in this tutorial, and you’ll leave with a completed watercolor painting. And the best part? You can watch the class for free when you sign up for a free trial with Skillshare. You can sign up for a free trial here.

Watercolor is a playful medium. It blooms and flows in interesting ways, and there is always something delightfully unexpected when it dries. This may make watercolor seem intimidating, but I personally think it’s what makes this medium so beautiful. When you embrace the unexpected and let go of perfection with your artwork, you’ll find the true beauty and joy of painting with watercolor.
Ready to begin your watercolor journey? Let’s do this! 🎨
Supplies:
The first thing that watercolor beginners always ask me is, “what supplies do I need?” In my opinion, the best watercolor supplies are Winsor and Newton brand watercolors. I’ve been using this brand since I was sixteen, and still have my set from back then (even though it’s been replenished many times 😉). When you’re first starting out, you don’t need anything fancy. But it does help to have quality paint to learn with. Here are my go-to watercolor supplies that I use almost every day:

If this supply list feels intimidating, please don’t worry! The whole point of getting started with watercolor is to have fun and learn a new skill. The most important thing is that you get started. If that means that you pick up any old watercolor set from your local craft store, that’s totally fine!
Techniques:
Now let’s dive into the basic watercolor techniques!
Technique #1: Washes
Washes are an integral part of painting with watercolor. They produce effects that you can’t achieve with any other medium. Watercolor washes are incredibly simple to master and look stunning when they’re done correctly. Watercolor washes are done by painting heavily diluted pigment on paper giving them a semi-transparent effect. Washes are used most commonly as backgrounds for compositions, but you can also use them in smaller areas to fill in a motif. As with anything with watercolor, you have the freedom to play with the wash technique and use it in your paintings in any way that works for you! Here are some examples of watercolor washes:

There are many different types of washes,but today we’ll experiment with an ombre gradient wash like the one on the wedding invitation above. A gradient means that the wash slowly transforms from having more color to being light and almost transparent. There are a couple of ways you can achieve this look - the wet on wet technique, and wet on dry technique.
Wet on Wet Technique:
Wet on wet washes are great for backgrounds. To create this type of wash, lightly brush the wash area on your paper with water. You want to make sure that the water coats the whole area evenly. Next, fill a large flat brush with pigment. Now, all you need to do is paint an even line at the top of your practice area. The wet paper mixing with the pigment will create an unexpected gradient, and create beautiful blooms as it dries.

Wet on Dry Technique:
You can achieve a similar gradient wash by painting with a wet brush on dry paper. Creating a wash on dry paper gives you more control over the outcome and the overall look of the gradient. To create a gradient wash with the wet on dry technique, load up your brush with pigment and paint a line across the top of your wash area. You’ll continue to paint strokes downward, dipping your brush in the water each time. Dipping your brush in water after each stroke desaturates the pigment and creates that ombre gradient effect that we’re going for.

These two techniques for creating gradient washes are a great place to start with watercolor. You can also explore painting flat washes. A flat wash is when you cover the whole paper in an even layer of pigment. You can do this using the wet on wet or wet on dry technique. The process is the same as creating the gradient, just make sure not to dilute your brush with water since you want an even layer of color.
There’s no “right way” to create washes. It’s all about exploring and finding effects that you like and fit your unique style!
Technique #2: Watercolor Blooms
Some of my favorite things to create with watercolor are watercolor blooms. Watercolor blooms have become one of my signature techniques in my paintings. They dry with a crinkly effect around the edges which adds visual interest to the piece. Here are a few examples of what watercolor blooms look like in my paintings.

Fun fact - most traditional watercolor artists will go out of their way to avoid this happening on their watercolor paintings. But I think it adds such an interesting touch to modern watercolor paintings, and I have fully embraced them in my artwork!
You can create intentional watercolor blooms by pooling loads of water and pigment together. To practice creating watercolor blooms, start by painting a practice area on dry paper. In my example, I’m just painting a simple circle. To create the bloom, simply load up your brush with water and start dropping it in. Since you’ve painted on dry paper, the pigment will stay contained to the area that you’ve painted. You can drop your water in like this:

One of the things I love about watercolor blooms is that you can add in different pigments to create a beautiful mix of colors. To add in pigment, simply grab a different color and dot it into the area where you’ve pooled water. I’m adding a little blue in my example:

Watercolor flows and changes as it dries, so you won’t be able to see the final effect of your bloom until it is totally dry. Here is the final watercolor bloom effect on my purple circle. I love how interesting the crinkly edges look!

Technique #3: Color Blending
While I do a lot of color mixing on my palette, I also love to mix colors directly on the paper itself for an unexpected effect. My favorite way to do this is by dropping little bits of pigment into the wet areas that I’ve already painted and watch them bloom outward. Here is a painting I created as part of my class, Learn to Paint Botanical Watercolors, that is a great example of color blending.

I chose to do some color blending with darker paint to give some depth to the inside of the flower petals. I also added some yellow to the petal to give the painting more visual interest and help it pop. To practice color blending, make sure the segment of the painting that you’d like to blend is still wet. From there simply dot in the color you want to add and watch it bloom!
Color blending helps bring your paintings to life and makes them look much more interesting than if you were just using a single color from your palette. It’s one of my favorite ways to make my paintings look more dynamic and modern. And it’s so satisfying to watch the color bloom and change as it dries!
I’ve said it before about other techniques, but there are no rules when it comes to color blending. You’re free to explore and mix colors however you’d like. I’m always discovering and experimenting with new color combinations in my paintings. Have fun with it!
Technique #4: Whitespace and Brush Control
The last technique I’ll share is the signature element that all of my paintings are known for - whitespace! I like to break down complicated motifs into simple flat paintings and break each element up with thin white lines. Having thin lines of paper show through sections of the illustration is about more than just creating a modern aesthetic. It also keeps the wet paint from bleeding into other areas and allows me to move on to other areas of my painting before waiting for the paint to dry.
My technique to achieve this look is simple - brush control. Some artists use a tool called masking fluid to achieve this look, but I love to create whitespace by using a very refined detail brush and simply painting carefully.
The easiest way I’ve found to get this level of detail is to start painting your area with a medium sized brush, and then finish with a smaller detail brush.
To start playing with whitespace, draw your motif on your watercolor paper. You’ll use the pencil marks from your sketch as a guide for where your whitespace will go. Since no paint will go on top of those pencil marks, you’ll be able to erase them once your paint is completely dry.

In my example, I’ve painted the larger areas of this eyeball with a medium sized brush, and finished them off with a small detail brush. When the paint was completely dry, I erased my pencil marks and was left with a beautiful whitespace painting!

Brush control takes practice, but it’s a great skill to learn as part of your watercolor journey.
I hope that these basic watercolor tutorials inspire you to pick up a paintbrush and start creating your first watercolor masterpiece! At the end of the day, watercolor is all about having fun and going with the flow. I find so much joy in painting with watercolor, and I hope that you will too.
Want to dive deeper into watercolor painting?
I’d love for you to join me in my full-length watercolor classes. You can watch any of them for free when you sign up for a free trial with Skillshare!
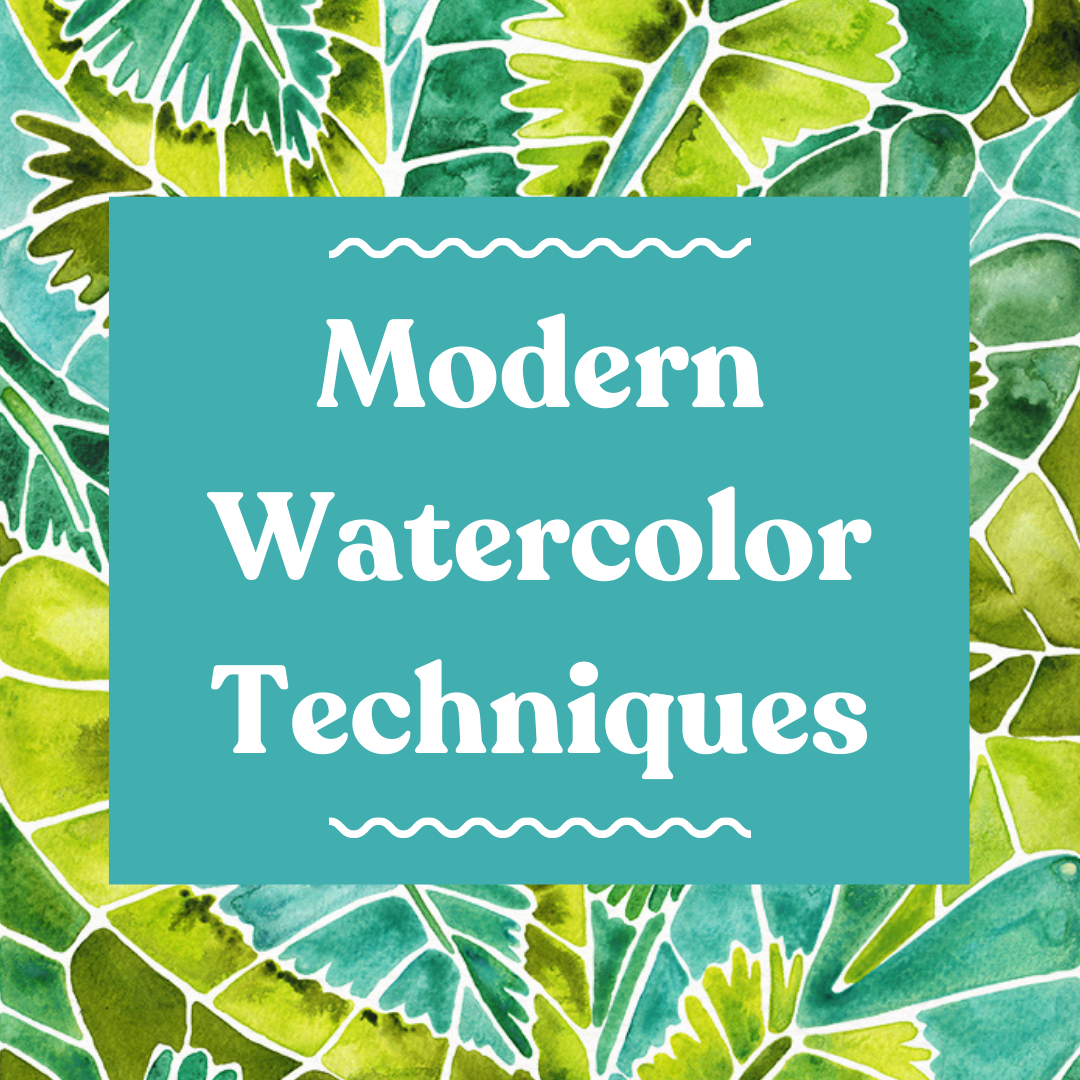
Want to dive deeper into watercolor painting? Join me in my signature watercolor class, Modern Watercolor Techniques. You’ll get the full walkthrough of all of these techniques & more!

Want to learn to create on-trend paintings and leave the class with four complete pieces of artwork? Join me in the class, Learn to Paint Botanical Watercolors.
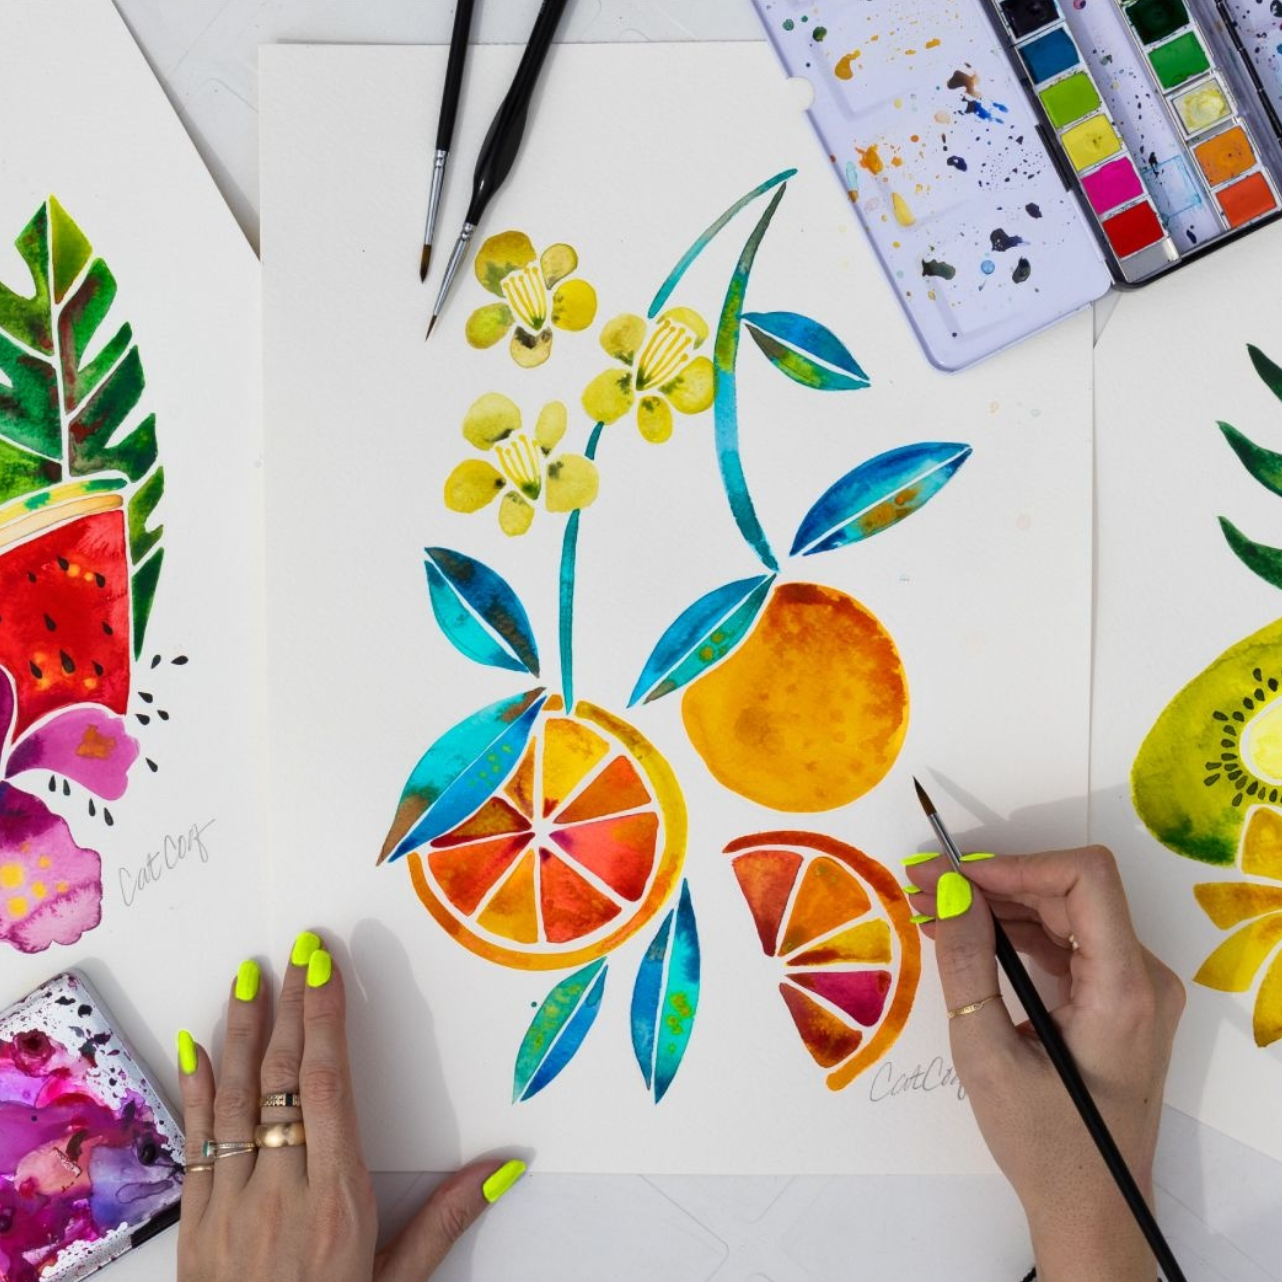
In my class, Watercolor Fruit & Florals, you’ll learn how to create modern watercolor compositions with fruit and flowers. You’ll leave with four complete watercolor paintings