How to Create a Custom Pet Portrait in Procreate
Pet portraits are more than just drawings – they're cherished memories captured through your unique artistic voice. Whether you're looking to give a special piece of art to someone you love or seeking commission opportunities (spoiler: pet portraits are a hot commodity for custom commission work!), learning how to draw pet portraits can be a fulfilling journey. In this blog, we'll explore how to create captivating pet portraits using Procreate.

This tutorial can be done with the default brushes in Procreate, but if you want to follow along and learn how to use stamp brushes and textures, I have some fun free assets to share with you! Click here to download them for free!

Step 1: Setting Up Your Canvas
Begin by creating a new canvas in Procreate. Ensure it's appropriately sized for your desired output, whether it's for printing on a specific product or digital use. Select a canvas size that allows for detailed work while maintaining manageable file sizes.
Step 2: Sketching Your Pet
Insert a reference photo of your furry friend onto the canvas. Lower the opacity of the image to make it easier to sketch over. Now, create a new layer for your sketch. You always want to ensure that your reference photo is on its own layer so that you can delete it later.
Once you’ve created your sketch layer, select a brush for sketching. I like the built-in Procreate brush called Peppermint.

If your pet is facing directly forward, you can use the symmetry tool to ensure perfect alignment of features such as the eyes, nose, and mouth. To turn on the symmetry tool, select the wrench icon, select canvas, and turn on the drawing guide. This will pull up a menu of options at the bottom. Select “options” and then choose “vertical symmetry.” This will split your canvas in two so that anything you draw on one side is mirrored perfectly on the other side.

Note: If your reference image is not perfectly symmetrical, you can skip this step and just sketch over your reference photo without using the symmetry tool.
Take your time with the sketch, focusing on capturing the essence of your pet. Pay attention to proportions and basic shapes, ensuring accuracy in the initial stages.
Step 3: Sketching Details and Embellishments
Once you have the basic sketch down, turn off the symmetry and assisted drawing features. This allows for more freedom and creativity in adding extra embellishments to capture your pet's unique personality.
You can add accessories like sunglasses for an extra touch of flair. In my example, I added a bandana, a flower, and sunglasses to the sketch of my pet.
Pro Tip: Add your embellishments and accessories on their own layers so that you can manipulate them individually if you want to make any changes.
If you downloaded the free asset bundle, you’ll find some sunglass stamp brushes to use courtesy of Charly Clements! Experiment with different elements to enhance the character of your pet portrait.

Step 4: Sketch Background Objects
Feel free to include a background shape to complement your pet's portrait. I was going for a fun and funky look with my pet portrait, so I added an oval background shape behind my pet’s face. Consider the mood and setting you want to convey – whether it's a simple backdrop or a detailed environment that reflects your pet's favorite place.


Step 5: Preparing for Inking
Now that your sketch is finished, it’s time to move onto adding color to your illustration. Let’s prep for the inking step!
Duplicate Your Canvas
Duplicate your canvas to create a backup copy. This ensures that you have a version to refer back to if needed as you progress through the illustration. That’s called nondestructive editing, baby! Once you’ve duplicated your canvas you can rename the old one “Sketch” and the new one “Inking” since we’re about to start adding color!
Delete Your Reference Photo
Once you've duplicated your canvas, delete the reference photo layer. This cleans up your workspace and allows you to work with more layers.
Resize Your Sketch If Needed
Resize your sketch as needed to fit the canvas and maintain proper proportions. This step ensures that your art is centered within the composition.
Step 6: Coloring and Inking
Now it’s time to create the portrait! In this step, we’ll be inking and adding color to the sketch to bring the portrait to life. Start by adding a new layer. Just like we did with the reference photo, you will eventually be deleting the sketch layer, so all of your inking work should be done on new layers.
Start by inking the largest area. In my example, I chose a gray color because my pet is a gray cat. I’ll add details like markings and other features later. Refine the outlines of your sketch using an inking brush like the one provided in the free assets to add definition and clarity to your pet's features.
Fill the outline with color using the color drop tool to speed up the inking process.
Now continue this process by inking the different markings and features of your pet. For maximum flexibility, add each new feature on its own layer.
You can add a reference photo on the side to ensure that you’re capturing your pet’s personality and essence. To do this, tap on the wrench icon, select canvas, and turn on reference. From there you can select “image”, and pull up the image of your pet to make sure you get all the details right!

Step 7: Adding Depth and Texture
Now that you’re done inking, you may feel like your illustration feels a little flat. To add more depth to your illustration, you can experiment with adding shadows and highlights throughout the illustration to give it more life.
One of my favorite ways to do this is by adding short, contrasting brushstrokes throughout my illustration and varying the pressure so that the brushstrokes taper from thick to thin.
Do this in key areas like highlighting the nose to make it look shiny, or adding darker brushstrokes to parts of the face where you’d like to add a fur-like texture.

And in our fun and funky example, you can also experiment with overlaying sunglass frames and using blending modes to simulate reflections and shadows realistically. Experiment with different blending modes and opacity levels to achieve the desired effect.

Step 8: Printing Your Pet Portrait
Pet portraits aren't just for digital display – they make wonderful gifts for your loved ones too. I drew my parents’ puppy Luna and got the portrait printed on lots of different products through a white-label print-on-demand site called Printful. They have tons of products to choose from and have great prices when you buy directly through them. The options are endless when it comes to turning your pet portrait into products!

Creating pet portraits in Procreate is not only enjoyable but also rewarding. Whether you're a beginner or a seasoned artist, there's always something new to learn and explore.
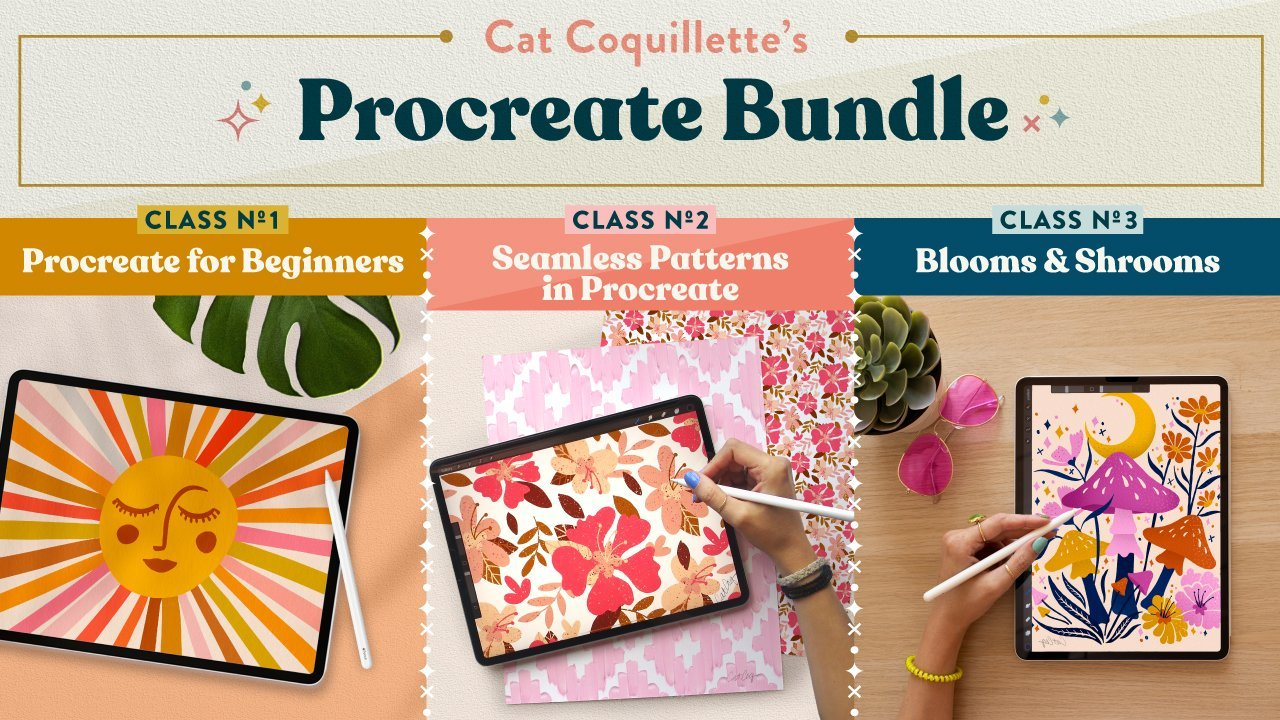
Want to learn how to use Procreate to create professional illustrations? My Procreate Bundle will take you from beginner to surface design professional through three fun courses! Click here to check it out and learn more.