How to Adjust Canvas Size in Procreate for Maximum Layer Flexibility
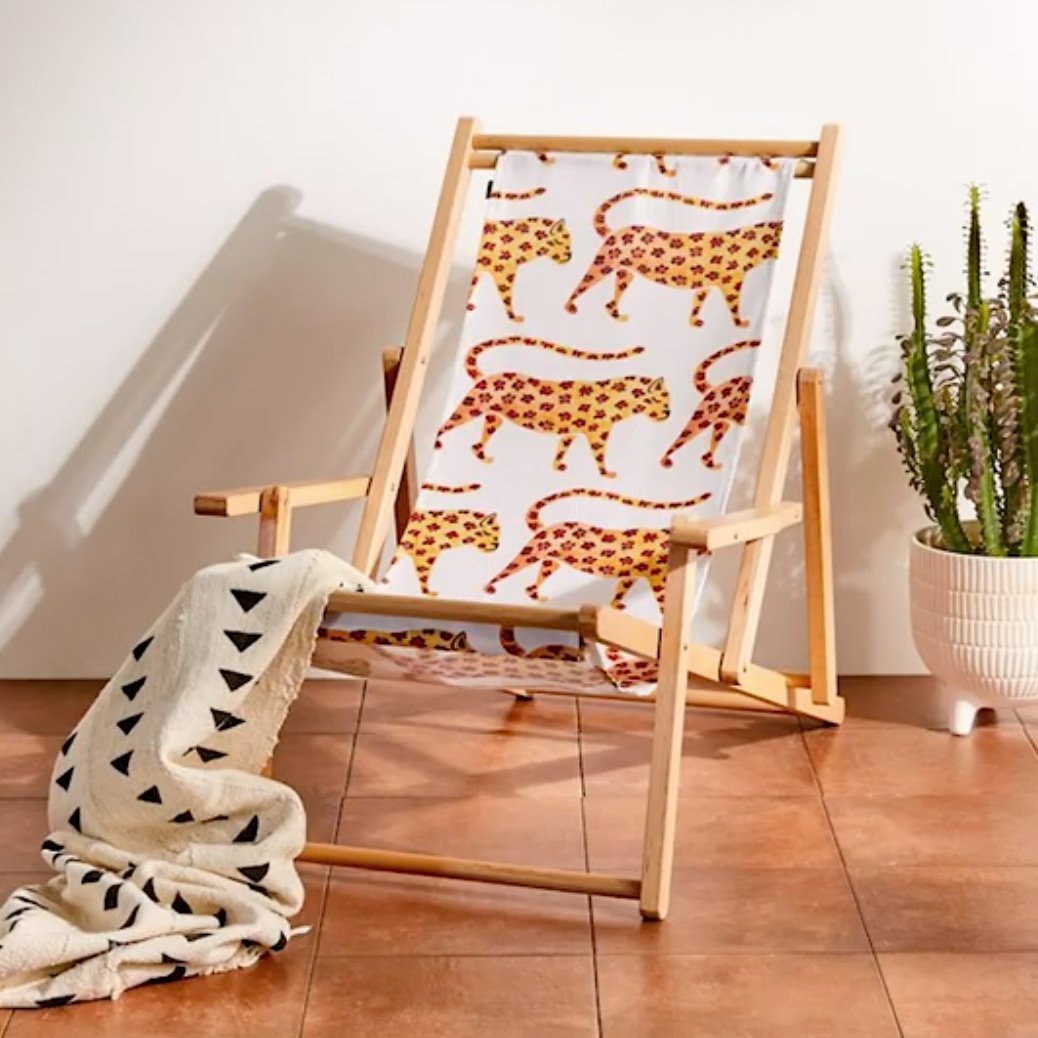
If you want to license your artwork to sell online, it’s important to make sure that your digitized artwork is high-resolution. When you license your artwork, it’s typically sold on products. Creating high-resolution artwork ensures that it can be scaled up to fit on large products like bedding, wallpaper, and more.

Creating high-resolution pieces can be a little tricky in Procreate since the larger your canvas size is, the fewer layers you get. I’ve come up with a few tricks in my Procreate workflow to help with this. Instead of starting out with a large canvas and limited layers, I start my initial sketch on a smaller canvas so I can have the flexibility of multiple layers. When I’m ready to work on the final illustration, I scale it up to a larger canvas size that’s a better fit for art licensing.
If I’m working with a vertically oriented composition, the end goal is to get to a canvas size of 24” x 30”. But if I start with a canvas size that large, I’m limited to just four layers. I start my sketches with a canvas size of 8” x 10” so that I have a ton of layer flexibility with my initial sketch. This means that I can add reference photos, explore color palettes, and refine my sketch without worrying about running out of layers. It also helps me loosen up knowing that I don’t have a limited number of layers to work with.

Here’s a peek into my process for working with different canvas sizes in Procreate!
Step 1: Create the Sketch Canvas
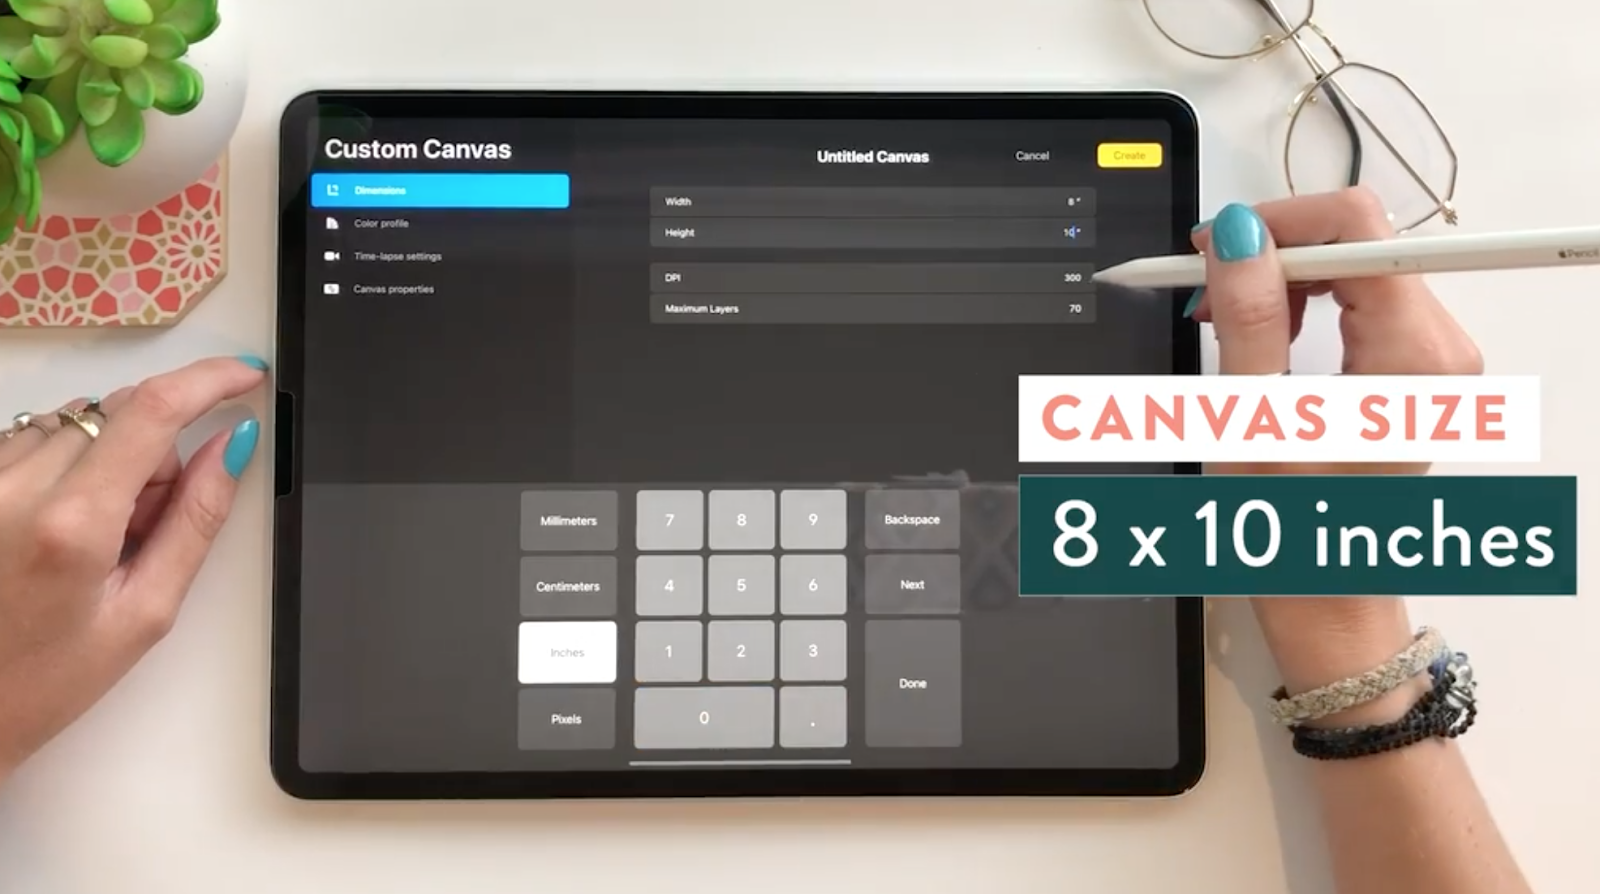
To start, choose a canvas orientation that works for the piece you’re going to be illustrating. In my example, I’ll be creating a vertically oriented piece, and I know that my end goal is a canvas size of 24 x 30 inches. I want whatever I create on my sketch to be able to scale up exactly to that 24 x 30 size, so I’m going to start with a canvas size that’s exactly three times smaller; 8 x 10 inches. Divide your final canvas size by three to determine the size of your sketch canvas.
Once you know what size canvas you want to use for your sketch, create a new canvas by tapping the “+” icon in the Procreate Gallery and selecting the “Add New Canvas” button on the right.

This will allow you to create a new custom canvas. In my example, I’m making it 8 x 10 inches at 300 DPI.
One thing that’s really important to note, is that you don’t want to use this initial sketch canvas for drawing anything that will end up in your final high-resolution piece. Since it’s going to get scaled up eventually, it will lose resolution and get pixelated. I’m not worried about a pixel-y sketch since I know that it won’t end up in my final illustration.
Now you can use this canvas to sketch and explore color. When you’re happy with your sketch and are ready to move on to illustrating the final piece, it’s time to resize that canvas.
Step 2: Resize the Canvas for the Final Illustration
We could take this sketch and size it up all within the same file, but I prefer to duplicate my artwork as I go. This allows me to save my progress at each step of the process so that I can go back to my initial sketch to reference it or adjust it.

To duplicate your canvas, navigate to the Gallery, tap Select, tap your canvas, and then tap Duplicate.

Then, to keep things organized, select the original and the duplicated piece and tap “Stack” to group them together.

Now, inside the stack, rename the duplicated canvas so that you can differentiate it from the sketch. I’m naming mine “Main Motif.”

Now it’s time to resize the canvas to a larger size that’s better suited for licensing your artwork. Tap the wrench icon, and under “Canvas” tap “Crop and Resize.”

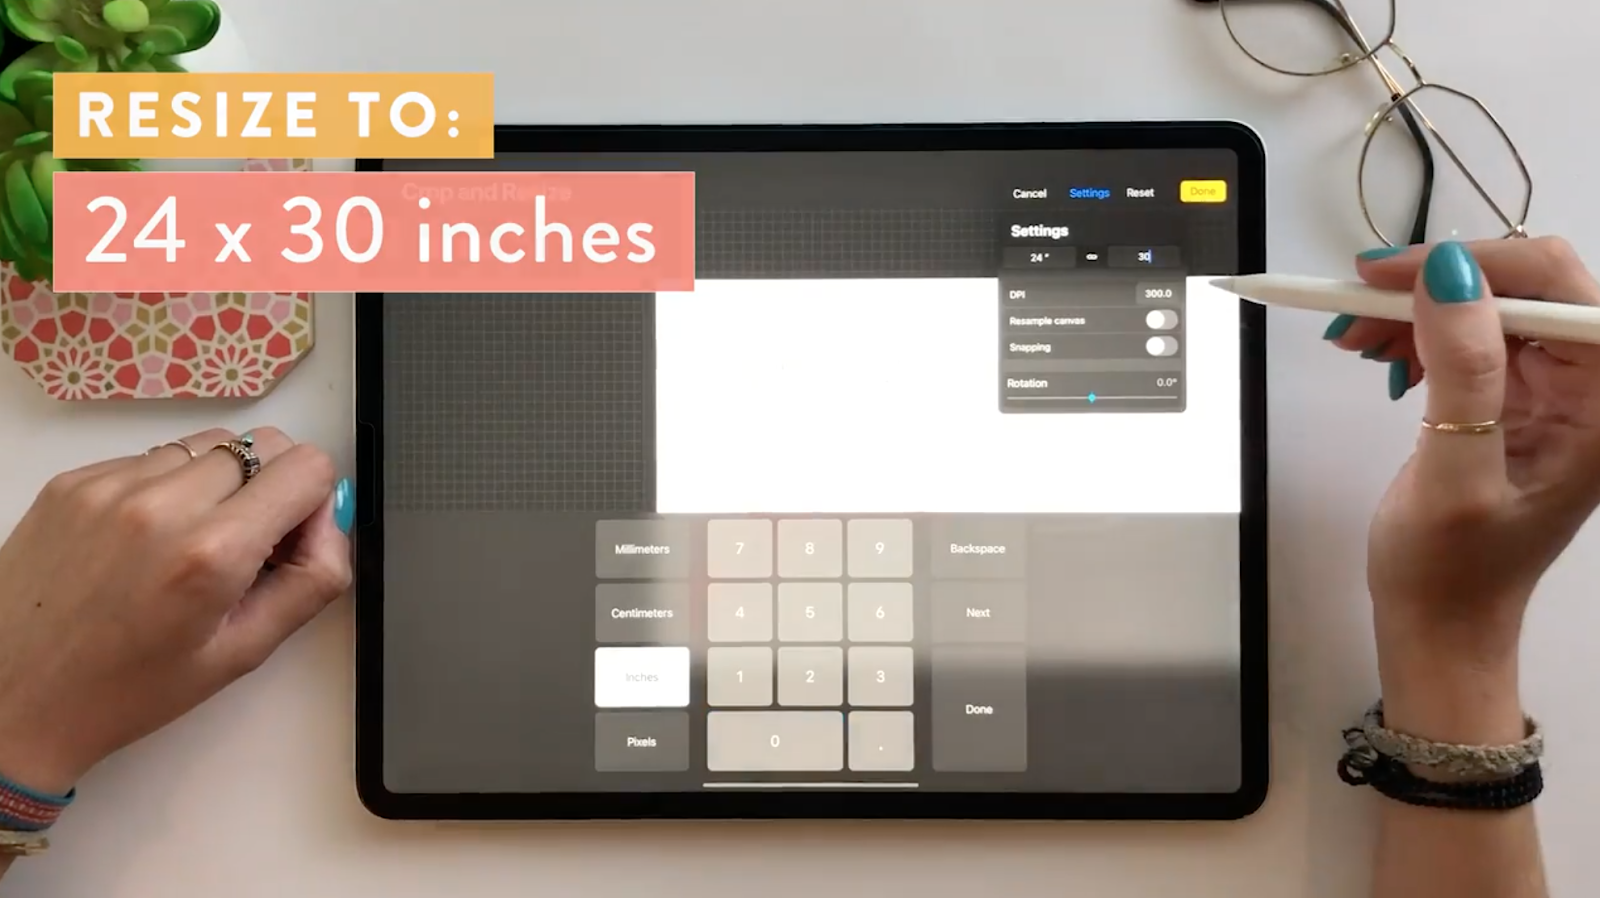
From here, tap “Settings” to adjust the size of your canvas. You can also adjust the DPI if you’d like, but note that this will likely limit your number of layers even more. I keep mine at the standard for printing, 300 DPI, and that works just fine for me!

Now update the settings to reflect the larger canvas size. In my example, it’s 24 x 30 inches.
Note that some iPad models won’t let you resize to this large of a canvas. I work on an iPad Pro so my canvas sizes can get pretty big, but if you have an older model or an iPad that isn’t a Pro, there’s a chance that you may be restricted to how large you can go. If you’re following along with me and need to go smaller, you can try 18 x 24 inches or 16 x 20. If it’s still not working, just take some time to troubleshoot and experiment with different sizes to get it to the maximum size your iPad can handle.

Now that we’re sized up to a larger canvas size, we’re limited to how many layers we can use. The next step is to pinch the layers of your sketch to flatten them into one layer. If you’re having any issues sizing up, you may have to flatten your sketch layers before resizing. Just make sure that you’re on the “Main Motif” canvas and not your initial sketch.

You’ll notice that your sketch is in the corner of the canvas, and we want to scale it up to fit this new canvas size. To do this, simply select the transform tool and resize your sketch to fit.

Remember, scaling things up like this will compromise the quality of your illustration and it will turn out fuzzy and pixelated when it’s printed. I don’t usually recommend scaling elements up like this in Procreate, but in this case, it’s just the sketch so it’s ok to scale up and lose some of that resolution.
Now you’re ready to start inking the illustration and creating the final piece! Working within the layer limits of Procreate can take some getting used to, but I’ve figured out a few tips and tricks like this one to help me create high-quality illustrations even under strict layer limitations.
If you want to learn more about how to create a full high-resolution illustration in Procreate with just four layers, I have a whole class dedicated to this topic, Draw Your Dream Home in Procreate!
This class is chock full of more tips for working with Procreate layer limits and it also covers tons of other Procreate tips like using shortcuts, adding texture, adding a paper texture background, and drawing with symmetry. Plus, you’ll finish the class with a complete illustration of your dream home or your current home! And the best part? You can watch the class for free when you sign up for a free trial with Skillshare!

Check out all of my Procreate classes on Skillshare!

Drawing Animals in Procreate
Wondering what to draw in Procreate? In this class, you'll learn step-by-step how to draw artwork on your iPad.

Drawing Seamless Patterns in Procreate
In this class, you will learn how to use your artwork to illustrate professional, repeat patterns that easily line up into perfect pattern blocks.