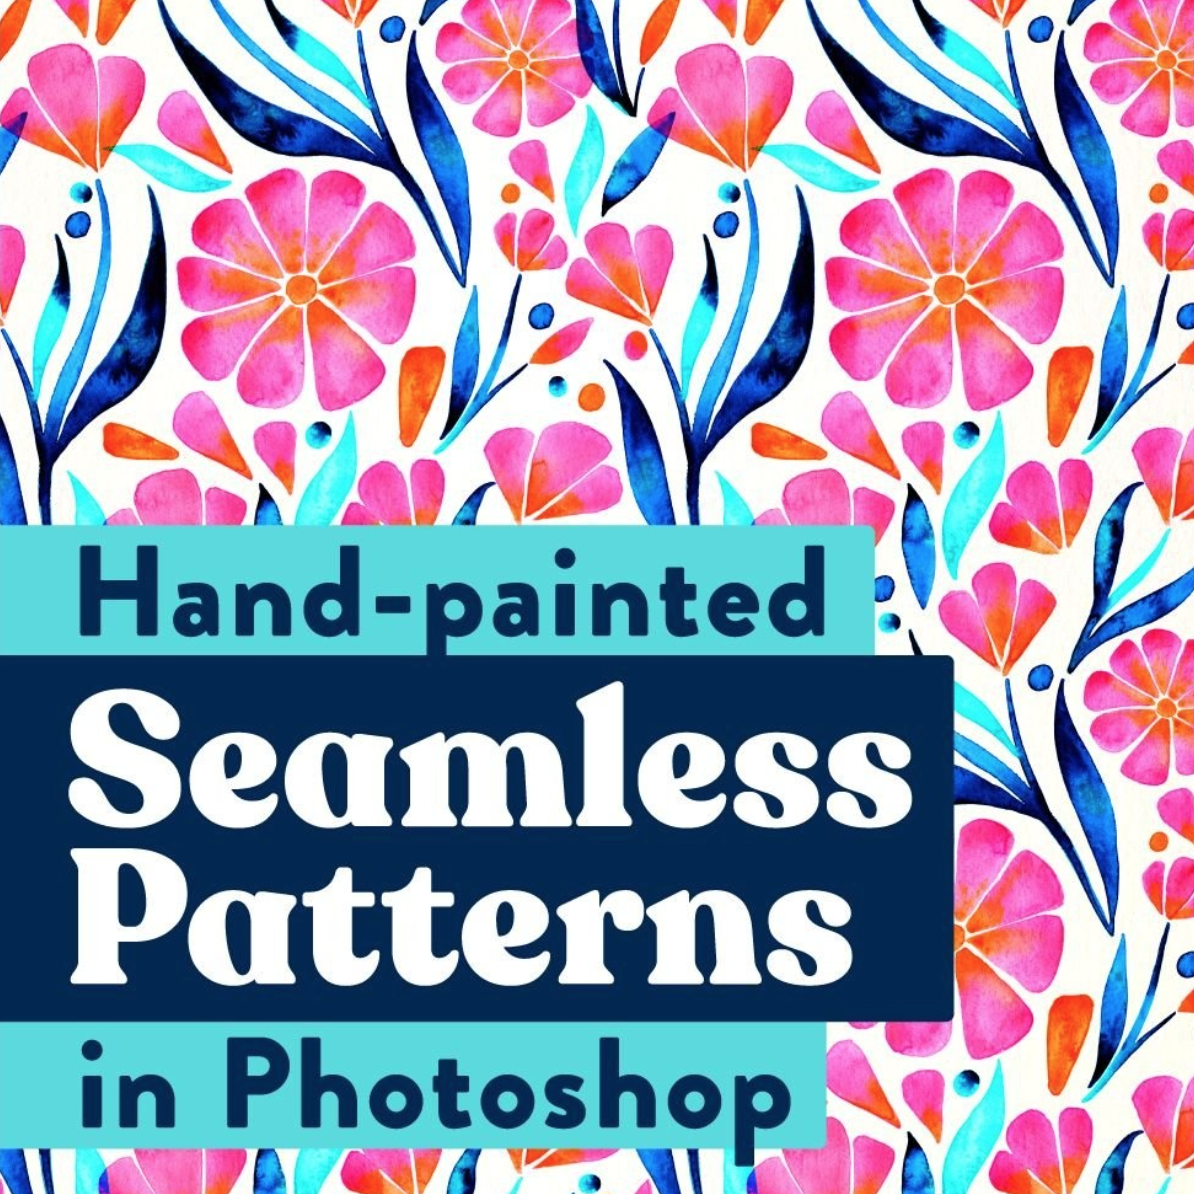
How to Create a Seamless Pattern in Photoshop
A seamless pattern (or repeating pattern) is a pattern that can be repeated endlessly without any visible seams or interruptions. In this tutorial, you will learn how to turn your artwork into professional, infinite patterns and surface designs that easily line up into perfect pattern blocks. This means your designs can scale up infinitely!
Why use a seamless pattern?
For surface designers, seamless patterns are the professional standard.
Seamless patterns are key to creating designs that work on:
Wallpaper
Fabrics
Bedding
Website backgrounds
Anything that needs to be repeated indefinitely.
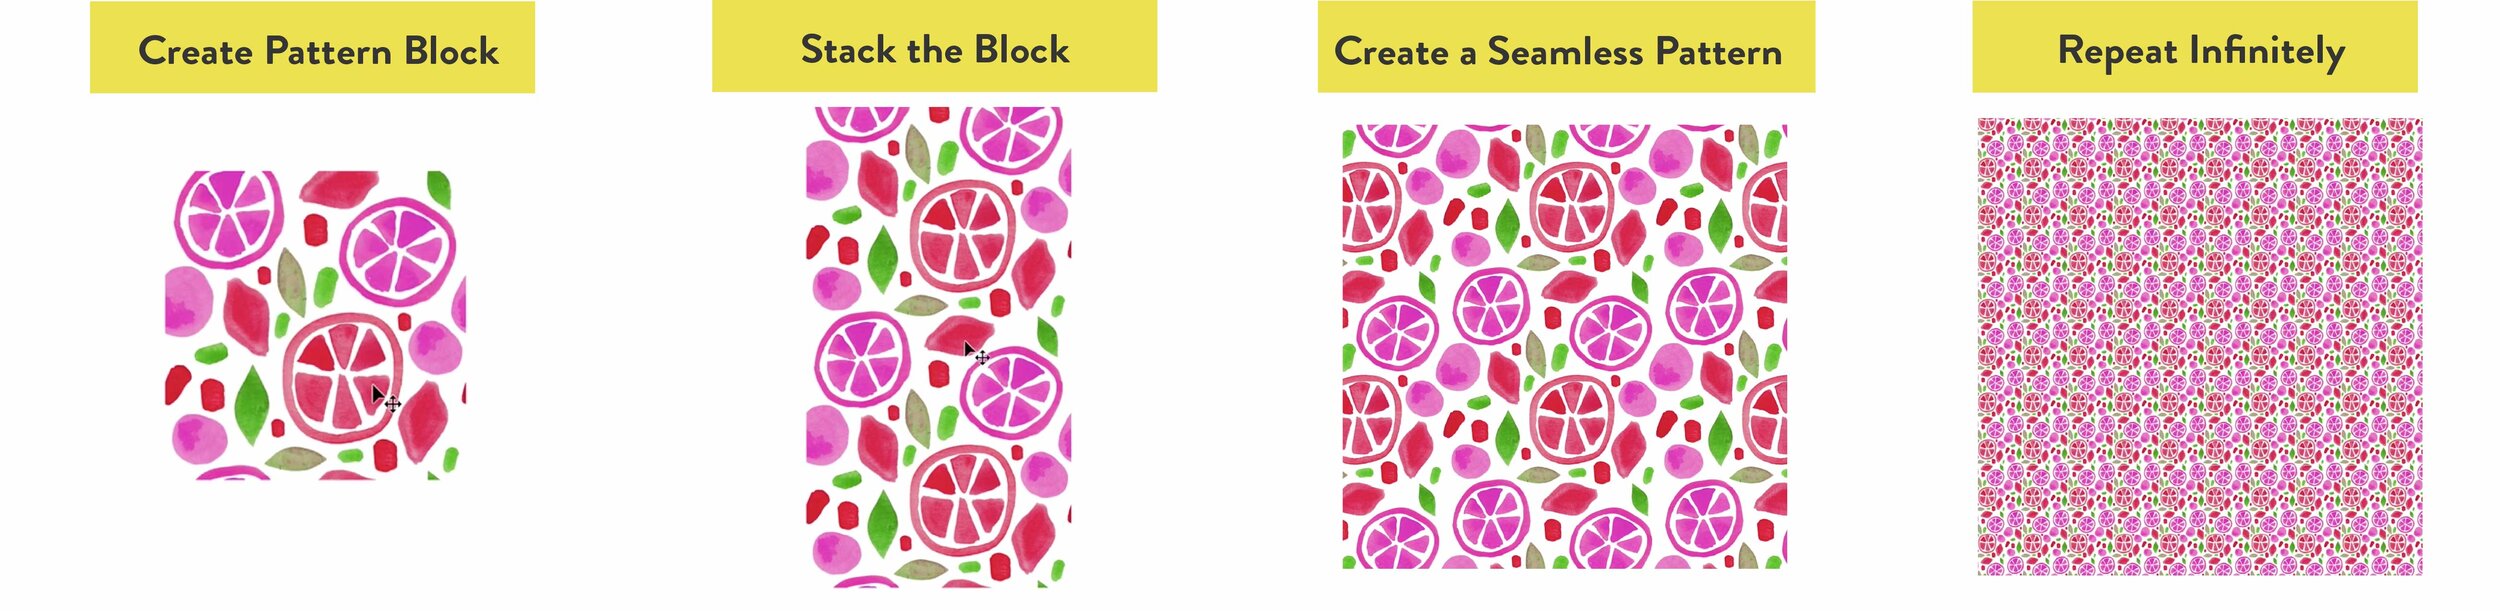
In this tutorial you’ll learn:
How to arrange elements into a seamless pattern block
How to test your pattern block and make adjustments if needed
How to duplicate the block to create a pattern
You’ll need:
Adobe Photoshop (sign up for a free trial here)
Illustrations/doodles to arrange into a seamless pattern (Learn how to digitize your hand-drawn artwork here.)
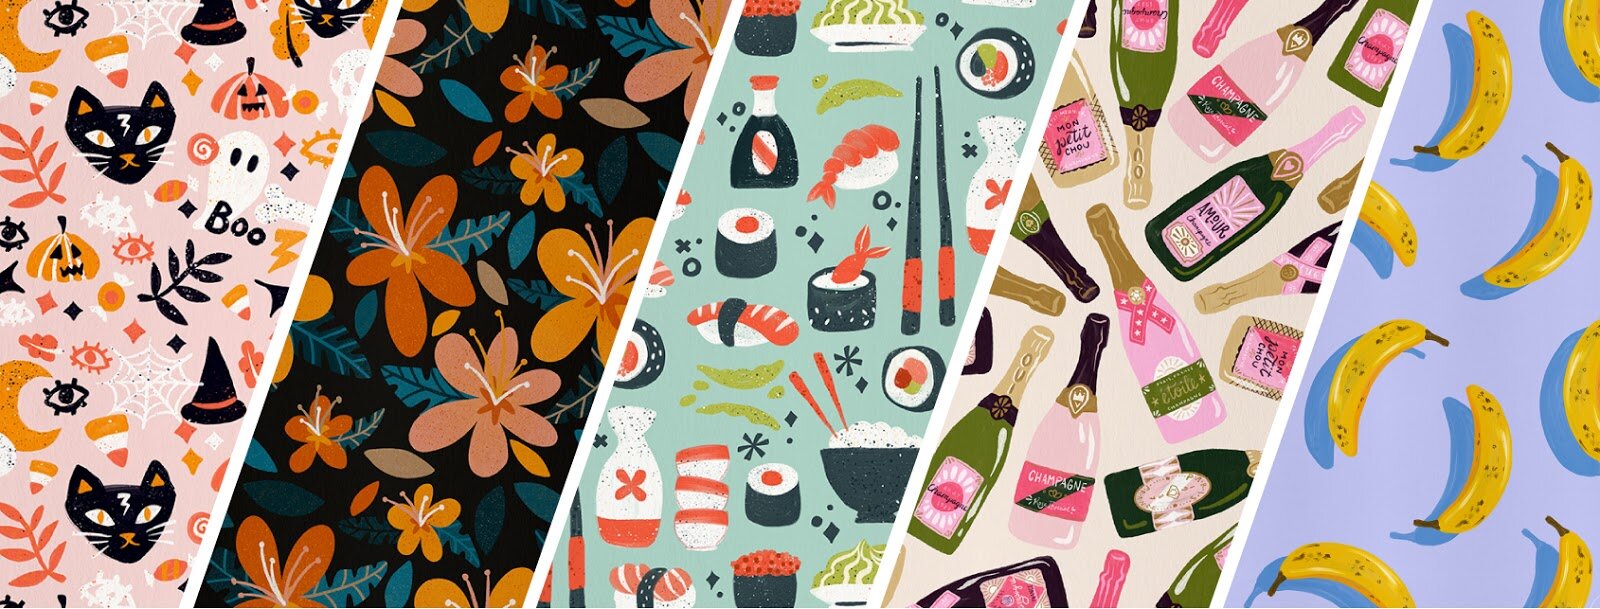
Seamless Pattern Examples:
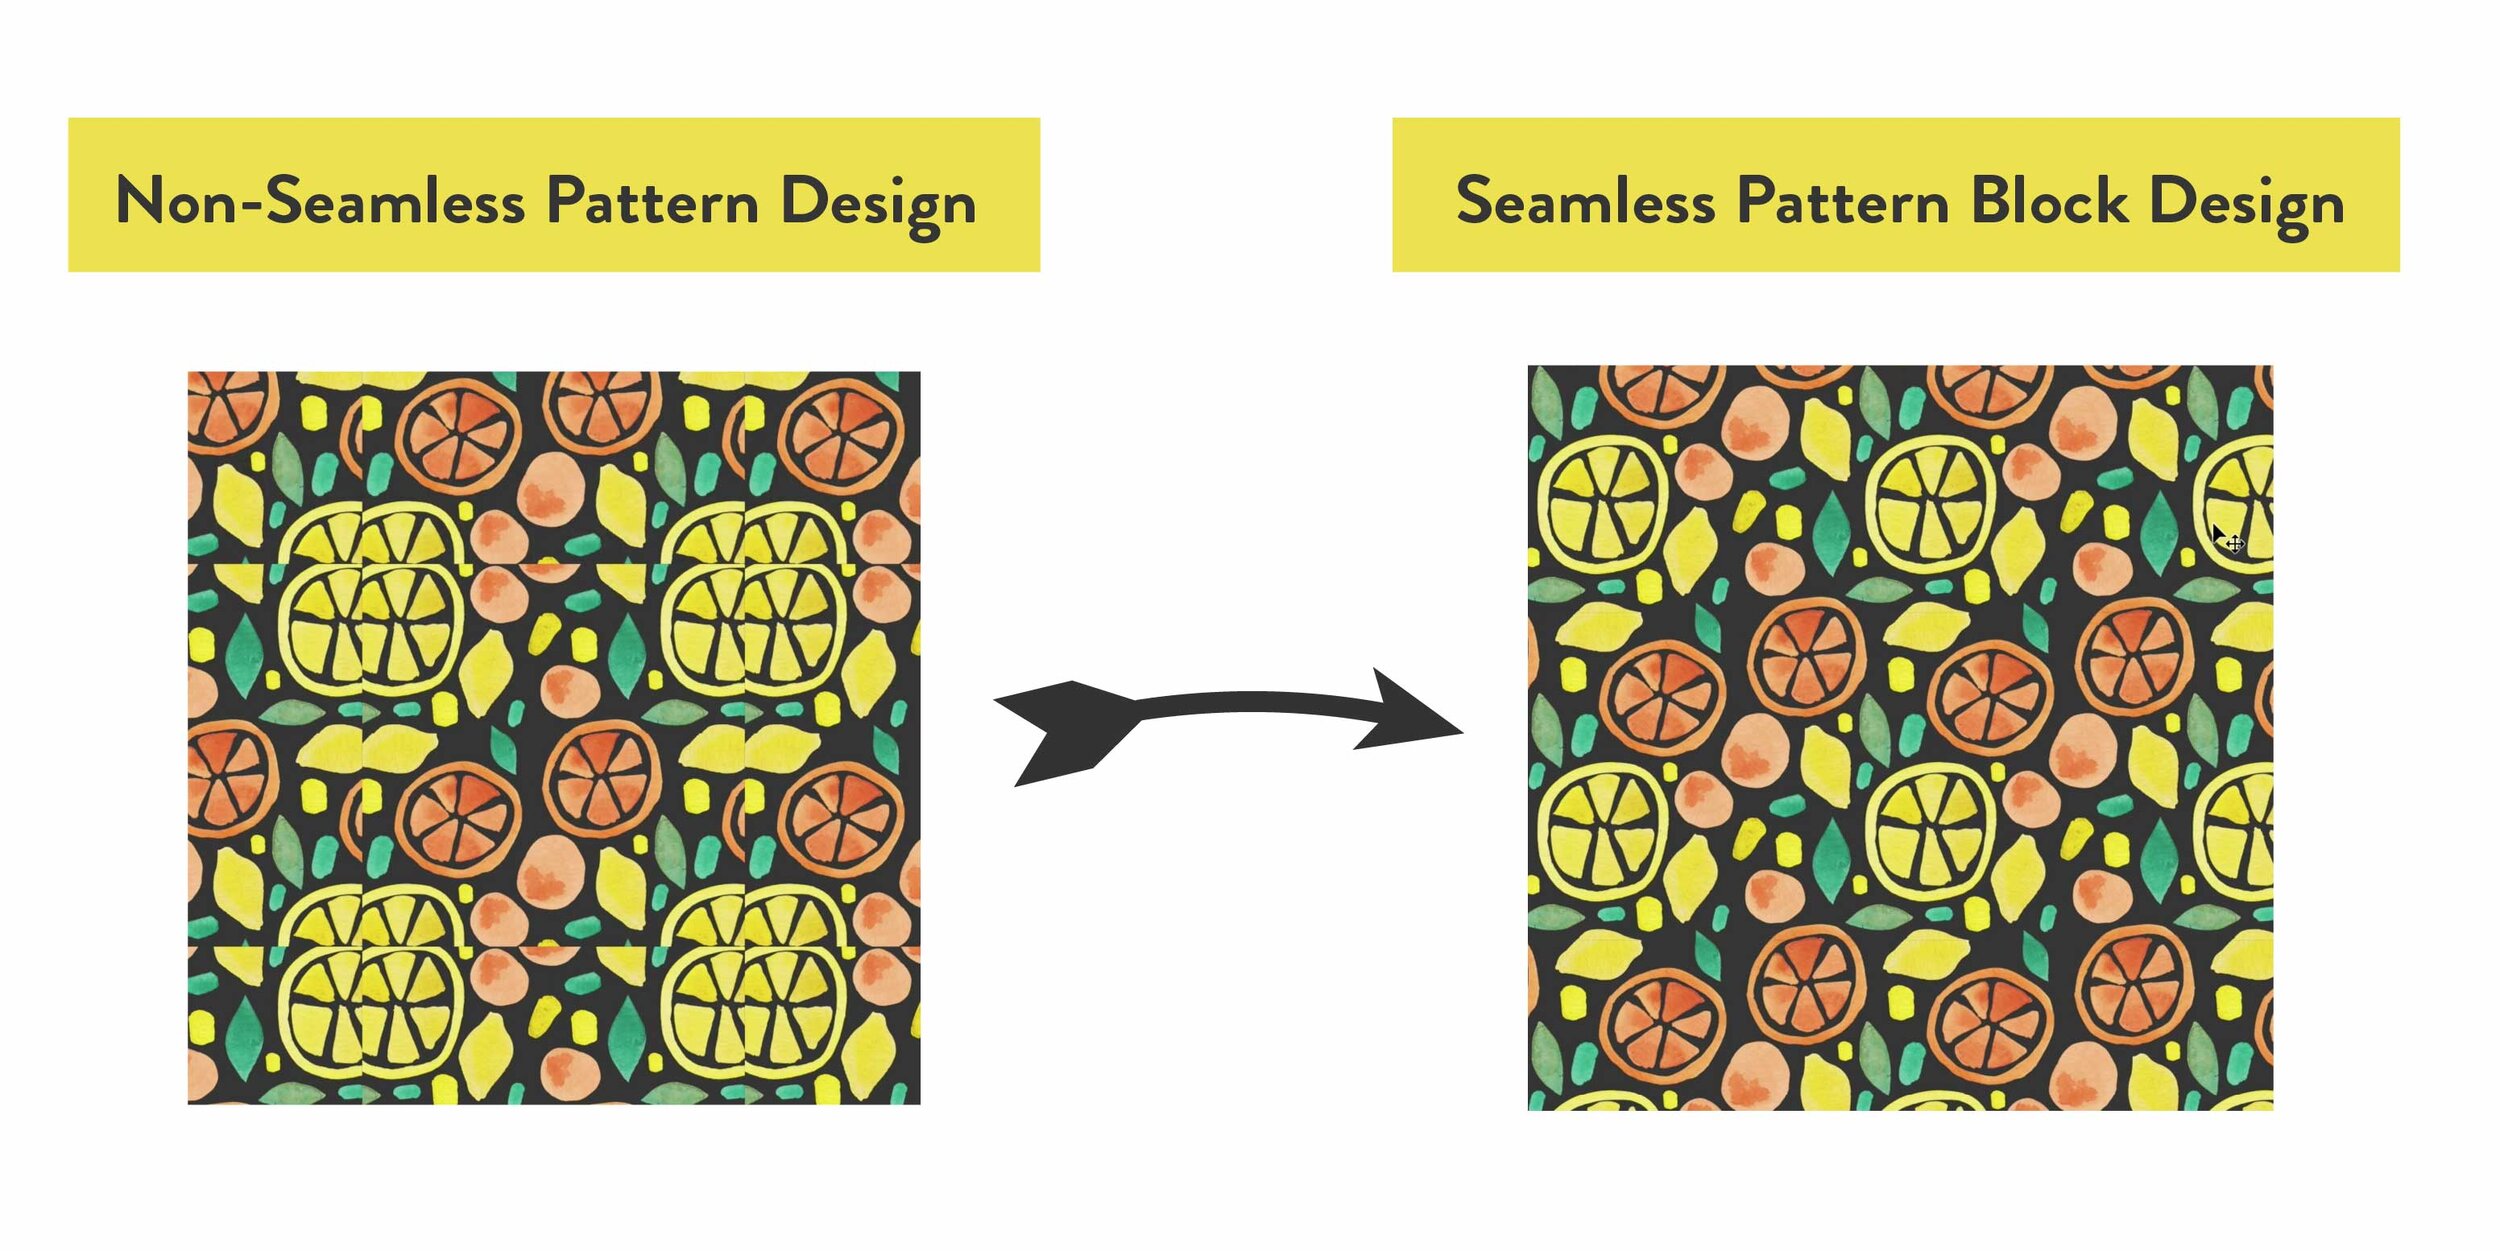
The hardest part of creating a seamless pattern is getting the pattern block just right so that it repeats seamlessly. But don’t worry! That is exactly what I’ll walk you through in this tutorial. On the left is an example of a non-seamless pattern, and on the right is an example of the same elements arranged on a square block in a way that allows them to be repeated seamlessly.
If you have the newest version of Photoshop on your computer, there is a new tool called “Pattern Preview” that makes the entire pattern-making process super simple. I’d recommend reading through this post to get the basics of patterns in Photoshop, and then hop over to this new post to learn how to use the pattern preview tool!
And if you’re more of a visual learner, the concept of seamless patterns can be a bit easier to learn in video form. I teach this same concept in my class - Hand Drawn Seamless Patterns in Photoshop. You’ll learn my entire process from creating hand-painted elements to digitizing them and arranging them into a seamless pattern! This class is everything I wish I had known about pattern-making when I was first starting out in my surface design career so I’m so excited to share it with you.
And the best part? New Skillshare users can get one month free to check out the platform and take classes! Skillshare is an incredible creative hub with thousands of classes to choose from. I am constantly coming out with new classes so there is always something new to learn!

Getting Started
To start, you’ll need a few elements that you can arrange into a pattern. In my example, I’ll be using some watercolor citrus elements that I painted, scanned, and digitized. If you’re going to be working with painted elements, it’s important to remove the white paper background first. If you want to learn how to do this, head on over to this tutorial before starting on your seamless pattern. The tutorial will walk you through my step-by-step process for removing the background on your illustrations in Photoshop.
Ready to create your seamless pattern? Open up a new file in Photoshop, and let’s get started!
Step 1: Create a Square Pattern Block
First, bring the elements you will be using for your pattern into your Photoshop file. Then we’ll start by establishing a square pattern block. This is what will allow us to stack the pattern and repeat it infinitely.
To make your square block, select your Marquee Tool (keyboard shortcut: M). Then draw a square in the middle of your page while holding shift to create a perfect square. The size of the square doesn’t matter much as long as it’s big enough to house your painted elements.

In my example, I’m going to fill in the background of my pattern block with a dark color so the painted elements really pop and I can see what I’m doing.
Start by creating a new layer. Click in the bottom right corner of your layers panel where it says “Create a New Layer.”
To add a background color to your square, select a dark or contrasting color and grab your Paint Bucket Tool (keyboard shortcut: G). Click on your square to fill it in with that color. Now deselect the square by using the keyboard shortcut cmd + D.

If your square is covering up your elements like mine is here, just click and drag the background layer underneath your elements layer so that they appear on top.

Step 2: Create the Pattern Block
Get Your Elements Organized
Make sure that your elements are each on their own layer so you can move them individually. If you haven’t done this already you can do so by selecting your Lasso tool (keyboard shortcut: L). I like to use the Polygonal Lasso for this. Select each element with your lasso, cut it with the keyboard shortcut cmd + X, and paste it in place with the keyboard shortcut cmd + shift + V. This pastes the element exactly where it was before, but on its own layer! When you’re done, group all of the element layers by clicking the first layer, holding shift, clicking the last layer, and then using the keyboard shortcut cmd + G to group them.
In my example, I’ve given each individual layer a name and grouped them into a folder called “Seamless.” This helps me stay organized while I’m working.

How to Arrange Your Elements So They Repeat Seamlessly
Now we’ll start arranging these elements within our square block. The key to creating a seamless pattern is the continuity of the elements on your pattern block. Essentially, you’re creating a puzzle piece with your pattern block and you want all of the elements on there to flow seamlessly when you duplicate it. To create this puzzle piece you’ll want to have parts of the elements hanging off of the left edge and top edge. Then you’ll cut those pieces and move them to the opposite edge of the block. This ensures that as you duplicate the pattern, the two pieces of that element will fit together like a puzzle which creates the seamless look that we’re going for.
If you’re feeling lost, I’ve got you! Here’s a visual example. On the left is the first step of creating the pattern block. I have parts of the elements hanging over the left and top edges. Those pieces that are hanging over the edge will be cut and moved to the opposite edge where I have circled those empty spaces. On the right is what the pattern block will look like when it’s complete. The pieces that were hanging over the edge have been cut and moved, and the areas that I’ve circled are now filled with those pieces.

Arrange Your Elements
Now that you know where we’re headed, you can get started arranging your elements into a pattern on your block! Be sure to leave a few elements hanging off of the left and top edges, and be aware of how they’ll be tiled together. Don’t forget that anything that hangs off of the edge will be repeated on the exact opposite edge. Be sure to leave gaps in the areas that you anticipate the overhanging pieces of the elements will repeat.
You can move your elements using the Move tool (keyboard shortcut: V). I like to rotate and change up the size of the elements as well to give the pattern some more visual interest. You can do this with the Transform tool (keyboard shortcut cmd + T). You can also duplicate your elements by selecting the element and using the keyboard shortcut cmd + J.
Step 3: Make the Pattern Block Seamless
Test Your Pattern Block
We want to start by testing the block to make sure that all of the elements fit together after the overhanging elements are cut and moved.
Start by making a copy of the elements you’ve arranged. This will allow us to test the pattern and go back and make edits to the original elements as needed. Make a copy of the layer group by selecting it and using the keyboard shortcut cmd + J. Then right-click on the new group and select Merge Group.
This flattens the copy of the group so that it is all on one layer. It’s super important to make sure that you only merge the copy since you want to be able to readjust any of the original elements after you test it out.

Make it Seamless
It’s time to cut the elements that are hanging off of the left and top sides and move them to the opposite edge of your block.
Start by hiding the original elements layer group by clicking the eyeball on the left of it on your layers panel.
Then, making sure you’re on the flattened copy layer, grab your Marquee tool (keyboard shortcut: M). Select all of the elements that are hanging off of the left side of your square.

Use your move tool (keyboard shortcut: V), and hold down shift so that the elements stay locked in. Drag the overhanging elements to the right side of the square. Make sure you get them right on the edge because if things are off, even by a pixel or two, it can mess with the seamless look of the pattern.

Things lined up pretty well on the left and right sides in this example. Now using the same process, bring the overhanging elements on the top down to the bottom of the square.
You can see in my example below that I didn’t get it quite right with the top of the orange. It’s overlapping with a leaf, and a bit too close to that other orange shape. In the next step we’ll walk through how to make adjustments to your elements if you have any overlapping pieces like this.

Step 4: Make Adjustments to the Pattern Block
Depending on how you arranged your elements, you may or may not need to make any adjustments. If your elements don’t need any adjustments you can skip to Step 5.
If you need to make adjustments you can follow along with me in this step. The easiest way to make adjustments to these elements is by doing so on your original elements layer group.
To do this, unhide your original layer by clicking to the left of it on the layers panel. Then turn down the opacity on your merged working layer by clicking the layer and turning the opacity down in your layers panel. I turned mine down to about 60% in this example. Lock that layer by selecting it and clicking the lock icon on your layers panel.

Now that the layer is locked you can move any of the elements that are interfering with your repeating pattern using your Move Tool (keyboard shortcut: V). You’ll be able to see the original placement of the element when you move it which is helpful for reference. In my example, I’m going to move the leaf that is overlapping with the top of that orange rind so that things are spaced out nicely.

After you’ve made all the adjustments that you need to, you can delete your merged layer. We were using this as a visual guide, but now that everything is in place we don’t need it anymore.
Now that you’ve tested the pattern and have all of the elements in place, you’ll need to recreate the pattern block. Go back and repeat Step 3 now that all of the elements are in the right place.
Step 5: Create the Seamless Pattern
Now we officially have our pattern block that can be repeated infinitely. It should look something like this. Notice how there are no longer any elements hanging off of the edge, and everything is lined up perfectly.

To create the pattern, make a copy of both the block layer and the background layer using the keyboard shortcut cmd + J. Now you can simply pull over that copy of the block while holding shift to repeat the pattern! Because we set these up to repeat, you can stack them on the top, bottom, left, and right sides to continue the pattern.
Continue this process to keep growing your pattern as large as you’d like. Here’s what my pattern looked like after duplicating the block on the right and adding two blocks to the top. Even though they’re individual blocks, they fit together seamlessly like a puzzle and make one cohesive pattern!

I hope this seamless pattern tutorial was helpful! If you have any questions drop them in the comments! As you create your patterns I’d love for you to share them on Instagram and tag me @catcoq so I can see what you make!
You have so much flexibility with creating seamless patterns. You can repeat them to your heart’s content, change up the colors, and edit the backgrounds to make tons of different looks from just one set of elements.
Creating seamless patterns is also a great skill to learn if you want to sell your art online using print-on-demand sites. Seamless patterns are great for products like wallpaper, fabric, wrapping paper, leggings and so much more! It’s a fun way to repurpose your art and create something totally new!
Want to dive deeper into pattern creation?
If you’re interested in learning more about creating seamless patterns or digital art in general, I’d love for you to join me in one of my classes!