How to Draw a Mandala in Procreate
One of the things I get asked all the time is how to draw a mandala. Mandala art is massively popular, and mandalas are some of the best sellers in my portfolio.
In addition to the fact that this is a popular motif, I also love illustrating mandalas because it's such a fun and relaxing creative exercise. It's a great way to zone out creatively while you're on the phone or watching your favorite show.
And the best part? Procreate makes drawing mandalas super fun and simple. In this tutorial, we'll use the drawing guides and assisted drawing tools to make a perfectly symmetrical mandala. The assisted drawing tool repeats what you draw in one quadrant of your illustration and mirrors it in all of the other sections. This is a game-changer for creating symmetrical mandalas quickly.
Supplies You’ll Need:
All you'll need for this tutorial is the iPad app, Procreate. I like to use an Apple Pencil when I draw in Procreate, but if you don't have one, no problem! You can learn this skill either with a stylus or by drawing with your finger.
Ready to create your mandala? Let's do this!
Step 1: Set up your canvas
Mandalas work best on square canvases. The reason for this is that everything in a mandala is symmetrical, and working on a square canvas is easier for keeping that symmetry.
You'll also want to select your color palette and brush before starting this illustration. If you're brand new to Procreate and want more tips on some of the basics like setting up a canvas and choosing a color palette, you can learn more in my class, Procreate for Beginners.
Once your canvas is set up and you've selected your tools, you're ready to get started with the mandala.
Step 2: Turn on the Drawing Guide
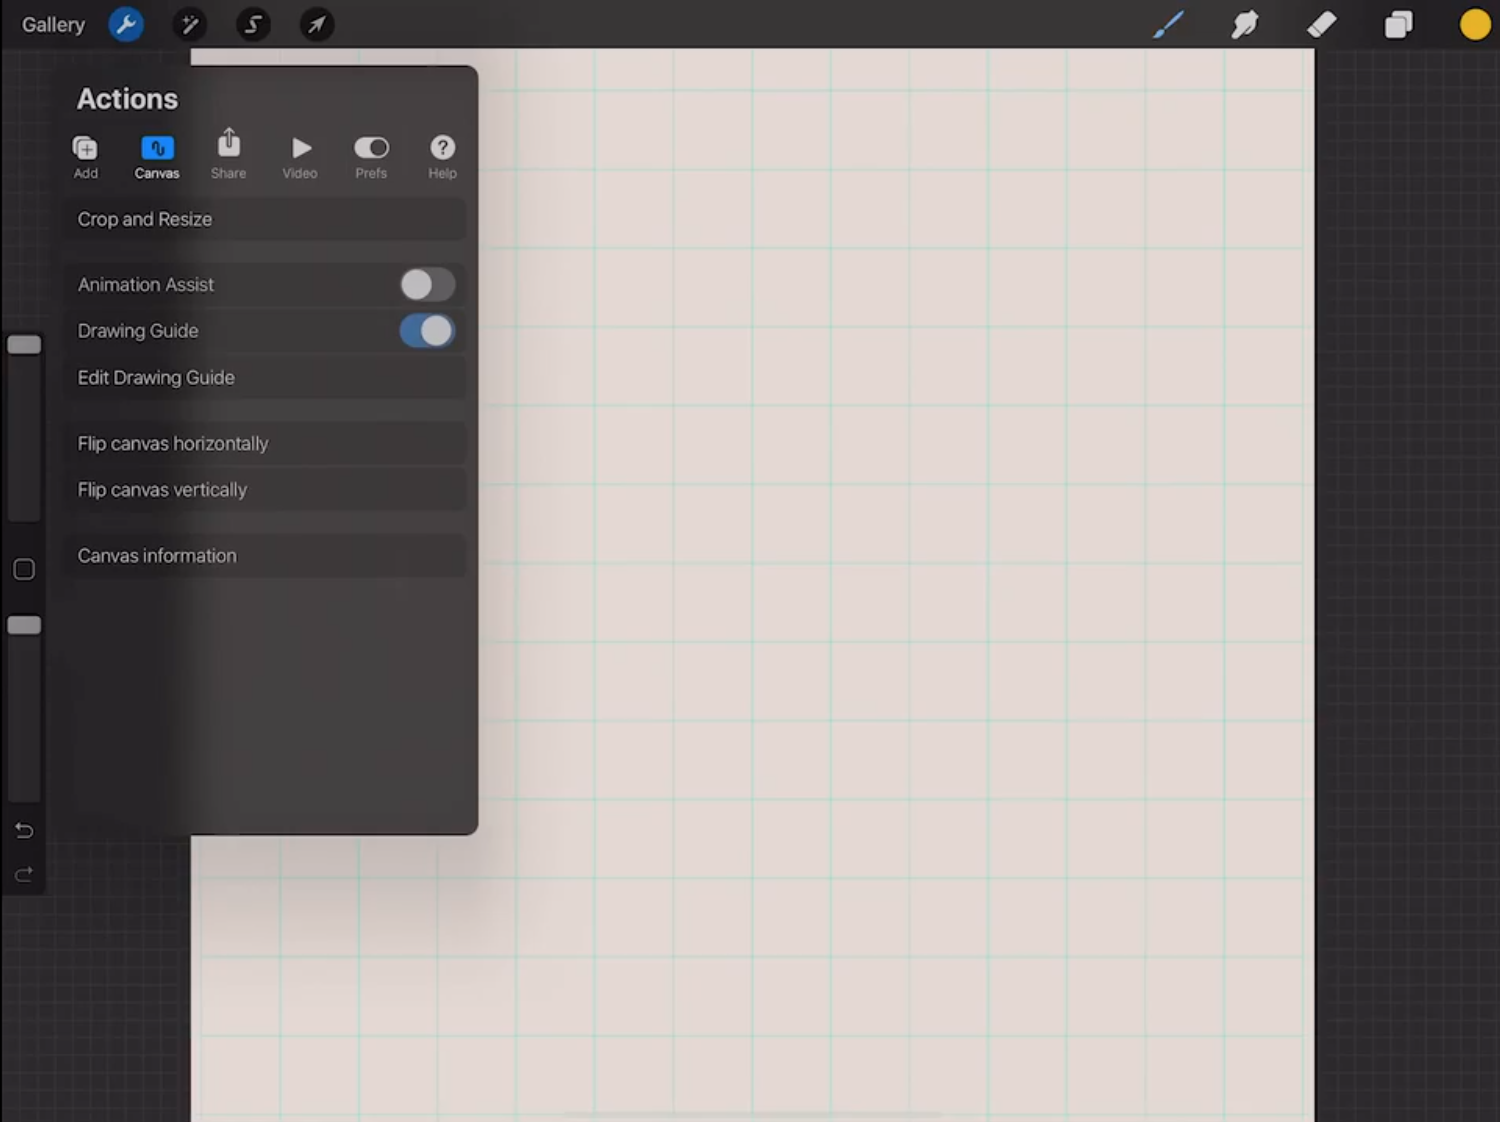
The next step to drawing your mandala is to turn on the Drawing Guide. This guide is a visual reference that you can use as you're working to make sure that your illustration is staying perfectly aligned. To turn it on, select the wrench icon, then select "Canvas" and toggle on the switch next to "Drawing Guide." Now you'll have a gridded guide on your canvas. In the next step, you'll learn how to use the more advanced features of the drawing guide.
Step 3: Change the Drawing Guide Settings to Radial Symmetry
To get into the drawing guide settings tap "Edit Drawing Guide" right below the switch that you toggled on.
From here, select "Symmetry" from the right side of the menu. Symmetry is the key to getting the illustration to repeat symmetrically in the different quadrants of the canvas.
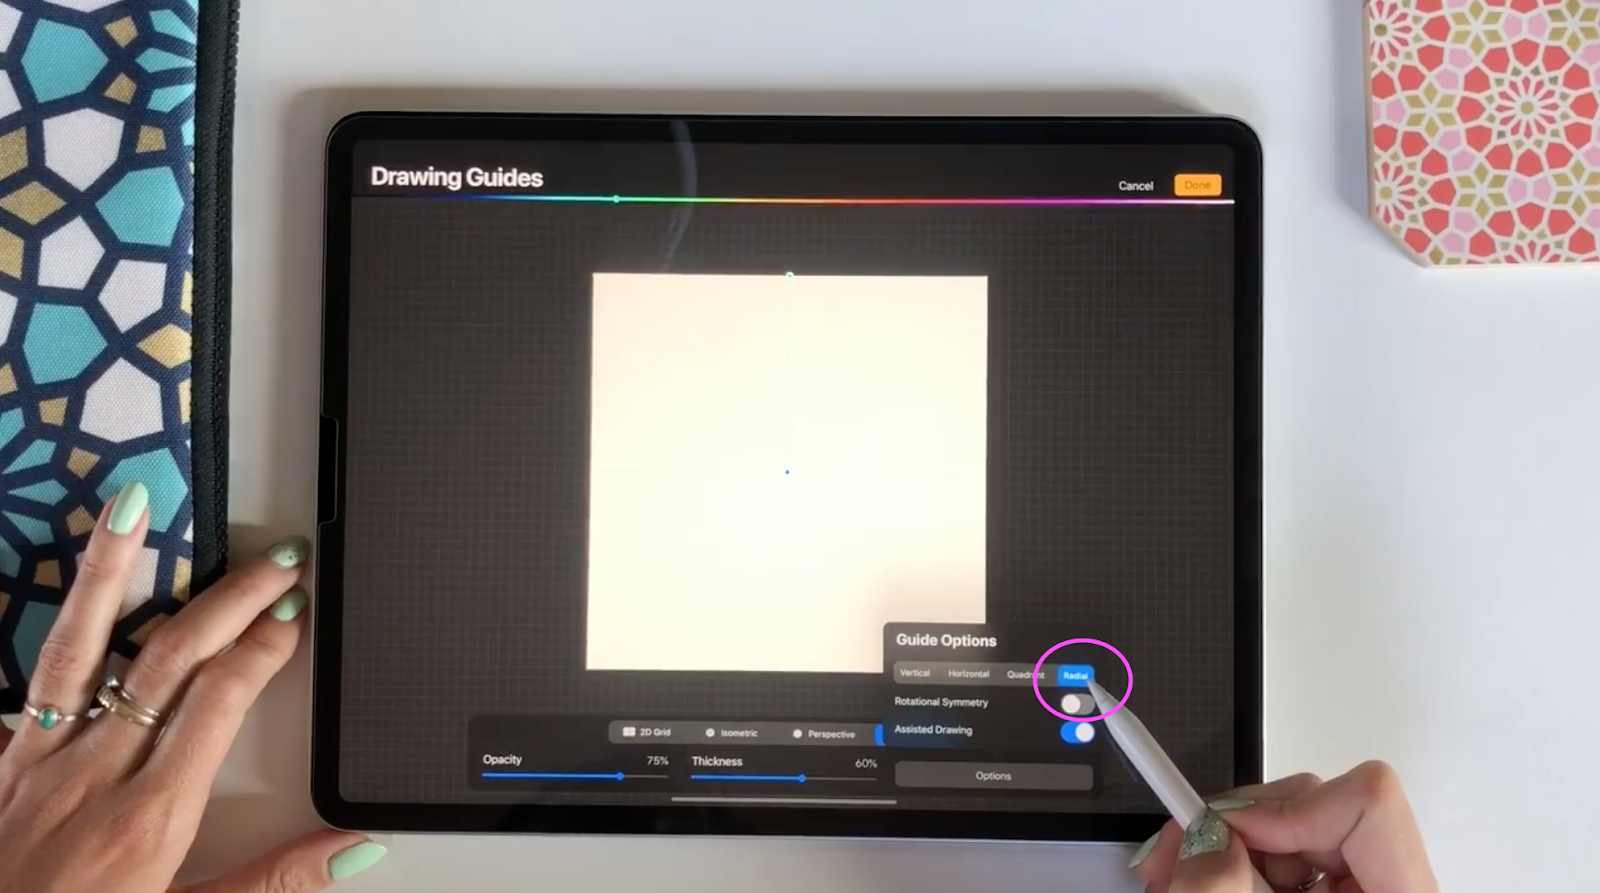
The grid should show one central line down the middle of your canvas. Next, tap "Options" in the bottom right corner. Then select "Radial" and make sure the switch next to "Assisted Drawing" is turned on.
Step 4: Draw the mandala!
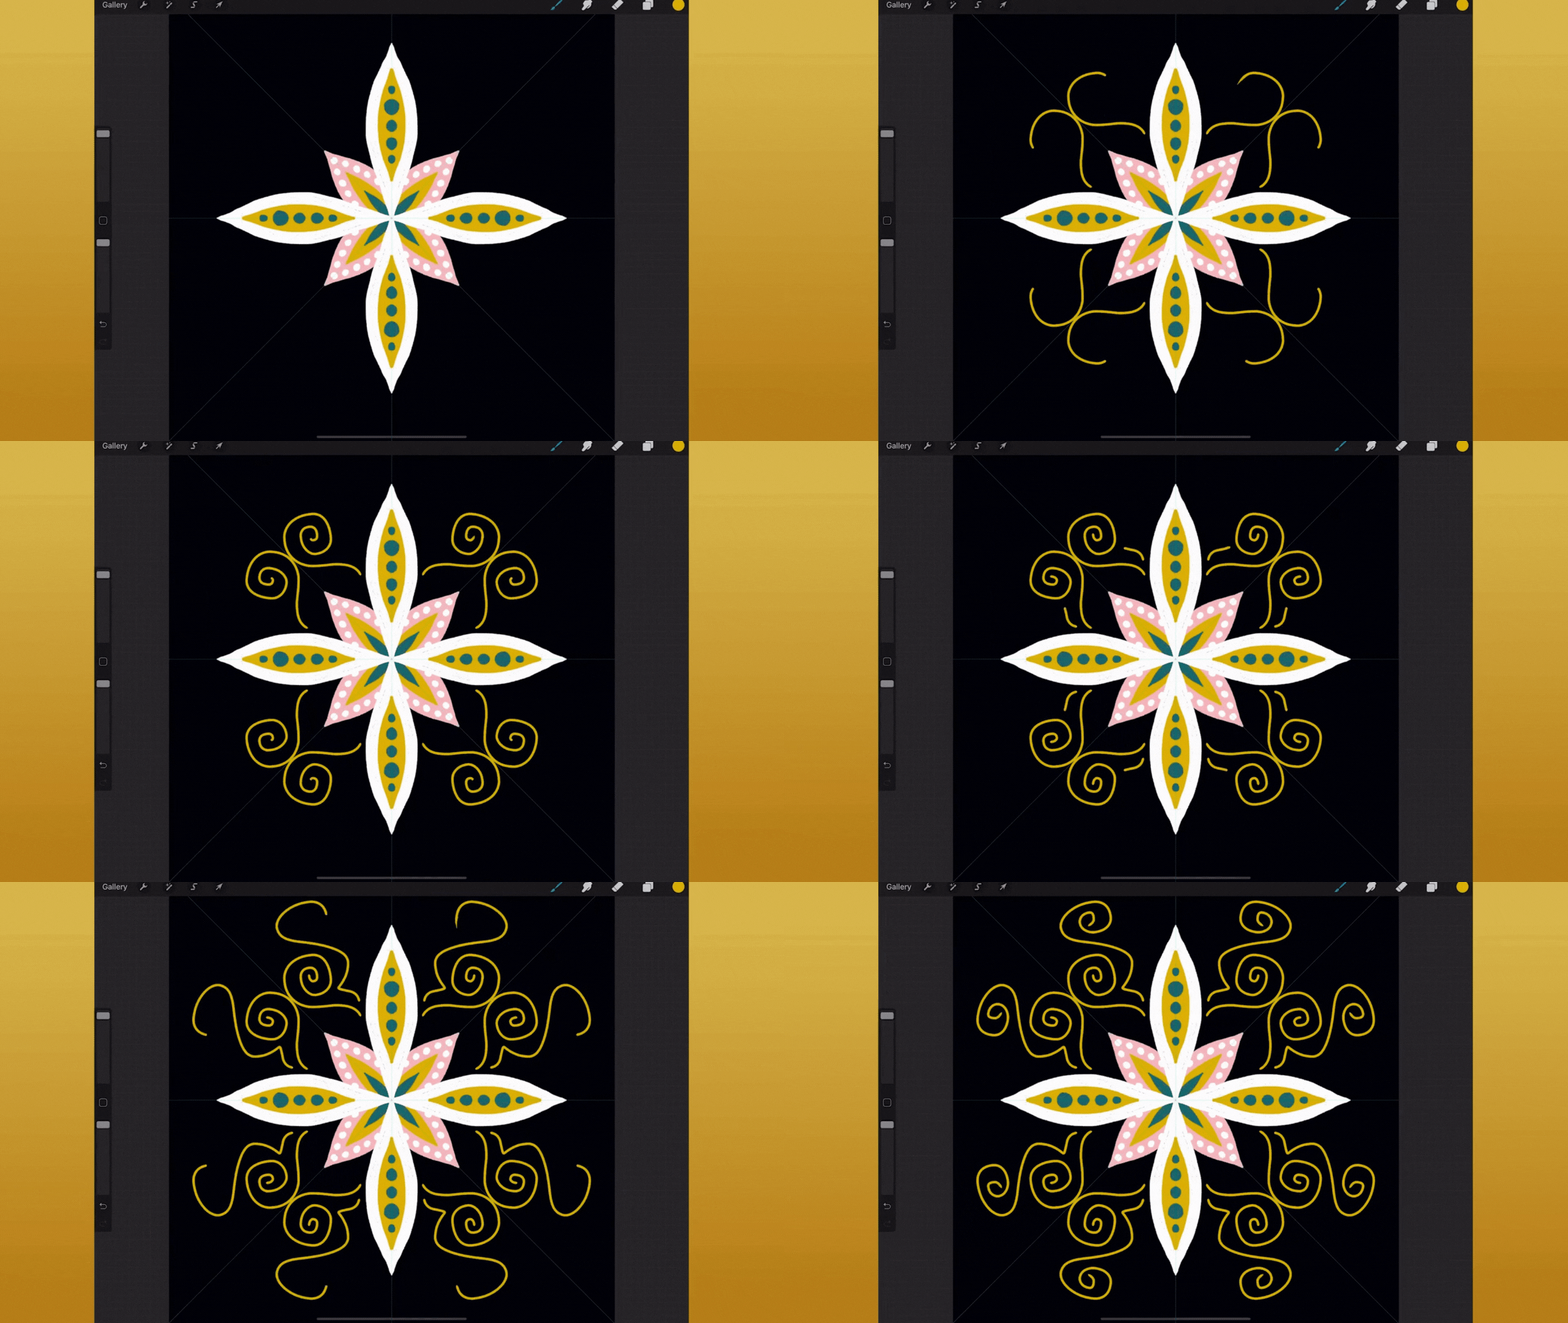
Now you can navigate out of this menu and start drawing! Once you start drawing in one section of the page it will be repeated radially in all of the other sections. This is the core piece of drawing a mandala.
Then it's time for the fun part. Let your imagination run wild as you're creating the mandala. There's no wrong way to draw it!
You can confirm that assisted drawing is turned on because it will say "Assisted" under the layer that you're working on.
Any new layer that you add won't automatically have drawing assist turned on, so when you draw on the new layer, the illustration no longer gets repeated. You can easily fix this by tapping the layer thumbnail image and selecting "Drawing Assist"
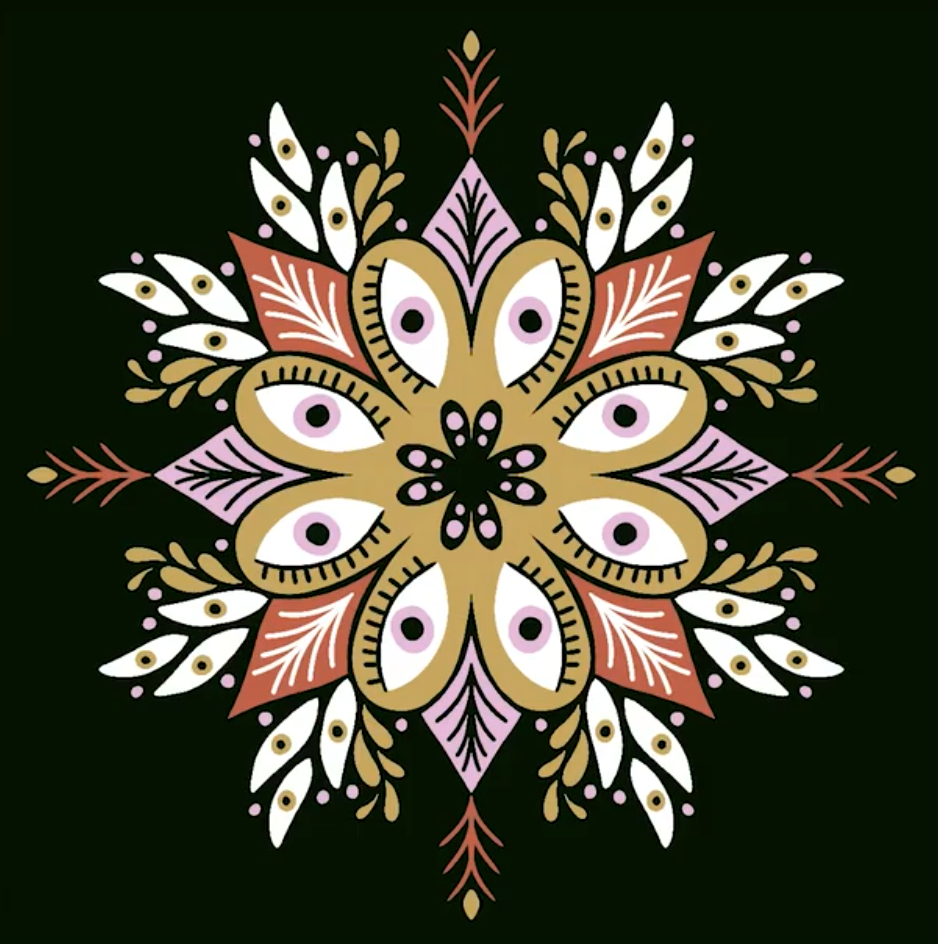
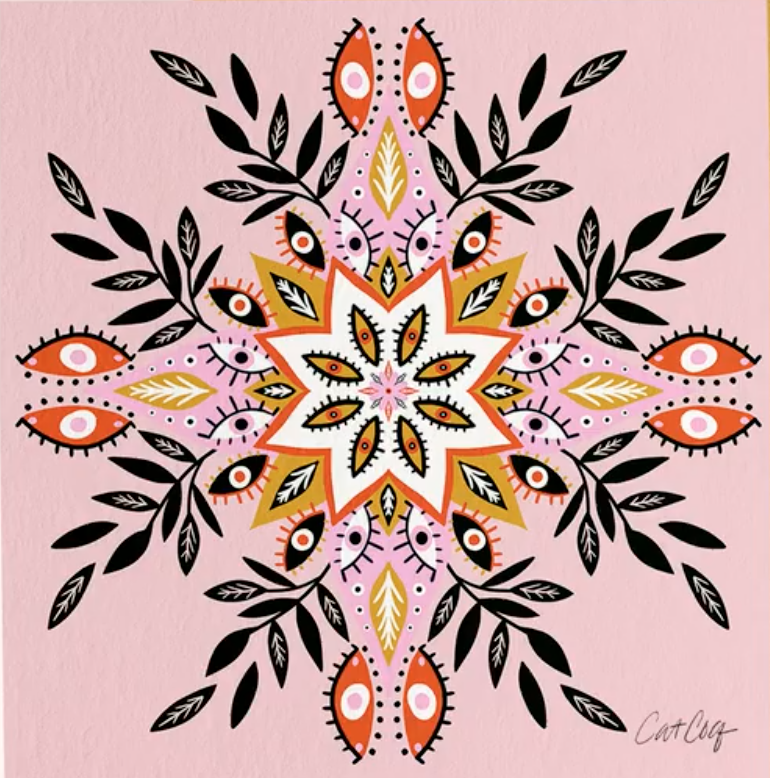
My final mandala looked like this, but yours will probably look completely different. I love seeing what you create, so don't forget to share your mandala on Instagram and tag me @catcoq so I can see it!
Want to dive deeper into Procreate?
We covered the basics of Assisted Drawing today, but if you want a more in-depth look into what kinds of Procreate drawings you can create using this tool, check out my Procreate classes!

