How to Make a Color Palette in Photoshop
Want to learn how to make a custom color palette? In this tutorial, I'll walk you step-by-step through the process of creating a color palette in Photoshop. Color is something that I see beginner artists get stuck on when they start creating art. Color is a fundamental part of all illustrations, but it's not always easy to know where to start.
In this tutorial, I'm going to show you how you can create beautiful custom color palettes by sampling colors from reference images.
Supplies:
Photoshop (you can download a free trial here)
A Color Palette Worksheet
In this tutorial, I'll be working off of this color worksheet.

You can download a copy for free here. Just scroll down, enter your email and you'll be redirected to a Dropbox folder where you can download the color worksheet.
If you want to create your own color palette worksheet simply draw out a few black boxes in Photoshop and leave space to pull in a photo that you can reference. The black boxes are what we'll fill in with color to create the palette.
Now let's start building our custom color palette!
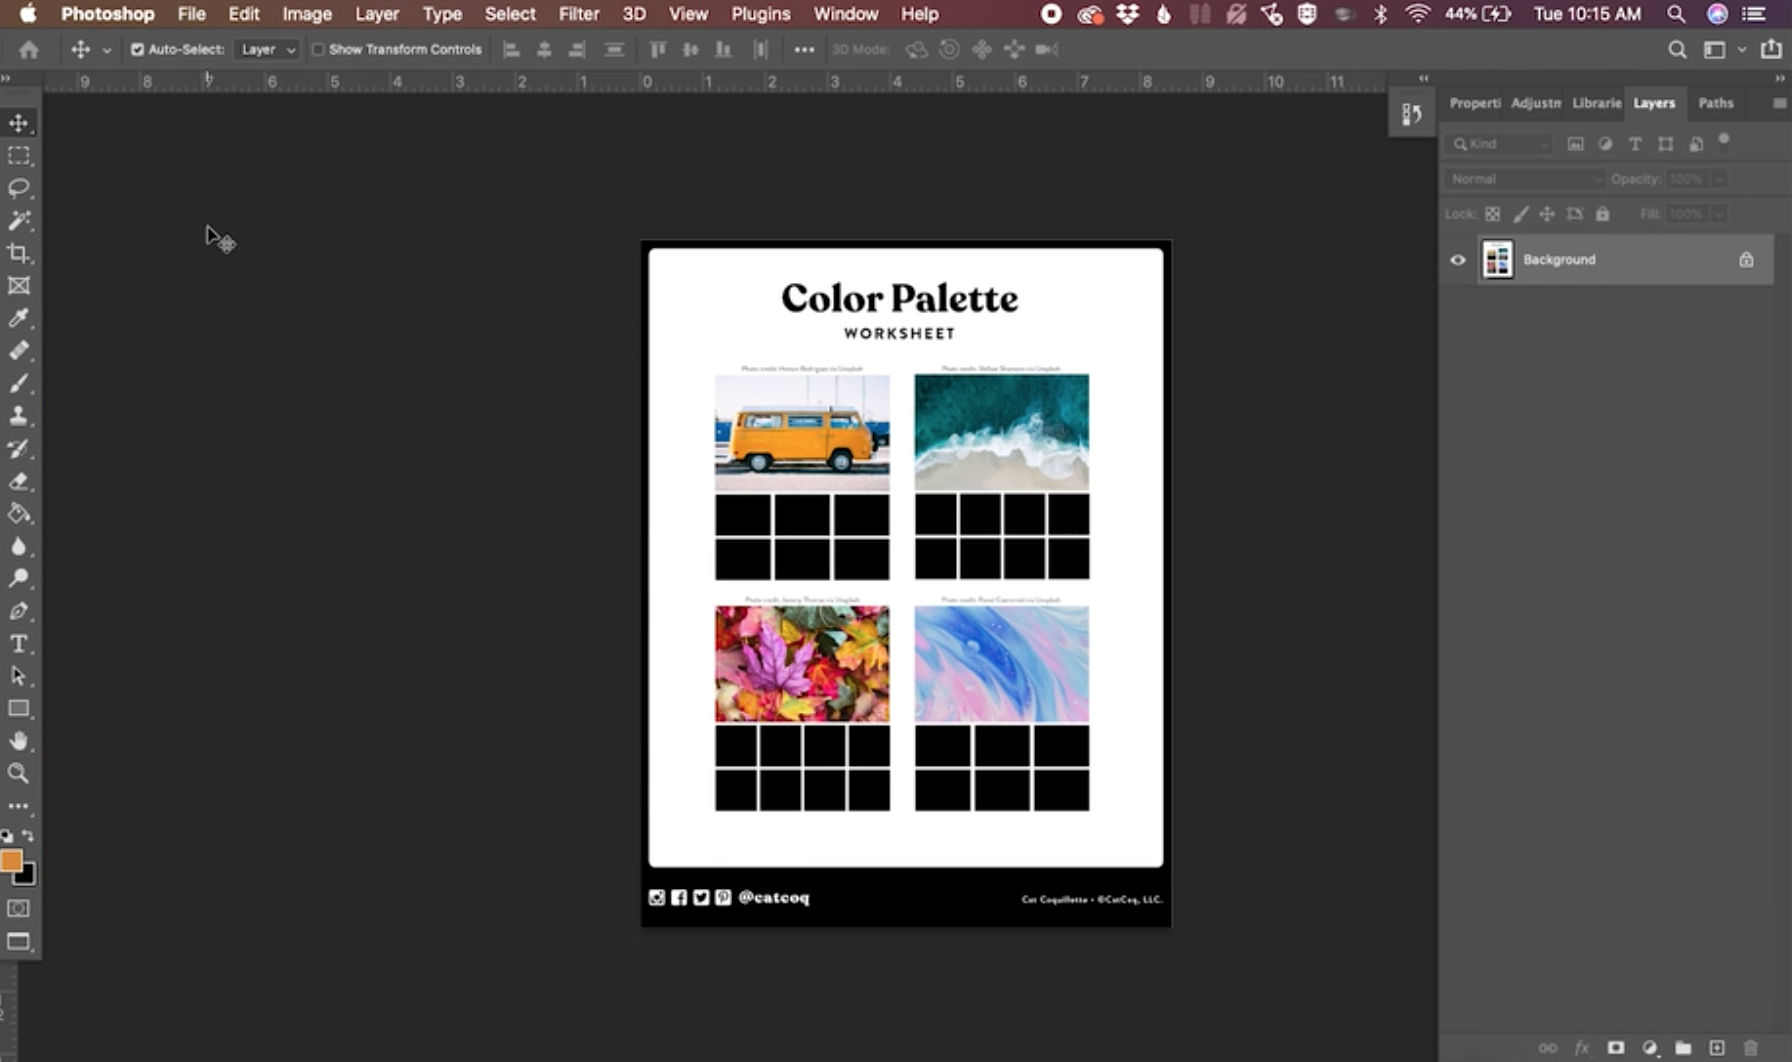
Step 1: Open your color worksheet in Photoshop
Start by opening the color worksheet file in Photoshop. If you are creating your own color worksheet, structure it similarly to the one pictured above. You can find great reference photos on Unsplash - a free stock image website.
Step 2: Plan your color palette
In this example, I'm going to be showing you how to sample colors from the top left photo on the worksheet.

This is a great example of a complementary color scheme. Blue and orange are directly opposite each other on the color wheel, which tells me that this will make a beautiful and balanced color palette. Plus the photo includes some neutrals which are always great to include in your palettes.
As you're looking at the reference photo, think through the different hues that you'll want to sample for the palette. I always like to create the top row of my palettes in darker shades, and then fill in the bottom with lighter shades of the same hues.
In this example, the two main colors are blue and orange. So I know that I'll start by sampling a darker blue and a darker orange.
I also love to include neutrals in my palettes. This gives me a lot of flexibility and creates more interest in a piece than sticking with straight white or straight black. In this photo, I've noticed that there are some nice charcoal grays and some lighter off-white grays that I can use for those neutrals.
After you've taken a look at your photo and thought through a general idea of the colors you want to select, it's time to start sampling!
Step 3: Use the Eyedropper tool to sample colors from the reference photos
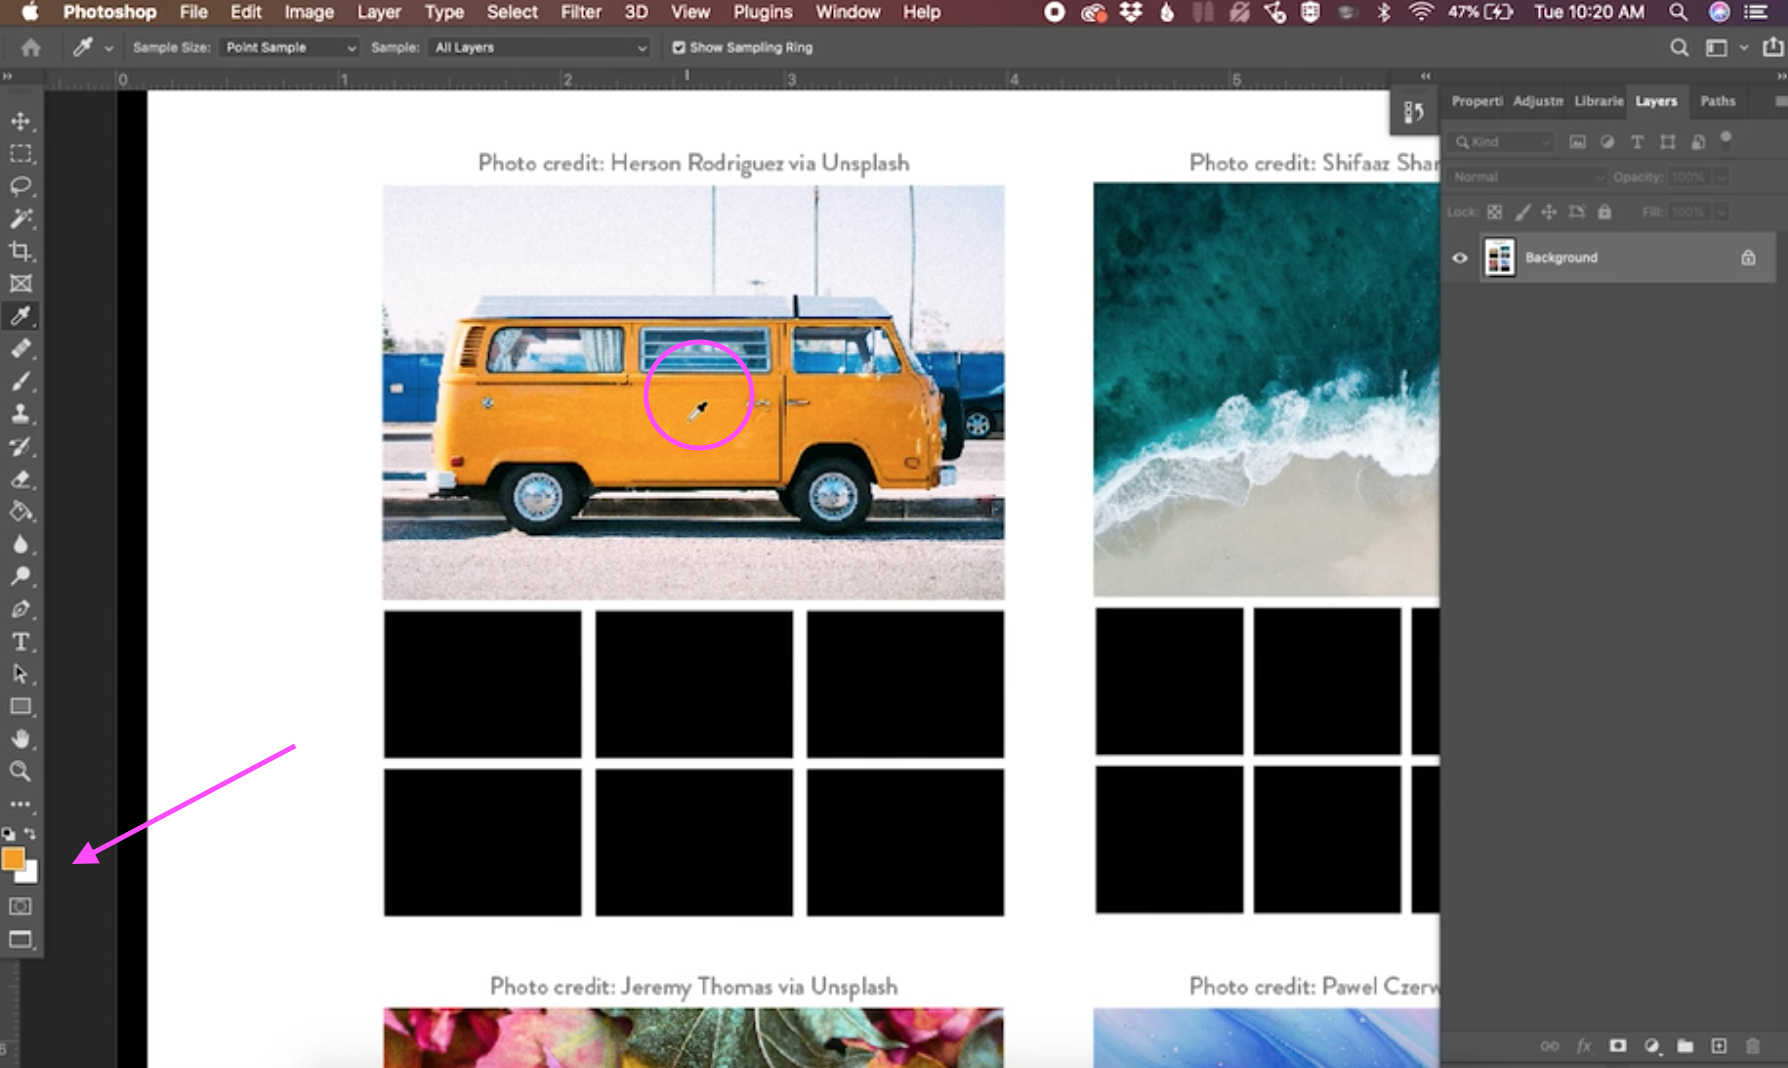
The easiest way to start sampling colors to create your color palette is by using the Eyedropper tool. You can find this on the side toolbar, or select it using the keyboard shortcut "i."

With your Eyedropper tool selected, start by hovering over one of the colors you chose in the previous step. Then, simply click to sample the color. I'm starting with a darker orange, and I can tell it's sampled because the foreground color of my color selector has changed to that dark orange.
Step 4: Fill in the black box with the sampled color
Now that you have your color sampled, you want to add it to one of the black boxes underneath the photo. Select the Paint Bucket Tool either by clicking it on the toolbar or tapping "g" on your keyboard.

Now your paint bucket is loaded with the color you just sampled, and all you have to do is click the black square to fill it in.

Step 5: Repeat!
Repeat these steps switching between the Eyedropper tool and the Paint Bucket Tool to fill in the rest of your palette. In my example, I sampled a dark blue and dark charcoal color to fill in the top row of the palette.

Then I kept repeating the process sampling the lighter shade of each of the top colors for the bottom row.

A few other notes:
If you don't like a color you sampled, no problem! You can just switch back to the Eyedropper tool and continue sampling until you find the shade you like.
In my example, I sampled a very light gray for my last color, and I didn't love how it was looking. So I switched back to my Eyedropper tool to find a darker shade.

The only problem was that since I had filled the box in with a light color that was very similar to the white background, my entire background was filled with the new darker gray.

The reason that happened is that the colors were so similar and the Tolerance setting was too high at its default of 32.

To help the Paint Bucket tool differentiate between the two white colors, you need to set the tolerance to a lower number. I set mine to 1 and it was able to paint just that square instead of the entire background.

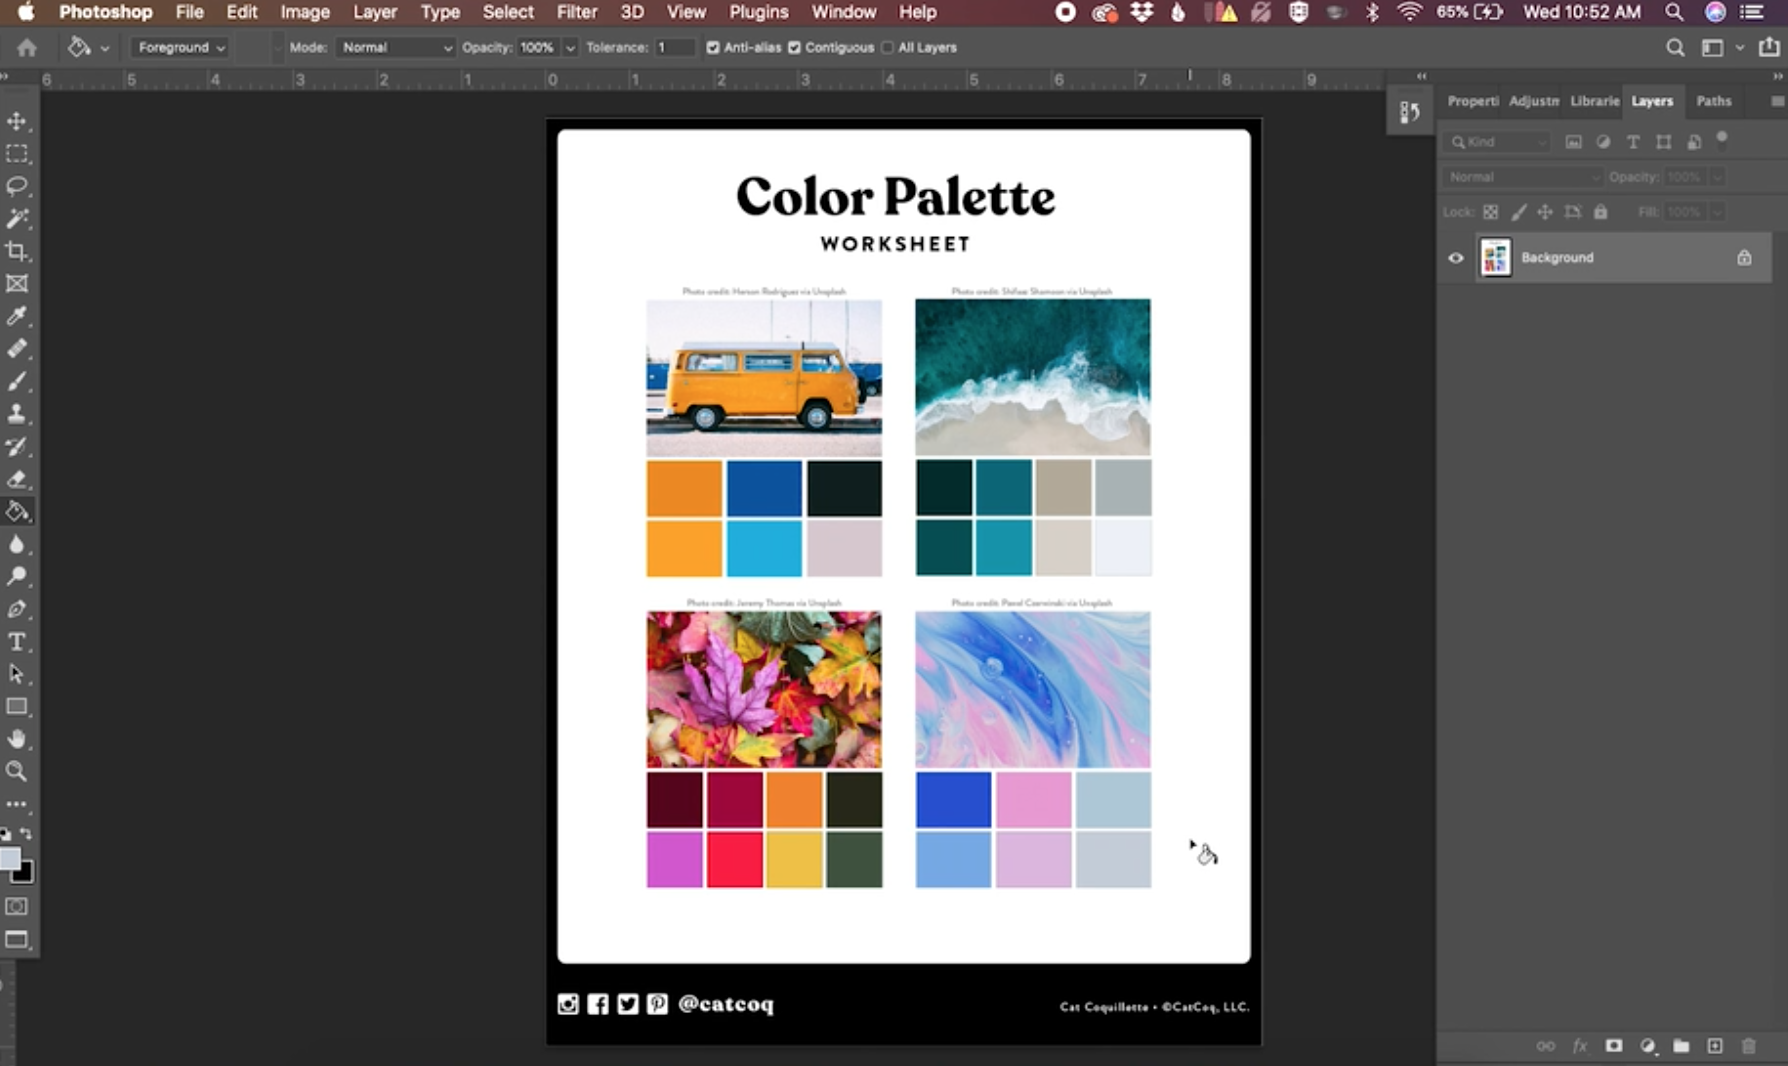
If you've been following along using the free color worksheet I provided, feel free to fill in the rest of the palettes. Mine looked like this at the end of it. Yours might look totally different, but that's the beauty of custom color palettes. You are able to create something totally personal to you that reflects your unique view.
The best part of this style of color palette creation is that you can do it with any photo! I particularly love using my own travel photos to create palettes. This gives my colors a uniquely personal feel, and is just plain fun!

I hope you have enjoyed putting together a color palette today! If you have any questions, let me know in the comments!
Want to dive deeper into all things color?
My class, Cultivating Color, is a thorough walkthrough of everything you need to know about color. In this class, you’ll learn step-by-step how to transform your artwork into a flourishing collection of color variations using a few simple tools in Adobe Photoshop.
There is a strategy behind choosing color palettes that sell well. More color options = more sales opportunities! For every illustration I make, I create five to ten different color variations out of the original artwork. This means I’m exponentially increasing my opportunities for art sales. Join me in the class here!
