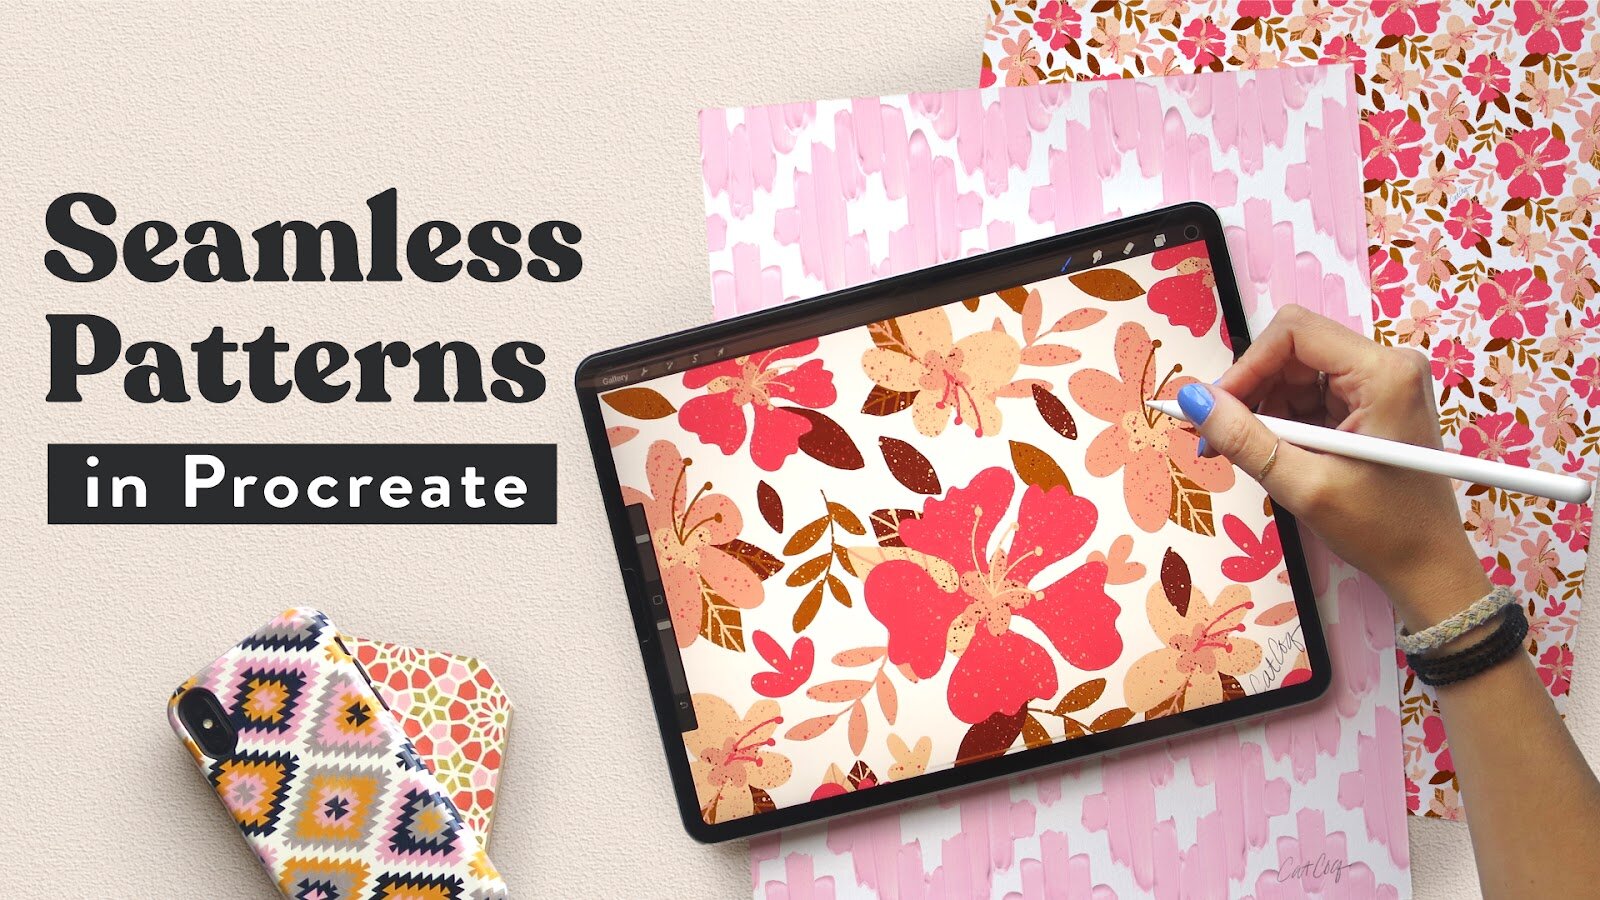
How to Make a Seamless Pattern in Procreate
A seamless pattern (or repeating pattern) is a pattern that can be repeated endlessly without any visible seams or interruptions. This is especially important if you’re selling your patterns through sites like Spoonflower, where your artwork gets turned into fabrics and wallpaper.
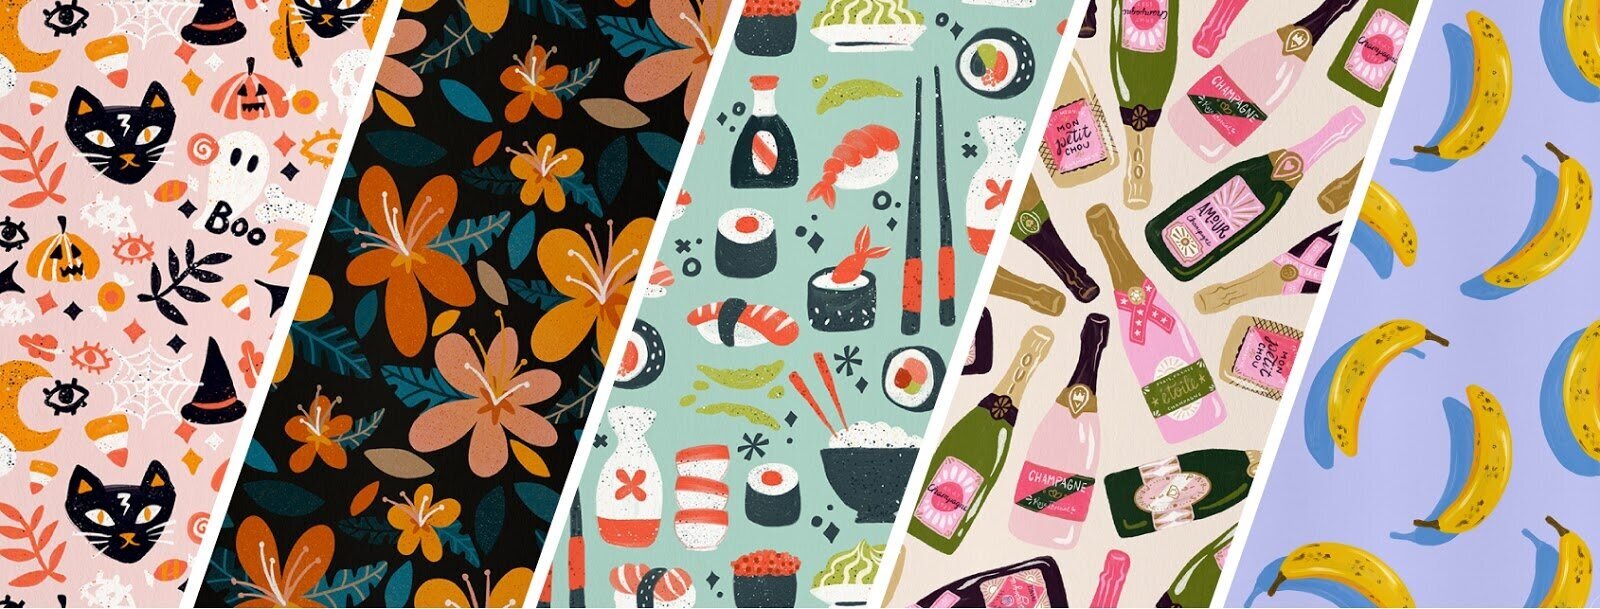
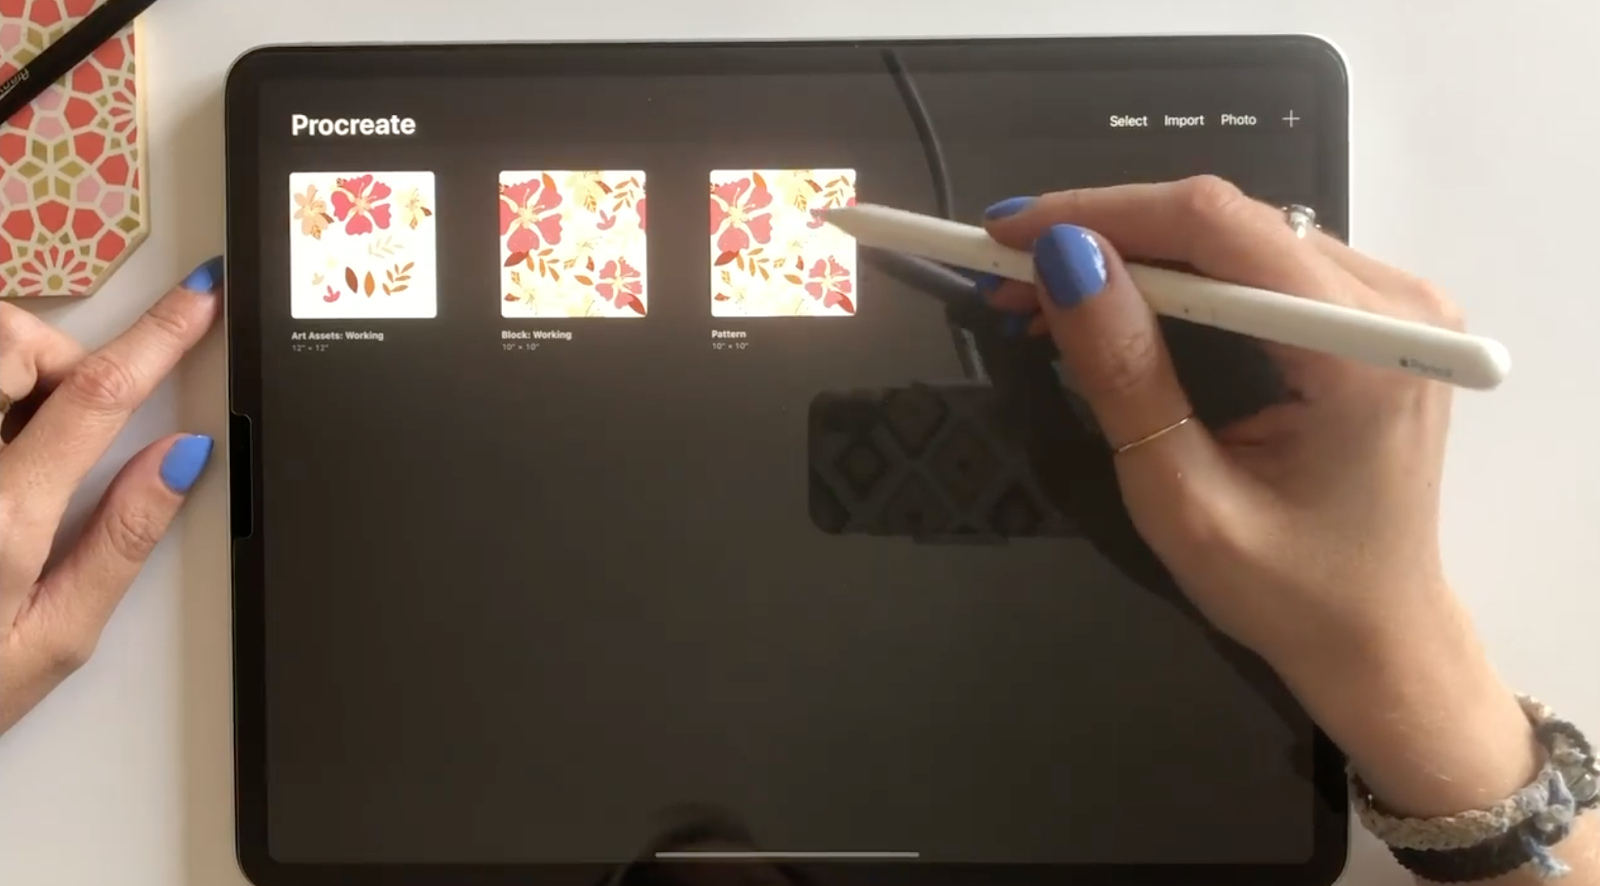
In this tutorial I'll walk you through how to create professional, repeat patterns in my favorite digital art tool - Procreate! Procreate has some awesome features that make seamless pattern-making a breeze. Here are some examples of seamless patterns that I made in Procreate.
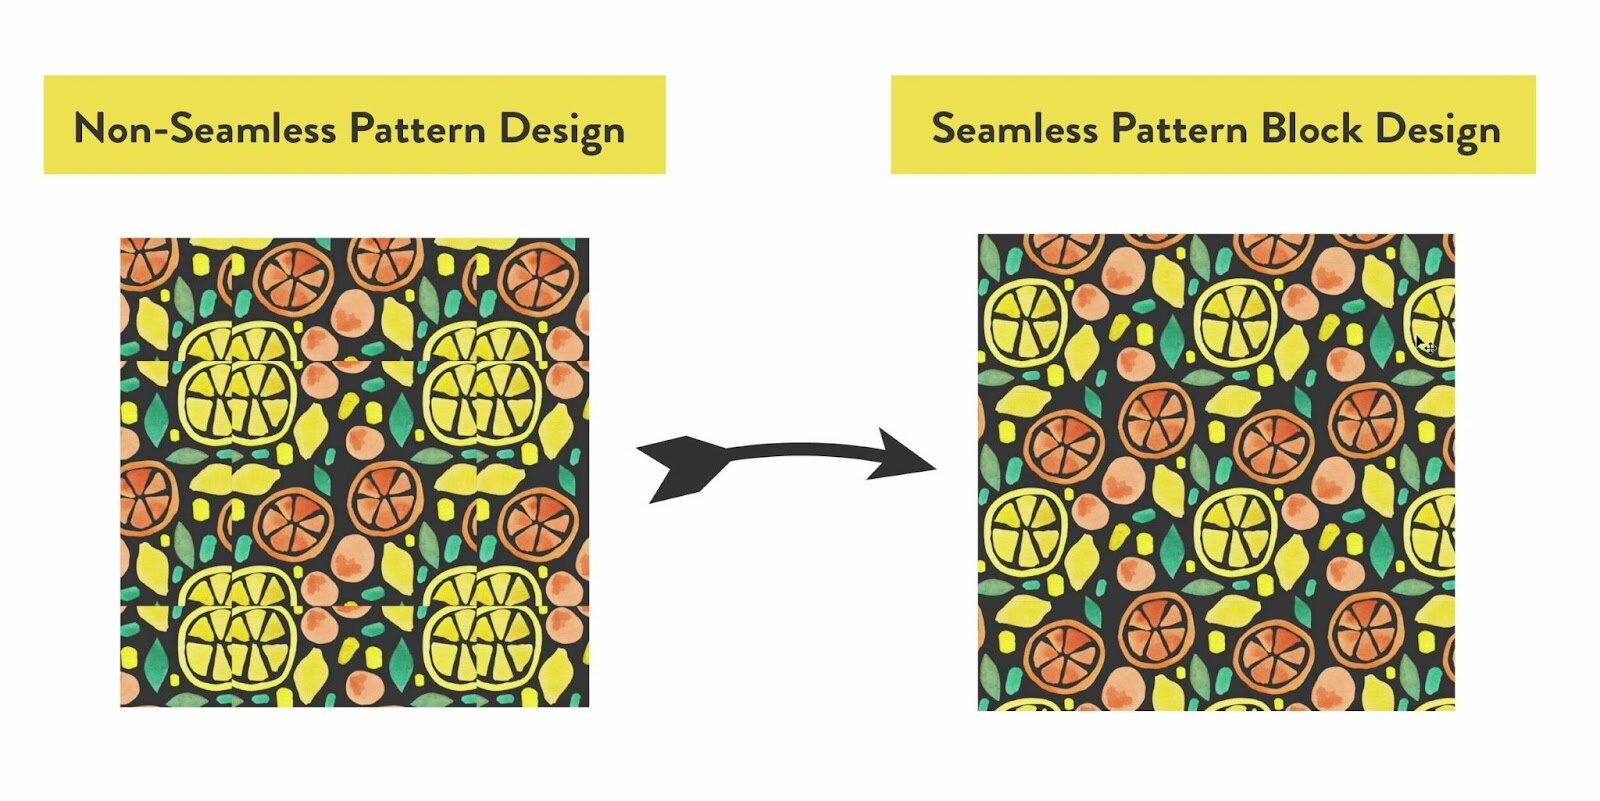
Before we dive in, let's look at how seamless patterns work. To make a seamless repeat pattern you need to arrange the pattern elements in a square block that is able to tile on itself infinitely without interruption.

On the left is an example of a non-seamless pattern, and on the right is an example of the same elements arranged on a square block in a way that allows them to be repeated seamlessly.
Getting Started
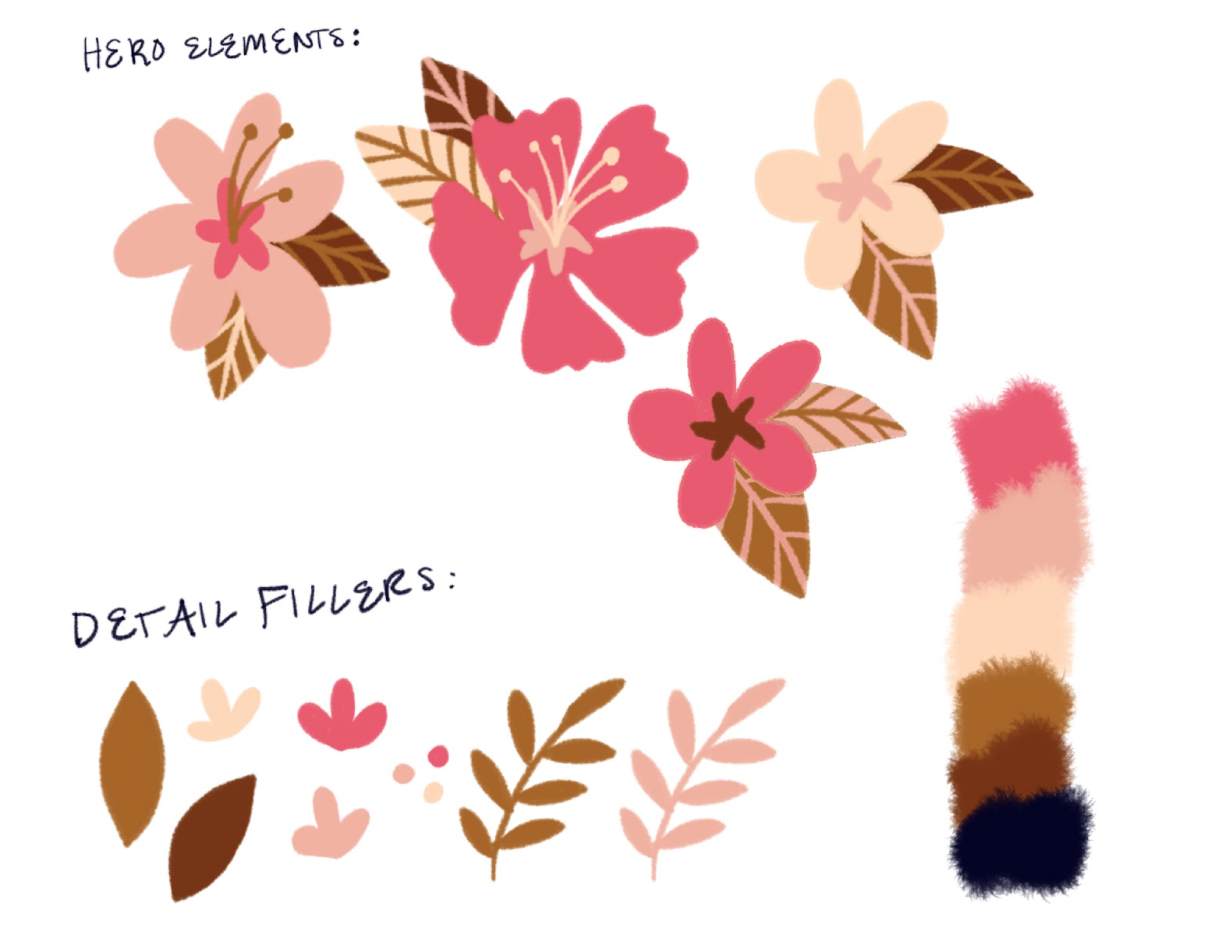
To start, you'll need to have illustrated a few elements in Procreate that you can arrange into a seamless pattern. I recommend drawing a few large "hero" elements and creating some smaller elements that you can fill up your pattern with. I recommend illustrating these on a square canvas so that it is easier to transition them to a pattern block once you're finished. Here are the hero elements and filler elements that I'll be working with in this tutorial.
We won't go into detail about how to draw your pattern elements in this tutorial, but if you want a step-by-step walkthrough of how to draw these elements, check out my class, Seamless Patterns in Procreate.

Ready to start your seamless pattern in Procreate? Let's dive in!
Step 1: Setting up your canvas and preparing your pattern block
As I mentioned above, you'll want to start by illustrating the elements that are going to turn into your seamless pattern. Make sure to start with a perfectly square canvas so that it will be easier to arrange your illustrated elements into the pattern block. I recommend a canvas size of 10" x 10".
Once you have your illustrated elements, make a duplicate of the canvas that you illustrated your elements on. The duplicated canvas is going to turn into the seamless pattern block. The reason for this is to preserve all of the work that you did in your original illustration, and allow for you to make edits to your elements as needed.
To duplicate your canvas tap Gallery at the top right corner of your screen, tap Select, choose the canvas that your elements are illustrated on, and select Duplicate. To differentiate between the two, name your new canvas "Pattern Block."
Step 2: Put each element on its own layer
In order to start arranging our elements into a seamless pattern block, we need to be able to move them all individually. If each of your elements is already on its own layer, you can skip this step, but if not you'll want to follow along.
Begin by flattening everything into one layer by pinching all of your layers together like this.

Next, you'll isolate each element onto its own layer. To do this, select the "S" shaped ribbon selection tool at the top left of the page. Then select Freehand Selection from the bottom menu.

Now start to draw around one of your elements with your Apple Pencil to select one piece at a time and put it on its own layer. Once you've selected the element, use three fingers to swipe down on your screen and then tap the option for Cut and Paste.

This cuts the element from the main layer and pastes it onto its own new layer. Repeat this process for all of the rest of the elements making sure to navigate back to the main element layer each time. This ensures that you are cutting out of the original layer every time. It's a bit tedious, but I promise it's worth it!
Step 3: Arranging the pattern block
Now for the main event - Arranging the pattern block! The key to creating a seamless pattern is the continuity of the elements on your pattern block. Essentially, you’re creating a puzzle piece with your pattern block and you want all of the elements to flow seamlessly when you duplicate it.
To create this puzzle piece you’ll want to have parts of the elements coming off of the left edge and top edge. Then the pieces that came off of the left and top edges will reemerge on the opposite edge of the block. This ensures that as you duplicate the pattern, the two pieces of that element will fit together like a puzzle. This is what creates the seamless look that we’re going for. You can see in this example that part of the large hibiscus flower is cut off, but that it stacks seamlessly with the part of the flower on the other edge.

To keep things simple while still achieving the seamless pattern look, we are going to have one large hero element that cuts off on the left side, and one that cuts off on the top. Let's start with the left side.
Hide all of your element layers besides the one element that is going to cut off on the left side of your canvas by clicking the checkbox next to each layer. Make a duplicate of your remaining visible hero element by swiping left on the layer and tapping Duplicate. Then hide your duplicated layer. The reason you want to make a duplicate of this element is that we are going to modify it to be cut into two different pieces. We want to keep a copy of the element intact so we can use it in other parts of the composition.
With your working element selected, move it to the top left side of your canvas using the Transform tool. The goal is going to be to bring part of the element off of the left side of the canvas and have it reemerge on the right side. Don't move it off the edge just yet, but that's where we're headed.

Next, go into your layers panel and click the plus sign to create a new layer. We are going to fill this layer with a full background color and use it as a guide for moving the element off of the canvas. To add the background color, go into your color palettes and choose any dark color. Then drag and drop the colored circle at the top right corner into your canvas and the background will fill with that color.

Next, click on the new background color layer, tap N, and turn the opacity down to around 30%. The goal is to be able to see the pattern element and see the background color. This is going to help us keep everything in line when we move the element off the edge.
Now we're going to group the background layer and the flower element together. Make sure your background layer is selected, and then swipe right on the layer with the illustrated element. Select Group to group the two layers together.

Since we want to have two pieces of the flower on each side of the canvas, we need to make a duplicate of the group. Swipe left on the layer group and select Duplicate. Then hide the original group by clicking the checkmark next to it. Your layers should look similar to this.

Now we are ready to move the element off of the edge of the screen. In Procreate, once you've moved something off the edge of the canvas, it disappears forever. This is why we have a duplicate of this so we'll know exactly where to put it so it lines up perfectly on the opposite edge. If this is feeling confusing, stick with me, it'll make more sense in just a bit! 😉
Make sure that the visible group is selected, not an individual layer within the group, and select the Transform tool. Next, you want to turn on a feature called Snapping at the bottom left of the Transform menu. This helps your illustration snap perfectly to guide lines, which is very helpful when creating repeating patterns!

Now, without further ado, let's move the element so that some of it is hanging off of the left edge!

Next, you want to turn the visibility back on for the duplicate layer group. Make sure that the group is selected in your layers panel, and we're going to use the same process to get the other piece of that flower to reappear on the right edge of the canvas.
Using your Transform tool again, drag the duplicate layer all the way to the right until it locks in with the edge of the other layer group. You'll be able to tell when it's locked in because there won't be any remaining white background. It will all be filled with the darker background. You can also see that the areas where the petals got cut off on the left side have been repeated perfectly on the right.

We don't need the background anymore, so you can go into your layers panel, swipe left on each of the background layers, and delete them. Then pinch the two "cut-up" flower layers together to merge them into one layer.
This is the essence of creating seamless patterns in Procreate, but I totally understand if it is a little confusing! If you're feeling lost, you might enjoy following along with my full class on this topic, Seamless Patterns in Procreate.
To really make this seamless pattern feel integrated, you'll want to repeat this step, but instead of going left to right, you'll want to have a different element that cuts off on the top edge of the canvas and gets repeated on the bottom edge. When you've repeated this step on the top and bottom edge it should look something like this.

Step 4: Arrange the remaining elements
Now that you have the two large elements that cut off on the edges and fit together perfectly, it's time to arrange your remaining pattern elements on the block! The key here is to make sure that none of the elements cross over any of the edges. In order to get that seamless look, you have to make sure that they all fit within the block perfectly.
When I'm arranging elements for patterns, I like to work from largest element to smallest. This helps give me a better idea of what parts of the composition need to be filled in with the smaller filler elements towards the end.
Using the Transform tool, you can play with the sizing and placement of your other elements. To make this easier, you can turn off the Snapping feature that we used in the last step. This will help you to move the elements more fluidly.

Once you're done arranging your remaining elements your block should look something like this.

Now we're ready to turn this block into a seamless pattern!
Step 5: Make your seamless pattern by tiling the block
Start by making a copy of this pattern block canvas and naming the copy "Pattern". You should have three canvases related to this pattern, the original elements with all of their editable layers, the pattern block, and now the new canvas where we will test out the process of tiling the pattern block together to create a repeating pattern!
Open up your pattern canvas, navigate to your layers panel, and pinch all of the individual layers together into one. Once you flatten layers like this, there is no undoing it. That's why we have all of the different canvases for different stages of this pattern. You can always go back and make tweaks to the elements or the pattern block if you need to.

To see what this looks like tiled as a pattern you want to make your canvas size much larger. To resize, tap the wrench icon at the top left and select Crop and Resize.

In the Crop and Resize menu tap Settings and change the dimensions of your canvas from there. Mine was a 10" x 10" square to start so I'm going to enlarge it to 20" x 20".

If you scaled up to a larger square canvas, your pattern block should be in the bottom right corner. And now it's time to stack the block! Select the Transform tool and make sure to turn the Snapping feature back on.

Now, simply stack the block on top of itself and watch it snap perfectly into place! If everything is lined up correctly you should see all of your elements fit together seamlessly.

Go into your layers panel and pinch those two layers together. Swipe left on the layer, tap Duplicate, and repeat the Transform tool process by dragging the new pattern block layer to the left.

And there you have it! Your seamless pattern in Procreate is complete!
If you made it this far, congratulations! Creating patterns like this is one of the most complicated forms of pattern-making. I hope you enjoyed making your seamless pattern, and I can't wait to see what you make! I'd love for you to share your patterns with me on Instagram by tagging me @catcoq. Have questions about the seamless pattern process? Comment below and I'd be happy to help you out.
Want to dive deeper into Procreate Pattern Making?
Join me in my class, Seamless Patterns in Procreate, where I go even deeper into the pattern-making process. Here's what you'll get out of the class:
Tips for drawing / coloring / texturizing in Procreate
Learn how to arrange your illustrations into a seamless pattern
Professional advice for a career in surface design
*Bonus* 4 FREE Procreate brushes
*Bonus* 5 FREE Procreate color swatches