Surprising Procreate Tools that Beginners Overlook
If you're just starting your creative journey with Procreate, you're in for a treat. This incredible tool offers a bunch of features that can help you bring your artistic visions to life. While some of these features might not be immediately obvious, they are like secret weapons in your arsenal. Once you discover all the hidden tools and gestures in the Procreate app, it will open up a whole new world of possibilities for your digital illustrations.
In this blog post, we're going to unveil five Procreate features that are often overlooked by Procreate beginners. You’ll learn 5 simple Procreate techniques that will take you from beginner, to Procreate pro in no time!
Want to learn about Procreate in step-by-step video lessons? In my class, Procreate for Beginners, I cover everything you need to know from start to finish!
Supplies:
All you need to get started with Procreate as a beginner is the iPad app Procreate, an iPad, and something to draw with. If you're brand new to Procreate you can start by drawing with your finger. However, I recommend an Apple Pencil if you want to get serious with the iPad app.
Are you ready to level up your Procreate skills? Let's dive in!
Layers: The Foundation of Digital Art
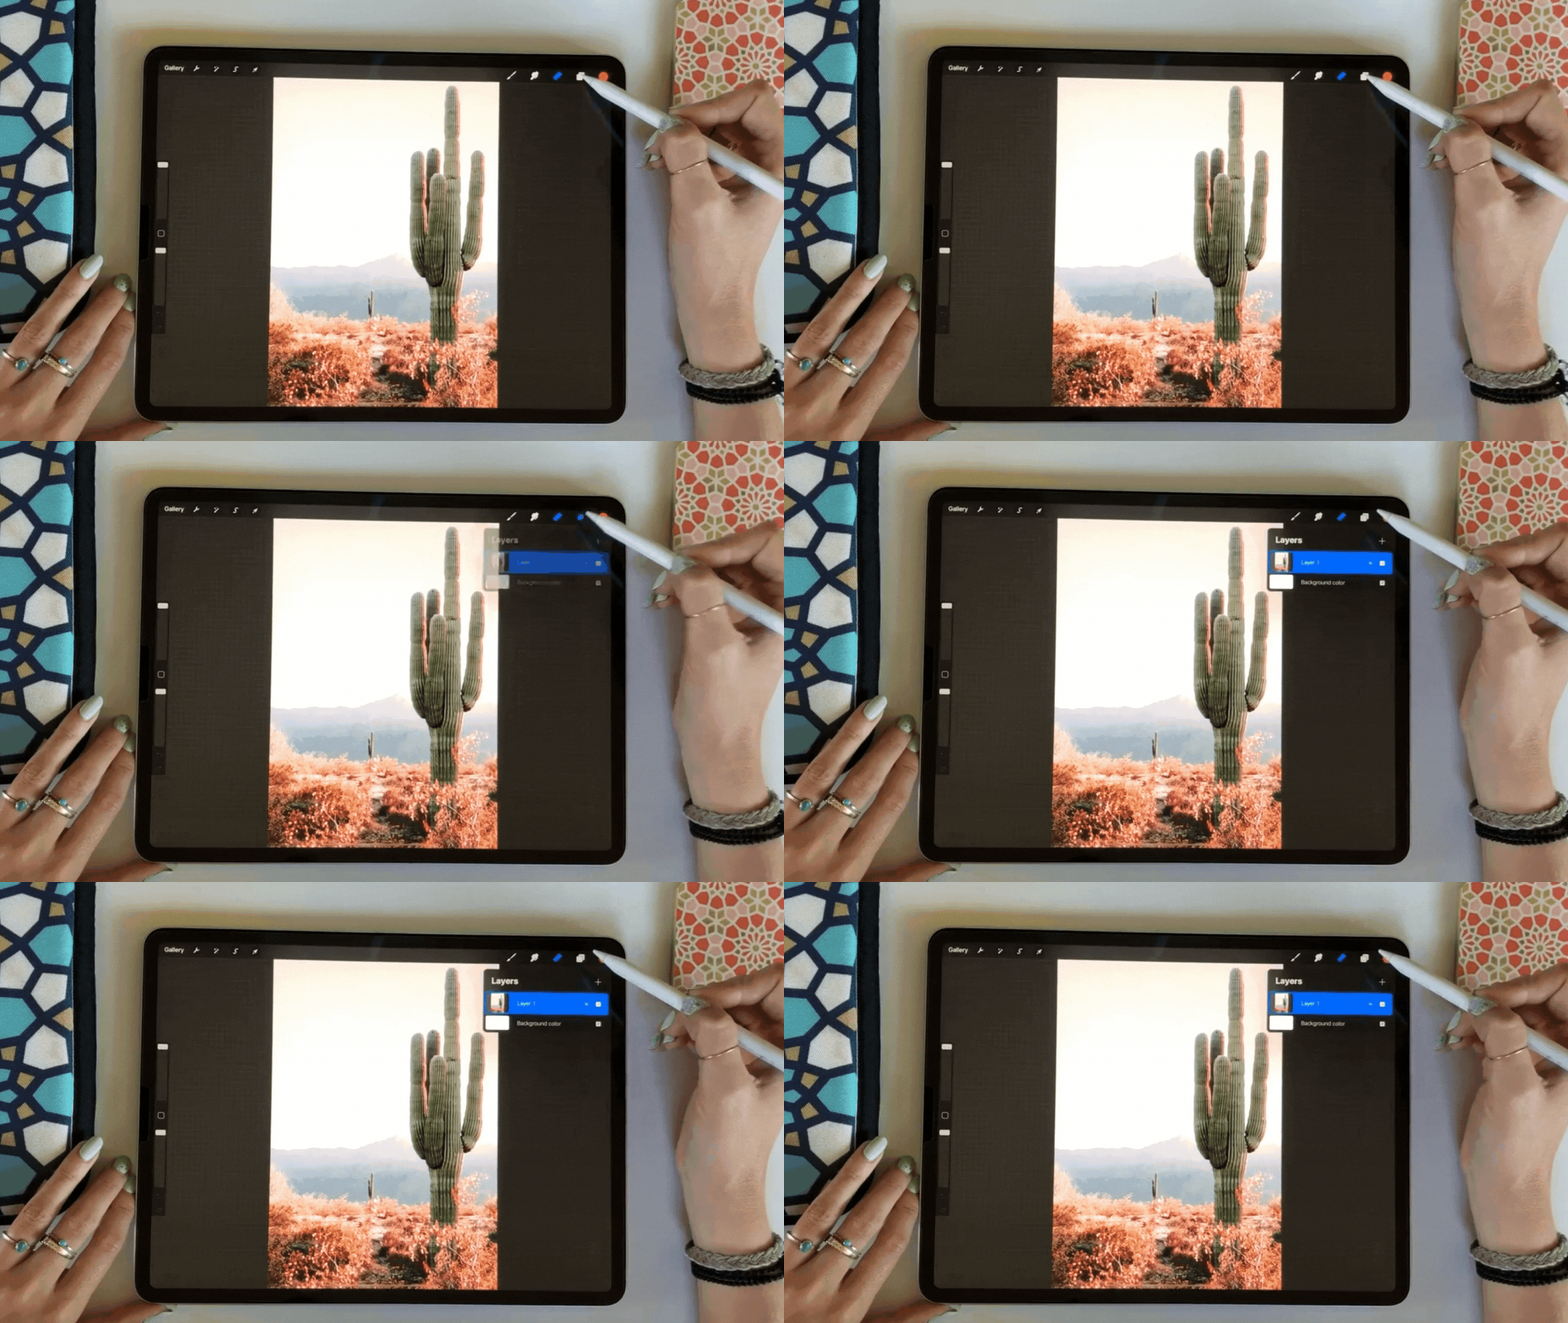
Let's kick things off with a feature that is a staple when it comes to digital art—Layers! If you are an absolute beginner in Procreate, learning to use layers effectively is a must. Think of layers as the magical sheets of paper that sit on top of each other.
They let you work on different parts of your artwork without messing up the rest. Want to change the color of the sky without affecting your beautiful character? Layers make it a breeze. So, don't just paint on one layer; explore and experiment with multiple layers to create stunning art with ease.
You can learn more about navigating your Layers Panel in this blog.
The Sidebar Tool: Customizing Your Workspace
The sidebar is a useful tool in the Procreate workspace. You can find it on the left side of the screen, and it's where you can resize and set the opacity of your favorite brushes for quick access. You can easily move and resize this tool by simply dragging the sidebar from the edge and moving it to where feels right for you.
If you want your sidebar to move to the right side of your workspace, all you need to do is tap on the wrench icon (Actions) > Preferences and tap on the toggle for Right-hand Interface.
Snap and Magnet: Precision in Your Artwork
Ever wondered how artists neatly align the elements on their canvas? Enter Snap and Magnet! Activating Snap and Magnet makes your elements align with specific angles and grids on your canvas. This is especially useful when creating seamless patterns or artwork with repetitive elements. These features snap your elements neatly to the edges, giving your drawings a polished look. These features are your best friends for precision art.
To turn on these tools, select the Arrow icon (Transform Tool), then tap Snapping and toggle on the Magnetics and Snapping tools.
Brush Width Markers: Keeping it Uniform
Consistency is the key to creating stunning digital art. If you’ve ever been working on a piece that requires different brush sizes or opacities, you can save the different brush sizes and toggle between them. This way, you don’t have to guess what size brush you have been using throughout your piece. With Brush Width Markers, you can maintain the same brush sizes throughout your masterpiece. No more guessing or eyeballing it! Set the brush sizes you want to save by tapping on the plus (+) icon on the sidebar when you’re on the brush size you want to mark. You can easily remove the marked brush size by tapping on the minus (-) sign that appears when the brush size is selected.
Drawing Guide: Mastering Perspective Made Easy
Perspective drawing can be a bit tricky, especially for beginners. But fear not! The Drawing Guide is here to save the day. It has different modes, but let’s focus on the perspective grid for now! Procreate Drawing Guide lets you create a perspective grid, which is like your cheat sheet for drawing in three dimensions. Whether you're sketching buildings, landscapes, or characters in dynamic poses, the Drawing Guide is your trusty sidekick for achieving depth and realism in your artwork.
One of my favorite ways to use the Procreate drawing guides is to create symmetrical artwork. When you turn on the symmetry tool within the drawing guides, Procreate will automatically repeat what you draw in one section on the other areas of your canvas that you specify. This is great for drawing mandalas, butterflies, houses, and so much more. Basically anything that requires symmetry! Check out this blog post for a detailed tutorial on how to use symmetry in Procreate.
In a nutshell, Procreate is like a treasure chest of artistic possibilities, and these features are your golden keys. Don't be shy—give them a try and watch your creativity soar. These hidden gems in Procreate are here to make your artistic journey not only easier but also way more enjoyable. So, go ahead, dive in, and unlock your full artistic potential!
If you missed my Ultimate Guide for Procreate Beginners blog series you can check those posts out here:
Or if you prefer to follow along step-by-step videos, you can check out this class:


