The Ultimate Beginner's Guide to Procreate Part Two
In part one I shared how to navigate the gallery page and organize your files in Procreate, how to create a custom canvas, a guide to Procreate color palettes, and a few of the basic Procreate shortcuts and tips that you need to know to get started.
In this Procreate tutorial, you'll learn how to use layers in Procreate, some advanced layer techniques, how to draw perfect shapes and lines in Procreate, how to use the selection tool, how to create a Procreate time lapse, and more!
Supplies:
All you need to get started with Procreate as a beginner is the iPad app Procreate, an iPad, and something to draw with. If you're brand new to Procreate you can start by drawing with your finger. However, I recommend an Apple Pencil if you want to get serious with the iPad app.

If you're looking for the best iPad for Procreate, this is my top pick. This is what I use for my artwork and it is my go-to tool for digital art these days. I also use this Apple Pencil. Having the pencil helps give me control over my Procreate drawings and allows me to create different effects by applying pressure with the stylus.
You can download Procreate for the iPad here. It is a paid app, but for the amount of power that it brings to the table, it is extremely affordable. Other powerful design programs can cost hundreds or thousands of dollars, but the Procreate app is a simple one-time fee that is cheaper than a meal out at a restaurant.
Are you ready to level up your Procreate skills? Let's dive in!
Navigating the Layers Panel
If you're familiar with Adobe Creative Suite, chances are you probably have worked with layers before. But if not, here is my rundown of layers in Procreate explained. Layers allow you to stack different parts of you illustration into different maneuverable pieces. This means you can work on one part of your drawing without altering other parts of it.
The first Procreate layer tip you'll need to know is how to create a new layer! To get started, open your layers panel by clicking the icon with the two squares on the upper right hand side of the app. To add a new layer click the plus sign at the top of the Layers panel.

You can hide layers by clicking the checkbox next to the layer.

To duplicate a layer, select the layer, swipe left, and click duplicate. This will create an exact copy of that layer. You'll also see the options to Lock or Delete the layer when you swipe left. Locking the layer means that you can still see it, but you won't be able to make any changes on it. Deleting the layer is pretty self explanatory. It deletes the layer and all of the artwork on it from your canvas.
You can change the order of your layers by tapping a layer, holding down your Apple Pencil, and dragging it to where you want it to go.

Next to the check box on each of your layers you'll see an "N". This stands for "Normal Blending Mode." Blending modes allow you to change up the ways that your layers interact with each other. This is a great tool to use when you're adding a paper background to your illustration or adding texture.
You can also turn down the opacity of the layer when you open up the blending modes menu. This is perfect if you are using a reference photo for your illustration and want to be able to see what you're drawing on top of it or if you need to turn down the opacity of your top layer to see something underneath it.

For more advanced layer techniques like adding clipping masks, and using blending modes, check out my other blog posts about adding texture to illustrations in Procreate and adding a paper texture in Procreate.
How to Draw Perfect Shapes in Procreate
Procreate is a great tool for an organic and hand drawn look on your illustrations, but what if you want something a little more structured? Procreate has you covered! There are shortcuts you can use to create perfectly straight lines and shapes for illustrations that need that extra level of precision.
To create a perfectly straight line, freehand draw a line and hold your pencil down on the screen. If you don't lift your pencil, that's a sign for Procreate to turn your hand drawn line into a perfectly straight one like this.
(Side note: In this example, you'll see that the straight line I created is repeated on the opposite side of the canvas. This is because I was using a tool called drawing assist that allows you to create perfectly symmetrical drawings in Procreate. You do not need to be using this tool in order to draw a straight line, but if you're interested in learning more about drawing with symmetry in Procreate, check out this blog post tutorial!)

You can use a similar technique to draw a perfect circle. Start by drawing an ellipse. Make sure it is connected, and keep your pencil held down on the screen. This will allow you to resize the ellipse. From here, all you need to do to make it snap to a perfect circle is hold three fingers down on the screen. When you get your perfect circle to the size you want it to be, you can lift your pencil. Be sure to lift your pencil before you lift your fingers to make sure that you keep that perfect circle!

Using the Selection Tool in Procreate
The selection tool is a really helpful tool to use if you want to move elements of your illustration after you've painted them. There are a lot of different ways to use this tool, but the one I use most often is the manual selection.
To begin, select the "S" ribbon icon on the top left of your screen. Then select "Freehand."

Now you'll be able to draw around the element of your illustration that you want to select. Once it is selected you can move it using the Transform tool which is the arrow on the top left next to the selection tool.

Using the Actions Menu in Procreate
The last thing we'll walk through in this tutorial is the Actions Menu or the wrench icon on the top left of your screen. There are a ton of actions you can take in this menu, but I'll walk through a few of the ones that I use most frequently.
The first tool we'll look at gives you the ability to bring photos into your canvas. I often use reference photos as I'm working so that I can get the dimensions for my illustrations just right. To bring in a photo, tap the wrench icon, tap add, and tap insert a photo. Then you can pull in a photo from your iPad camera roll.

You can also add Text in this menu, which is helpful if you're working with any kind of typography in your illustration.
The next tool that I use a lot in the menu is the Drawing Guide. You can add a drawing guide to your canvas by tapping the wrench, tapping canvas, and toggling on the switch next to "Drawing Guide." A drawing guide brings a grid onto the screen which is great if you are creating an illustration that requires a lot of precision.

This is a powerful tool and there is a lot more to it than just adding guide lines to your page. If you want to learn my favorite way to use the drawing guide, check out my blog post - Drawing with Symmetry in Procreate.
The last thing I want to show you is how to export a time lapse video of your final illustration. This is one of my favorite things about Procreate. It shows the whole illustration process and is perfect for sharing on social media.
To view your time lapse video, tap the wrench icon, tap video, and then select "Time Lapse Replay." You can export it by selecting "Export Time Lapse Replay."

And there you have it! Part two of the basic fundamentals you need to get started drawing in Procreate. There is always more to learn, but this will get you started with your brand new iPad app!
I hope this tutorial helped you learn your way around Procreate and get comfortable with more of the tools and techniques that the iPad app has to offer. If you have any questions about Procreate just drop them in the comments of this post! I am always eager to see what you create, so be sure to tag me on Instagram @catcoq so I can see all of your Procreate drawings!
Looking for a deeper dive into Procreate? I teach in-depth procreate tutorials in my Skillshare classes. You'll learn new things to draw in Procreate and will get all my best Procreate tips and tricks. Ready to take your Procreate drawings to the next level? Join me in one of my full Procreate classes! You can enroll in any of these classes for free when you sign up for a free trial with Skillshare.

Procreate for Beginners
This is a comprehensive, all-in-one Procreate course. You’ll create five cool illustrations, each lesson focusing on a core skill in Procreate.

Blooms & Shrooms
Wondering what to draw in Procreate? In this class, you'll learn step-by-step how to draw a fun and on-trend illustration on your iPad.

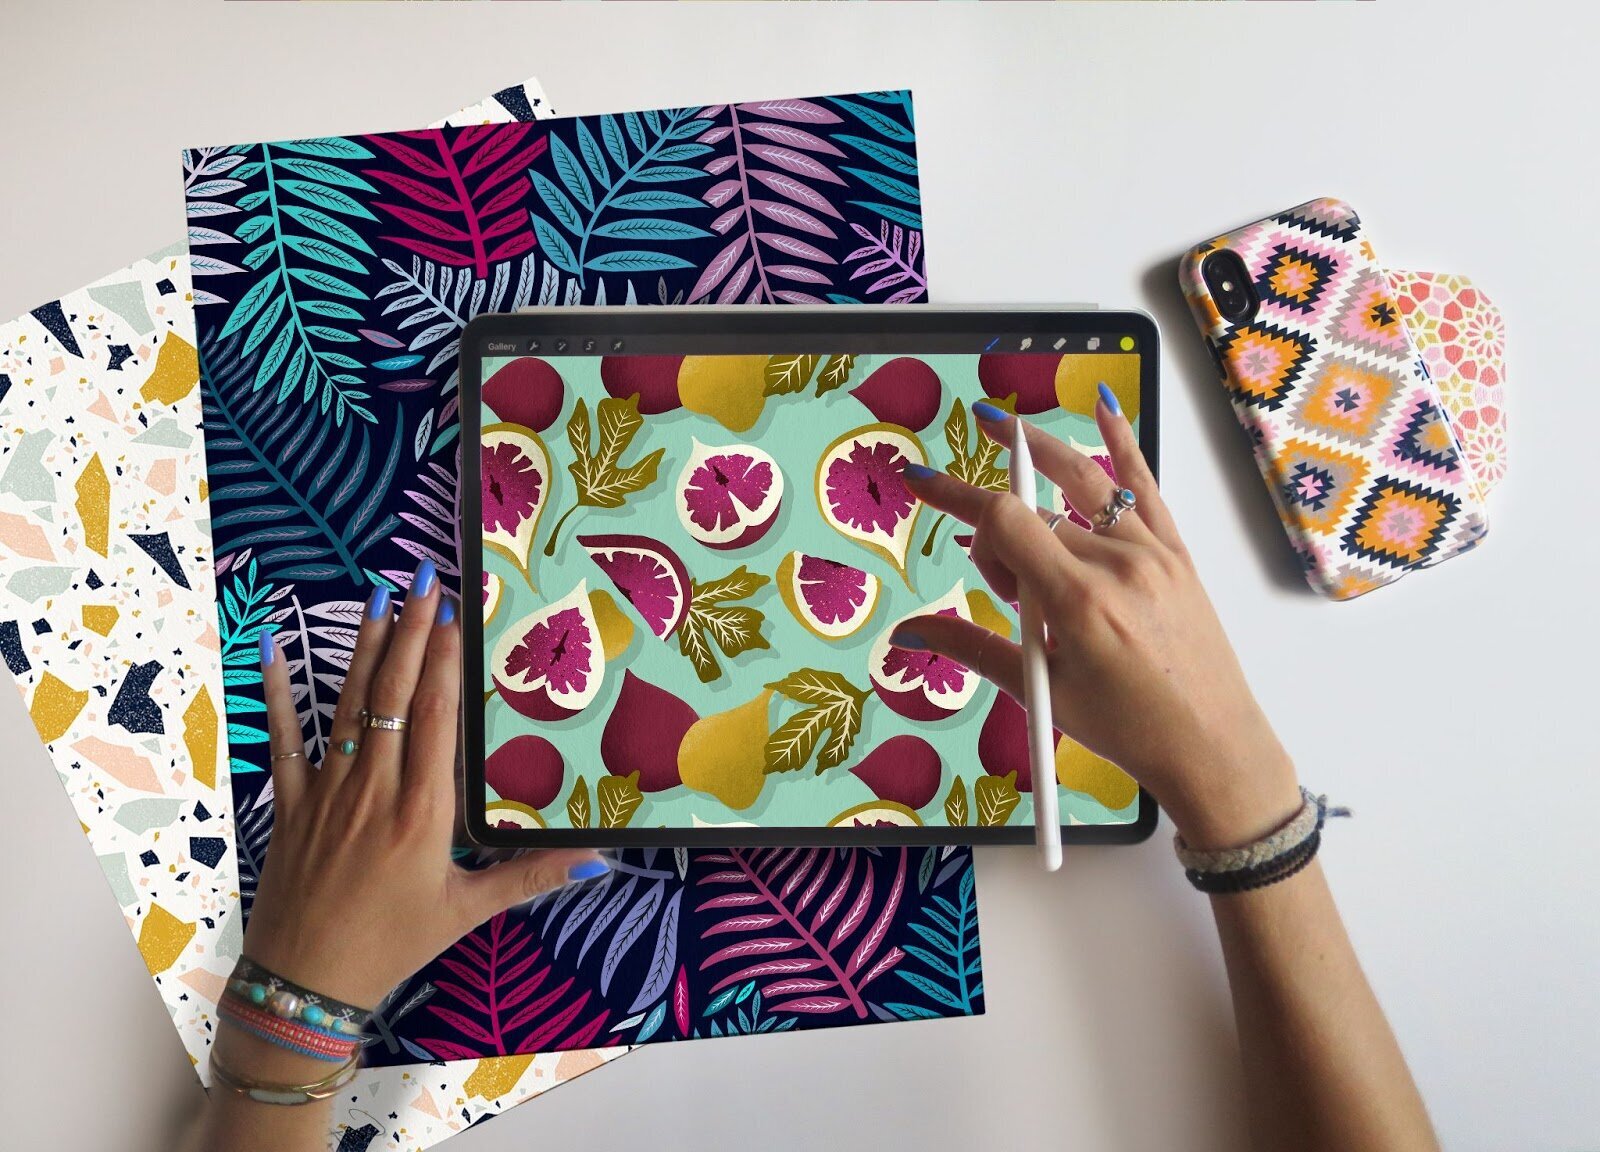
Drawing Seamless Patterns in Procreate
In this class, you will learn how to use your artwork to illustrate professional, repeat patterns that easily line up into perfect pattern blocks.

Draw Your Dream Home in Procreate
This step-by-step class covers the full process of envisioning your dream home and drawing it in Procreate.